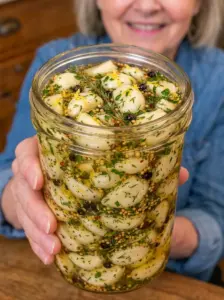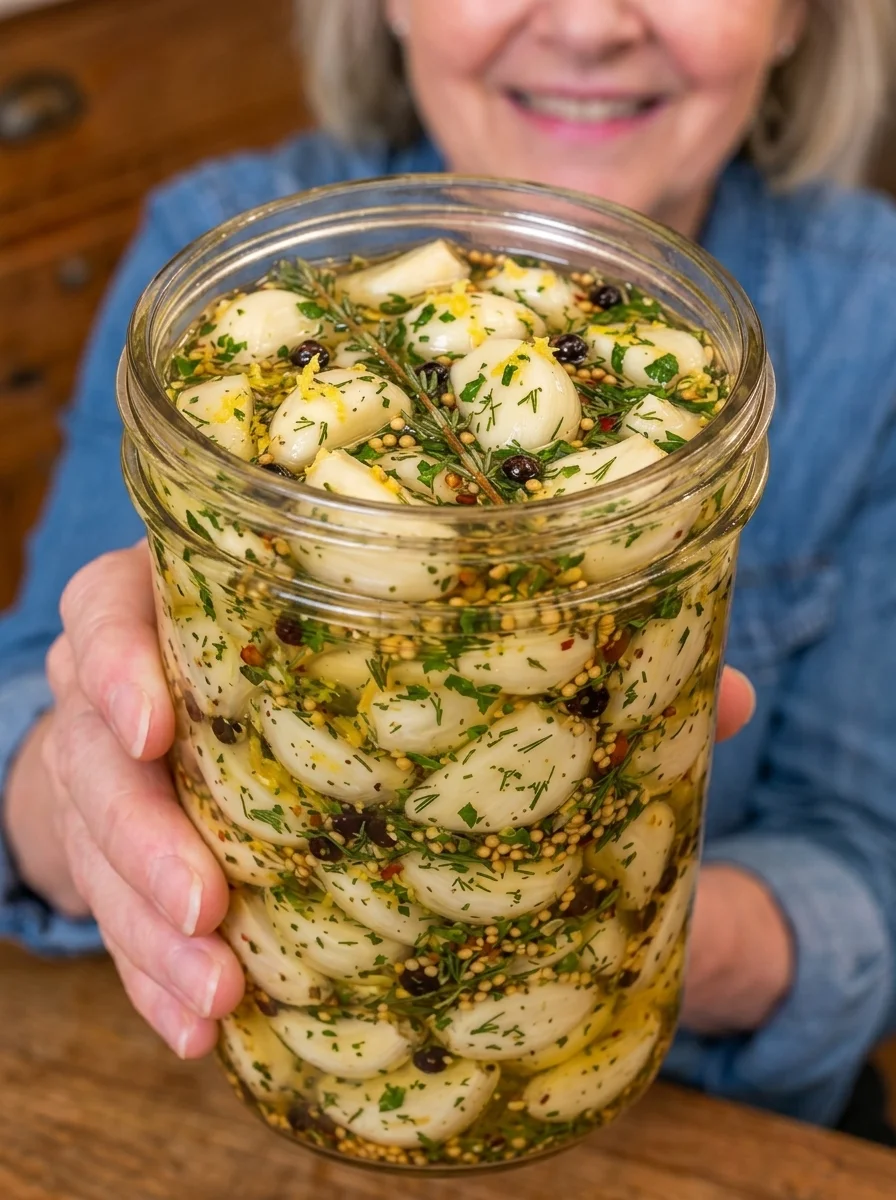
Tangy, crunchy, garlicky, and bursting with fresh lemon and herb flavor, this Zesty Lemon Herb Pickled Garlic is a bright, vibrant twist on a classic homemade condiment. Every clove soaks up a citrusy vinegar brine infused with fresh parsley, dill, and thyme, turning sharp raw garlic into something mellow, tangy, and deliciously addictive straight from the fridge.
Where many pickled garlic recipes lean heavily on heat or sweetness, this one is all about freshness. Fresh lemon juice and zest brighten the brine, while a trio of fresh herbs adds an aromatic, garden-style flavor that makes these cloves taste light and lively rather than heavy or overpowering. A pinch of red pepper flakes adds just enough warmth to keep things interesting without stealing the spotlight from the lemon and herbs.
With only 10 minutes of hands-on prep and no canning required, this recipe is proof that a few simple ingredients and a little fridge time can produce something truly special — perfect for salads, sandwiches, cheese boards, and snacking.
What Is Lemon Herb Pickled Garlic?
Lemon herb pickled garlic is a quick-pickled (refrigerator pickle) recipe in which whole garlic cloves are submerged in a warm vinegar brine seasoned with fresh lemon juice, lemon zest, and a blend of fresh herbs. As the garlic rests in the brine over several days, it softens, mellows, and absorbs the tangy, citrusy, herbal flavors around it.
Unlike raw garlic, which can be sharp and pungent, pickled garlic develops a milder, more rounded flavor while keeping a pleasant crunch. This lemon herb version is especially bright and fresh, thanks to the combination of citrus and fresh herbs, making it a versatile condiment that works in both everyday meals and entertaining spreads. As a refrigerator pickle, it skips the canning process entirely, so it’s simple enough for beginners to make with confidence.
Why You’ll Love This Recipe
Here’s what makes this Zesty Lemon Herb Pickled Garlic worth making:
- Bright, fresh flavor. Lemon juice, zest, and fresh herbs create a vibrant, garden-fresh taste.
- No canning required. A simple refrigerator pickle with no special equipment needed.
- Quick prep. Just 10 minutes of active work before the fridge does the rest.
- Endlessly versatile. Delicious on its own or added to salads, sandwiches, pasta, and more.
- Beautiful in the jar. Fresh herbs and garlic make a gorgeous pantry-style gift or fridge staple.
- Balanced heat. Just a touch of red pepper flakes adds gentle warmth without overpowering the lemon and herbs.
Ingredient Breakdown
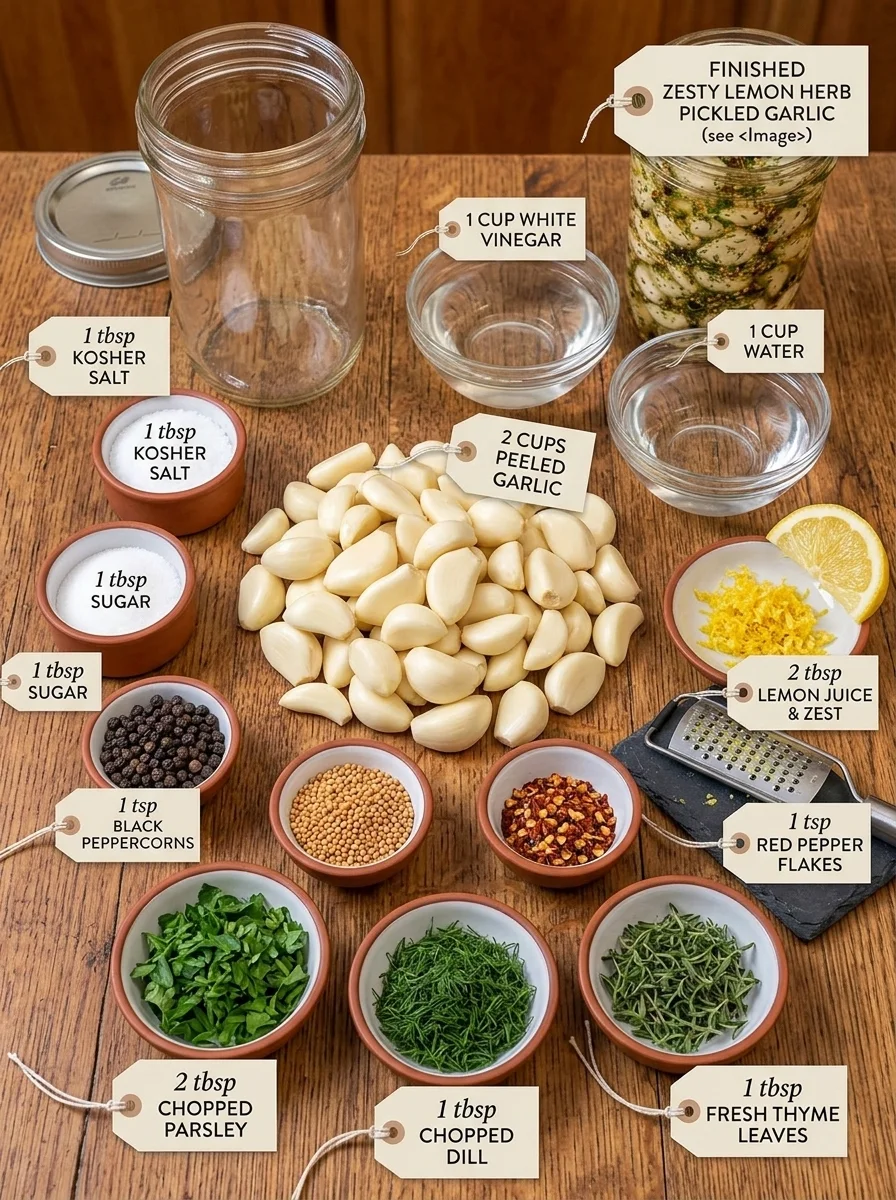
Here’s what goes into this bright, herbaceous brine and why each ingredient matters.
- 2 cups fresh garlic cloves, peeled – The star of the recipe. Fresh, firm cloves pickle best and develop a tender-crisp texture.
- 1 cup white vinegar – Provides the tangy, acidic base of the brine.
- 1 cup water – Balances the vinegar’s acidity so the brine isn’t overly sharp.
- 1 tbsp kosher salt or pickling salt – Enhances flavor and helps preserve the garlic.
- 1 tbsp sugar – Balances the tartness of the vinegar and lemon with a subtle touch of sweetness.
- 2 tbsp fresh lemon juice – Adds bright, citrusy acidity that defines this recipe’s flavor.
- 1 tsp lemon zest – Infuses the brine with concentrated, fragrant lemon aroma.
- 1 tsp black peppercorns – Adds warmth and a subtle, earthy spice note.
- 1 tsp mustard seeds – A classic pickling spice that contributes a gentle tang and texture.
- 1 tsp red pepper flakes – Adds mild background heat that complements the citrus and herbs.
- 2 tbsp fresh parsley, chopped – Brings a fresh, clean, slightly peppery herbal note.
- 1 tbsp fresh dill, chopped – A classic pickling herb that adds a bright, slightly grassy flavor.
- 1 tbsp fresh thyme leaves – Adds a subtle, earthy, aromatic depth to the brine.
Step-by-Step Instructions
Step 1: Prepare the Jar
Place the peeled garlic cloves into a clean glass jar. Add the black peppercorns, mustard seeds, red pepper flakes, parsley, dill, and thyme directly into the jar with the garlic.
Step 2: Make the Brine
In a small saucepan, combine the vinegar, water, salt, sugar, lemon juice, and lemon zest. Heat over medium heat until the salt and sugar dissolve and the mixture reaches a gentle simmer.
Step 3: Pour the Brine
Carefully pour the warm pickling liquid over the garlic cloves until they are completely covered.
Step 4: Cool and Seal
Let the jar cool to room temperature, then seal it tightly with a clean lid and transfer it to the refrigerator.
Step 5: Let It Pickle
Allow the garlic to pickle for at least 3 days before enjoying. For the best, most developed lemon-herb flavor, let it sit for 5–7 days.
Step 6: Serve
Serve the pickled garlic straight from the refrigerator, or add it to salads, sandwiches, pasta, cheese boards, grain bowls, or roasted vegetables.
Tips for the Best Lemon Herb Pickled Garlic
- Use fresh herbs. Dried herbs won’t provide the same bright, aromatic flavor that makes this recipe special.
- Use fresh lemon juice and zest. Bottled juice lacks the vibrant citrus flavor of the real thing.
- Keep the garlic fully submerged. Any cloves above the brine line may not pickle evenly.
- Be patient with the pickling time. The flavors become much more balanced and developed by day 5–7.
- Always use a clean utensil. This keeps the brine free of contamination and extends the jar’s fridge life.
Variations to Try
This bright, herby base is easy to adjust to your taste:
- Milder version: Omit the red pepper flakes for a purely tangy, herbal flavor.
- Extra lemony version: Add a few thin lemon slices to the jar for a stronger citrus aroma.
- Different herbs: Swap in fresh oregano, rosemary, or basil in place of the thyme or dill.
- Spicier twist: Add a sliced fresh chili pepper to the jar for extra heat.
- Peppercorn blend: Use a mix of black, pink, and white peppercorns for a more complex spice profile.
Serving Suggestions
This zesty pickled garlic is wonderfully versatile:
- 🥗 Chop into salads for a tangy, herby punch
- 🥪 Layer into sandwiches and wraps
- 🍝 Toss into pasta dishes for extra brightness
- 🧀 Add to cheese and charcuterie boards
- 🥣 Stir into grain bowls with roasted vegetables
- 🍳 Serve alongside eggs or avocado toast
- 🥔 Toss with roasted potatoes or vegetables
- 🍹 Use as a garnish for a savory cocktail
Storage Information
Store the pickled garlic in an airtight glass jar in the refrigerator for up to 2 weeks. Keep the garlic fully submerged in the brine at all times, and always use a clean utensil when removing cloves. This is a refrigerator pickle and is not shelf-stable.
Frequently Asked Questions
1. How long does this pickled garlic last? Stored in an airtight glass jar in the refrigerator, it keeps well for up to 2 weeks, as long as the garlic stays fully submerged in the brine.
2. Can I use dried herbs instead of fresh? Fresh herbs are strongly recommended for the brightest flavor, though dried herbs can be used in a pinch at roughly one-third the amount.
3. Is this a shelf-stable pickle? No, this is a refrigerator pickle only. It must be kept refrigerated at all times and is not processed for shelf-stable storage.
4. Can I use bottled lemon juice? Fresh lemon juice is recommended for the best flavor, though bottled juice can work if that’s all you have on hand.
5. Why is my garlic still sharp after a few days? Garlic needs time to fully mellow in the brine. If it still tastes sharp, let it pickle longer — the flavor becomes noticeably more balanced by day 5–7.
6. Can I skip the sugar? The sugar helps balance the acidity of the vinegar and lemon, but you can reduce it slightly if you prefer a more purely tangy pickle.
7. Can I add other vegetables to the jar? Yes, thinly sliced shallots, carrots, or cauliflower florets can be added alongside the garlic to pickle in the same lemon herb brine.
8. What can I use if I don’t have fresh dill? Fresh oregano or extra parsley can be substituted for dill without significantly changing the overall flavor.
9. Can I reuse the brine? It’s best to make a fresh brine for each batch for food safety and flavor, though leftover brine can be used in salad dressings or marinades.
This Zesty Lemon Herb Pickled Garlic is a fresh, vibrant addition to any fridge, bringing bright citrus and garden-herb flavor to everything it touches. Whether you’re snacking straight from the jar, tossing it into a salad, or piling it onto a cheese board, it’s a simple homemade condiment that adds serious flavor with minimal effort.
Print
Zesty Lemon Herb Pickled Garlic
- Total Time: 15 minutes, plus pickling time Servings
Ingredients
- 2 cups fresh garlic cloves, peeled
- 1 cup white vinegar
- 1 cup water
- 1 tbsp kosher salt or pickling salt
- 1 tbsp sugar
- 2 tbsp fresh lemon juice
- 1 tsp lemon zest
- 1 tsp black peppercorns
- 1 tsp mustard seeds
- 1 tsp red pepper flakes
- 2 tbsp fresh parsley, chopped
- 1 tbsp fresh dill, chopped
- 1 tbsp fresh thyme leaves
Instructions
- Place the peeled garlic into a clean glass jar with the peppercorns, mustard seeds, red pepper flakes, parsley, dill, and thyme.
- In a small saucepan, combine the vinegar, water, salt, sugar, lemon juice, and lemon zest. Heat over medium heat until dissolved and at a gentle simmer.
- Pour the warm brine over the garlic until completely covered.
- Let the jar cool to room temperature, then seal tightly and refrigerate.
- Pickle for at least 3 days, or ideally 5–7 days, before enjoying.
- Serve straight from the fridge or add to salads, sandwiches, pasta, and more.
- Prep Time: 10 minutes
- Cook Time: 5 minutes
Nutrition
- Serving Size: 12
- Calories: 20 per serving