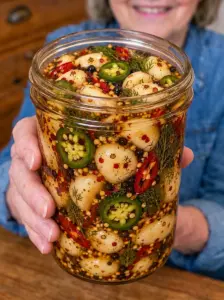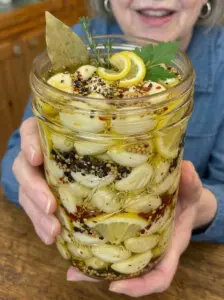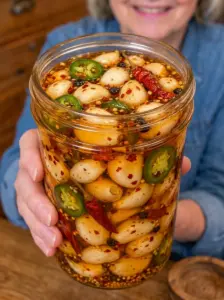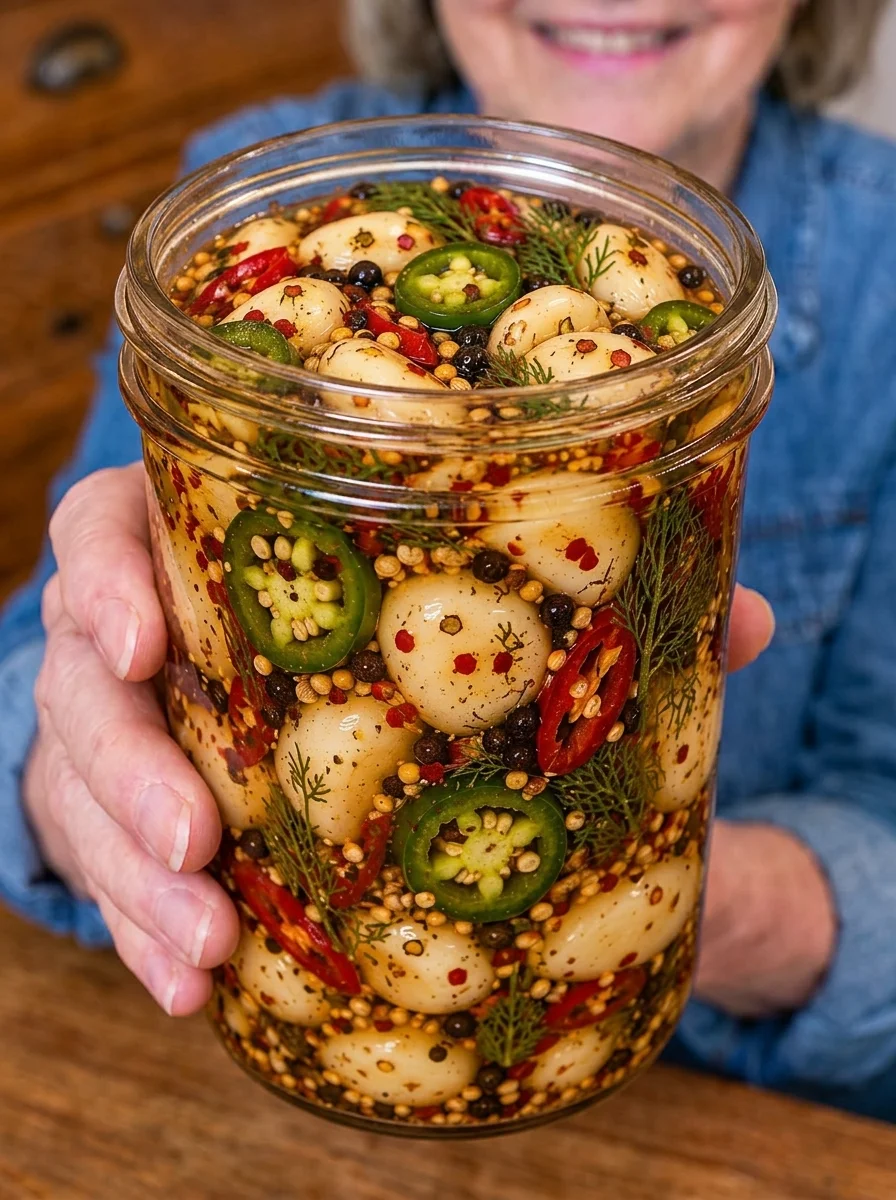
These Zesty Garlic & Pepper Pickles are crunchy, tangy, garlicky, and packed with bold peppery flavor. Fresh garlic cloves are refrigerator-pickled with jalapeño, dill, mustard seeds, black peppercorns, red pepper flakes, and a bright vinegar-lemon brine for an easy homemade condiment with plenty of savory kick.
They’re perfect for adding to sandwiches, burgers, salads, wraps, charcuterie boards, or snack plates. And because this is a refrigerator pickle recipe, there’s no complicated canning process required. Simply prepare the ingredients, pour over the warm brine, refrigerate, and give the flavors a few days to develop.
If you love homemade pickled garlic with a little heat, this simple recipe is an easy one to keep in your refrigerator.
Why You’ll Love These Zesty Garlic & Pepper Pickles ❤️
There is a lot to love about keeping a jar of homemade garlic pickles in the refrigerator.
Bold garlic flavor: Whole fresh garlic cloves develop a tangy, savory flavor as they sit in the vinegar brine.
Zesty and spicy: Jalapeño, red pepper flakes, black peppercorns, and crushed black pepper create layers of peppery heat without overwhelming the garlic.
Easy refrigerator method: No pressure canner or water-bath canning process is required. These pickles are prepared specifically for refrigerator storage.
Simple ingredients: Everything in the jar is made with easy-to-find ingredients, including vinegar, garlic, jalapeño, dill, and common spices.
Versatile condiment: Serve the pickled garlic with sandwiches, burgers, salads, cheese boards, grilled foods, or savory snacks.
Flavor improves with time: Although you can begin tasting the garlic after about three days, letting it pickle for five to seven days produces a deeper, more balanced flavor.
Ingredients 🫙
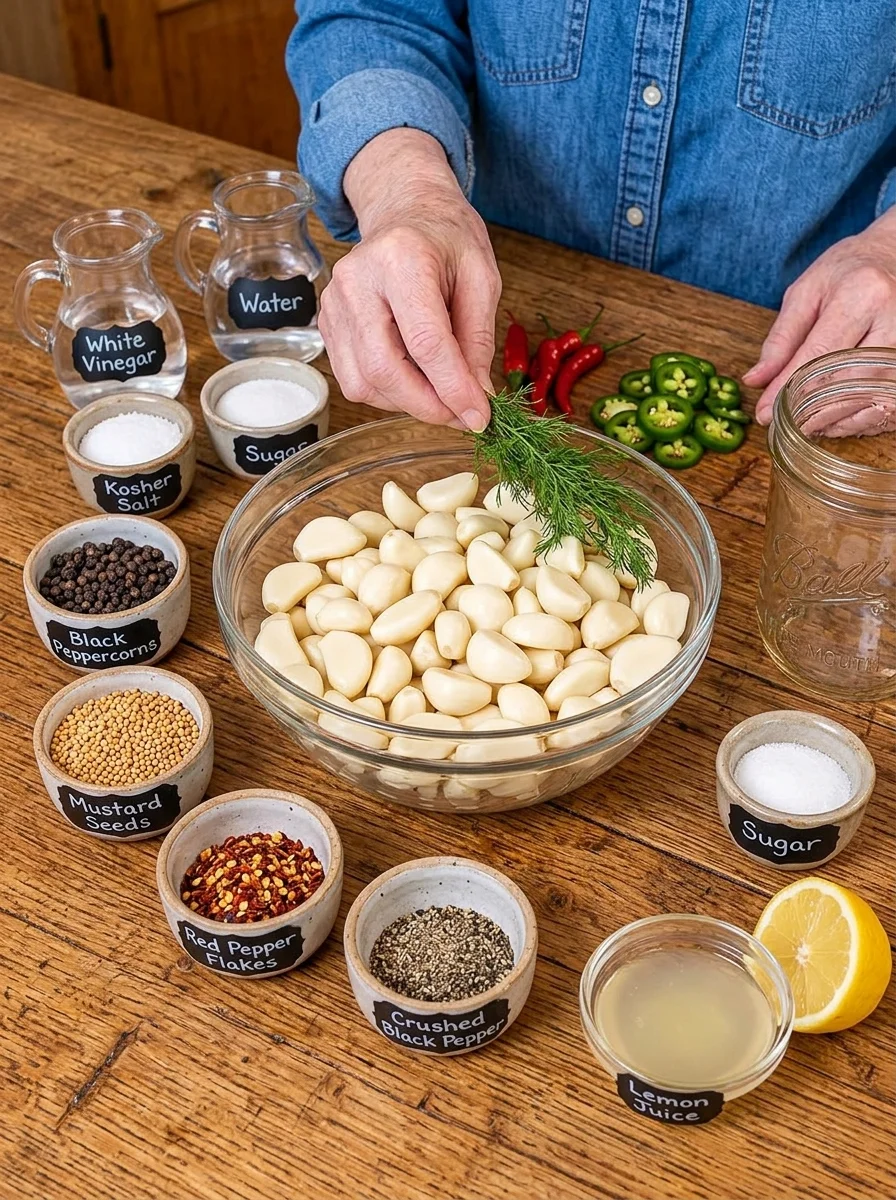
2 Cups Fresh Garlic Cloves
Garlic is the star of this recipe. You’ll need approximately 2 cups of peeled fresh garlic cloves.
Choose firm cloves without soft spots, mold, or excessive discoloration. Fresh, crisp garlic will give you the best texture after pickling.
If your garlic cloves vary considerably in size, that’s completely fine. You can leave small and medium cloves whole. Very large cloves can be halved if desired.
1 Cup White Vinegar
White vinegar creates the sharp, clean acidity that gives these refrigerator pickles their classic tangy flavor.
Its neutral taste also allows the garlic, jalapeño, dill, and spices to remain prominent.
1 Cup Water
Water balances the acidity of the vinegar and creates a more approachable pickling brine.
The combination of equal parts vinegar and water gives these garlic pickles plenty of tang without making the flavor unnecessarily harsh.
1 Tablespoon Kosher Salt or Pickling Salt
Salt is essential for developing the savory flavor of the brine.
Pickling salt is particularly convenient because it dissolves easily. Kosher salt also works well.
1 Tablespoon Sugar
A small amount of sugar helps balance the acidity and heat.
These aren’t sweet pickles—the sugar simply rounds out the vinegar, garlic, lemon, and pepper flavors.
1 Teaspoon Black Peppercorns
Whole black peppercorns slowly infuse the brine with a warm, aromatic pepper flavor.
They provide a different type of heat from jalapeño and red pepper flakes, giving the finished pickles more depth.
1 Teaspoon Mustard Seeds
Mustard seeds are a classic pickling spice.
They contribute a subtle earthy, slightly pungent flavor that works especially well with vinegar and garlic.
1 Teaspoon Red Pepper Flakes
Red pepper flakes bring another layer of heat to the jar.
You can slightly reduce the amount if you prefer milder garlic pickles.
1 Small Jalapeño
Thin slices of fresh jalapeño add color, fresh pepper flavor, and heat.
For a milder batch, remove the seeds and pale inner membranes before slicing the jalapeño. For more heat, leave them intact.
1/2 Teaspoon Crushed Black Pepper
In addition to the whole peppercorns, crushed black pepper distributes peppery flavor throughout the brine.
The combination gives these pickles their signature pepper-forward character.
1 Tablespoon Fresh Lemon Juice
Fresh lemon juice adds another bright, citrusy dimension to the vinegar brine.
It complements the sharp garlic and spicy peppers particularly well.
2 Small Sprigs Fresh Dill
Fresh dill provides a familiar herbal pickle flavor and helps balance the stronger garlic and pepper notes.
Use fresh, fragrant sprigs for the best flavor.
How to Make Zesty Garlic & Pepper Pickles 🥄
Step 1: Prepare the Garlic
Peel enough fresh garlic cloves to measure approximately 2 cups.
Inspect the cloves and discard any that are soft, damaged, or spoiled.
Place the peeled garlic into a clean glass jar with enough room for the peppers, seasonings, and brine.
Step 2: Add the Jalapeño and Spices
Thinly slice one small jalapeño.
Add the jalapeño slices to the jar along with:
- 1 teaspoon black peppercorns
- 1 teaspoon mustard seeds
- 1 teaspoon red pepper flakes
- 1/2 teaspoon crushed black pepper
- 2 small sprigs fresh dill
Distribute the seasonings throughout the garlic rather than packing everything exclusively on top.
Step 3: Prepare the Pickling Brine
In a small saucepan, combine:
- 1 cup white vinegar
- 1 cup water
- 1 tablespoon kosher or pickling salt
- 1 tablespoon sugar
- 1 tablespoon fresh lemon juice
Place the saucepan over medium heat.
Stir until the salt and sugar are completely dissolved.
The goal is to create a smooth, evenly seasoned brine.
Step 4: Pour the Brine Over the Garlic
Carefully pour the warm brine into the prepared jar.
Pour slowly to avoid splashing.
Make sure the garlic, jalapeño, dill, and spices are covered by the brine.
If necessary, gently press the ingredients downward with a clean utensil so everything settles beneath the liquid.
Step 5: Cool
Leave the jar uncovered or loosely covered until it has cooled to approximately room temperature.
Once cooled, seal the jar tightly.
Step 6: Refrigerate
Transfer the sealed jar to the refrigerator.
The garlic needs time to absorb the vinegar, pepper, dill, and spices.
Allow it to pickle for at least 3 days before tasting.
For a stronger and more developed flavor, wait 5–7 days.
The extra refrigerator time allows all those sharp, spicy, tangy flavors to come together.
How Long Should Garlic Pickle? 🧄
Patience makes a noticeable difference with refrigerator pickles.
After about three days, the garlic will have absorbed some of the brine and spices, but its flavor can still be relatively sharp.
At around five to seven days, the flavors become more integrated. The garlic takes on more tanginess while the jalapeño, dill, mustard, black pepper, and red pepper flakes have had additional time to infuse the brine.
If you enjoy strong garlic, try a clove after three days and continue tasting over the following days until it reaches the flavor you prefer.
How Spicy Are These Garlic Pickles? 🌶️
This recipe has noticeable heat, but several ingredients contribute different types of spiciness.
Fresh jalapeño provides the fresh chile flavor.
Red pepper flakes provide a more concentrated chile heat.
Whole peppercorns create a warm peppery bite.
Crushed black pepper distributes additional pepper flavor throughout the brine.
Because peppers vary naturally in heat, every batch can taste slightly different.
For milder pickles, remove the jalapeño seeds and membranes and reduce the red pepper flakes.
If you prefer spicy refrigerator pickles, leave the jalapeño intact.
Recipe Notes 📝
Use fresh, firm garlic for the best texture.
Make sure your glass jar and utensils are thoroughly clean before preparing the recipe.
The garlic and peppers should remain covered by brine during refrigerator storage.
This recipe is designed as a refrigerator pickle, not as a shelf-stable canned product.
Do not store the finished jar at room temperature.
The garlic flavor will change as it sits in the brine, so tasting it at different stages is a great way to discover your preferred pickling time.
You may notice some changes in the appearance of garlic during pickling. Garlic can occasionally develop blue or green tones due to natural chemical reactions involving compounds in the garlic and acidic conditions. This can look surprising, but color changes alone do not necessarily indicate spoilage.
If the pickles develop an unpleasant odor, visible mold, unusual bubbling, or other obvious signs of spoilage, discard them.
Tips for the Best Garlic & Pepper Pickles ⭐
Choose good garlic. Fresh, firm cloves provide a better final texture than garlic that has already started becoming soft.
Slice the jalapeño evenly. Thin slices distribute pepper flavor more consistently throughout the jar.
Let the spices infuse. The flavor becomes more complex after several days in the refrigerator.
Keep everything submerged. Garlic and pepper pieces should remain beneath the brine during storage.
Use clean utensils. Avoid reaching into the jar with your fingers. A clean fork or spoon reduces the chance of introducing contaminants.
Give them enough time. Three days works for an early taste, but five to seven days generally produces a stronger pickled flavor.
Adjust the heat next time. If your first batch is too mild or too spicy, adjust the jalapeño and red pepper flakes in your next jar.
Serving Ideas 🍔🥗
These zesty garlic and pepper pickles can be used anywhere you want acidity, garlic, or heat.
Serve a few cloves alongside burgers or sandwiches for a bold alternative to traditional cucumber pickles.
Chop the garlic and jalapeño and scatter them over tacos, burritos, or nachos.
Add chopped pickled garlic to tuna salad, chicken salad, pasta salad, or potato salad.
Serve whole cloves on a snack board with cheeses, crackers, olives, vegetables, and dips.
Finely chop a few cloves and stir them into mayonnaise or yogurt-based sauces.
Add sliced pickled garlic to grain bowls or hearty salads for an extra tangy bite.
They also make a flavorful accompaniment to grilled meats and roasted vegetables.
Storage Information 🧊
Store your Zesty Garlic & Pepper Pickles in a tightly sealed glass jar in the refrigerator.
For this recipe, use them within 2 weeks.
Always keep the garlic and peppers submerged in the brine and use a clean utensil whenever removing something from the jar.
Remember that this recipe is specifically intended for refrigerator storage. It has not been formulated or tested as a shelf-stable home-canning recipe.
Frequently Asked Questions
Are these canned garlic pickles?
No. This is a refrigerator pickle recipe.
The jar should remain refrigerated and should not be treated as a shelf-stable canned product.
How soon can I eat pickled garlic?
Allow the garlic to pickle for at least 3 days before eating.
For a more developed flavor, wait approximately 5–7 days.
Can I make the pickles less spicy?
Yes.
Remove the seeds and membranes from the jalapeño and reduce the amount of red pepper flakes.
You can also omit the red pepper flakes entirely if you primarily want garlic and black pepper flavor.
Can I make them hotter?
For a hotter batch, keep the jalapeño seeds and membranes and increase the chile component according to your preference.
Remember that individual peppers can vary significantly in heat.
Why are there both peppercorns and crushed black pepper?
They serve slightly different purposes.
Whole peppercorns slowly infuse the brine, while crushed black pepper disperses more readily and creates a stronger immediate pepper flavor.
Using both helps produce the recipe’s distinctive zesty character.
What does the lemon juice do?
The lemon juice adds brightness and a subtle citrus note that complements the vinegar.
It helps make the brine taste particularly fresh and zesty.
Can I use these on sandwiches?
Absolutely.
The tangy garlic and spicy jalapeño pair particularly well with hearty sandwiches, burgers, wraps, and similar savory dishes.
You can use the cloves whole, sliced, or finely chopped.
Why did my garlic turn blue or green?
Garlic can sometimes develop blue-green coloring when its natural sulfur compounds react under acidic conditions.
It can look unusual, but the color itself isn’t necessarily evidence that the garlic has spoiled.
Always rely on appropriate preparation, refrigeration, storage time, and signs of actual spoilage when deciding whether food is safe to eat.
Do these need to stay refrigerated?
Yes.
These are refrigerator pickles and should be kept refrigerated during storage.
Storage
Keep refrigerated in an airtight glass jar and use within 2 weeks. Keep the garlic and peppers submerged in the brine and always remove them using a clean utensil.
Important: This recipe is intended only for refrigerator pickling and is not a tested shelf-stable canning recipe.
Final Thoughts
These Zesty Garlic & Pepper Pickles turn simple garlic cloves into a bold refrigerator condiment packed with tangy vinegar, fresh jalapeño, dill, mustard seeds, red pepper flakes, and plenty of black pepper.
The preparation takes only about 15 minutes, and the refrigerator does the rest of the work. Give the jar at least three days to develop, or wait five to seven days for a deeper garlic-and-pepper flavor.
Keep a jar chilled and ready whenever sandwiches, burgers, salads, tacos, snack boards, or savory meals need an extra punch of tangy, spicy garlic flavor.
Print
Zesty Garlic & Pepper Pickles
- Total Time: 15 minutes
Ingredients
- 2 cups fresh garlic cloves, peeled
- 1 cup white vinegar
- 1 cup water
- 1 tablespoon kosher salt or pickling salt
- 1 tablespoon sugar
- 1 teaspoon black peppercorns
- 1 teaspoon mustard seeds
- 1 teaspoon red pepper flakes
- 1 small jalapeño, thinly sliced
- 1/2 teaspoon crushed black pepper
- 1 tablespoon fresh lemon juice
- 2 small sprigs fresh dill
Instructions
- Peel the garlic cloves and place them in a clean glass jar.
- Add the sliced jalapeño, black peppercorns, mustard seeds, red pepper flakes, crushed black pepper, and fresh dill.
- Add the white vinegar, water, salt, sugar, and lemon juice to a small saucepan.
- Heat over medium heat, stirring until the salt and sugar have completely dissolved.
- Carefully pour the warm brine over the garlic, jalapeño, and seasonings.
- Make sure the ingredients remain submerged beneath the brine.
- Allow the jar to cool to room temperature.
- Seal tightly and transfer to the refrigerator.
- Refrigerate for at least 3 days before eating.
- For the best developed flavor, allow the garlic to pickle for 5–7 days.
- Prep Time: 10 minutes
- Cook Time: 5 minutes
Nutrition
- Serving Size: 12
- Calories: Approximately 20 per serving