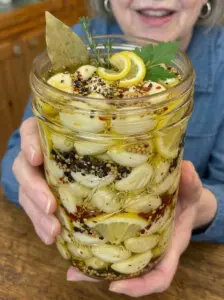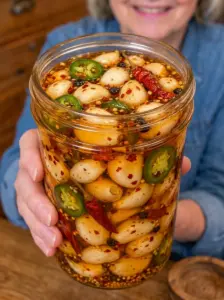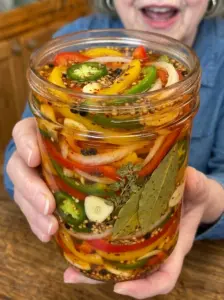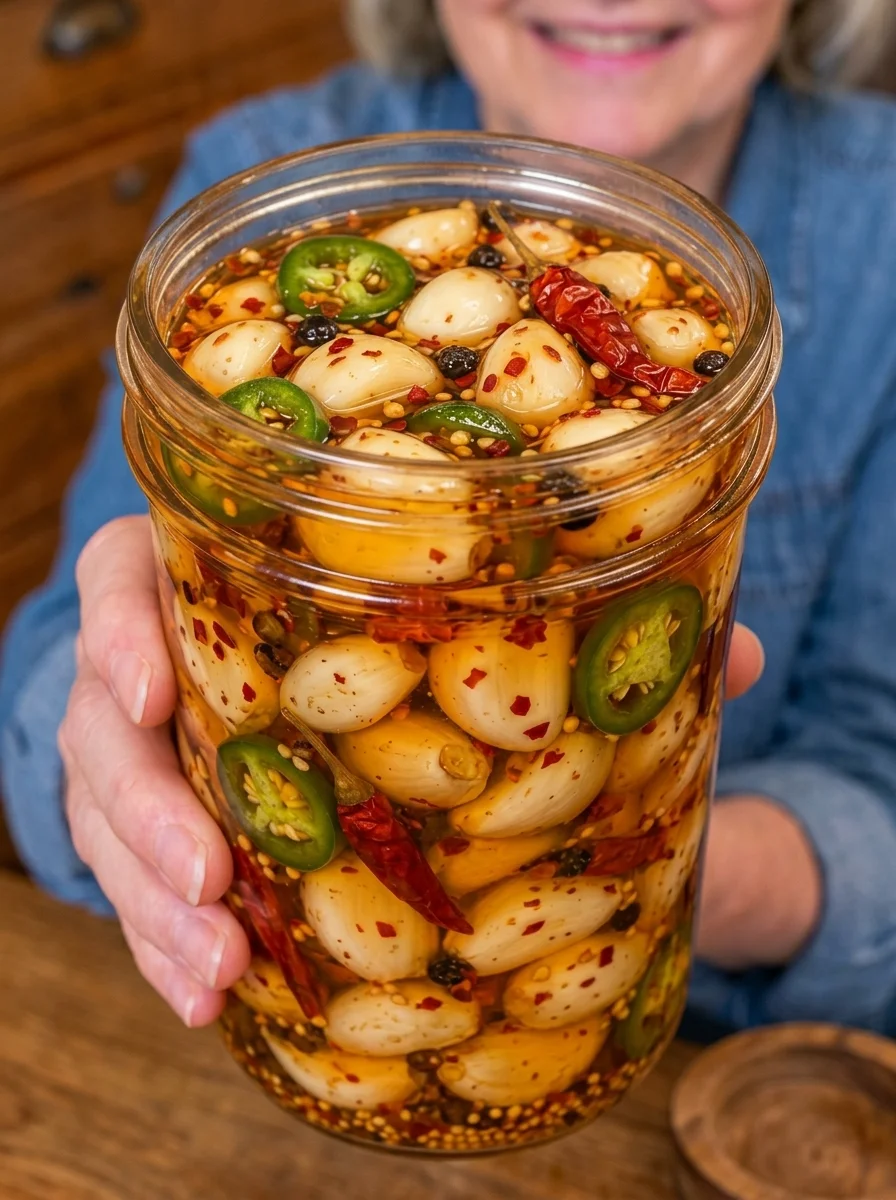
If you love bold, punchy flavors, these Sweet Heat Pickled Garlic Cloves are about to become your new favorite fridge staple. Crunchy, tangy, slightly sweet, and packed with fiery chili flavor, every bite delivers that perfect balance of sweet and spicy — the kind of addictive combination that has you reaching back into the jar again and again.
Unlike traditional pickled garlic, which tends to lean purely tangy or purely savory, this version layers in honey for natural sweetness, jalapeño and dried chilies for real heat, and a touch of hot sauce to tie it all together. The result is a jar of garlic cloves that are as good straight out of the fridge as they are chopped into a salad, tossed with roasted vegetables, or piled onto a charcuterie board.
Best of all, this recipe comes together in just 15 minutes of active prep. The magic happens in the fridge, where the garlic slowly transforms from sharp and raw into tender, tangy, sweet-and-spicy cloves that are impossible to stop snacking on.
What Is Pickled Garlic?
Pickled garlic is exactly what it sounds like — whole garlic cloves preserved in a vinegar-based brine, allowing them to soften, mellow, and take on tangy, savory, or sweet flavors depending on the brine used. Unlike raw garlic, which can be sharp and pungent, pickled garlic mellows significantly during the pickling process, developing a milder, more rounded flavor with a satisfying crunch.
This particular version is a “sweet heat” style pickle, meaning the brine is built around a balance of sweetness (from honey) and spice (from jalapeño, dried chilies, red pepper flakes, and hot sauce), rather than a purely sour or savory profile. It’s a refrigerator pickle, meaning it’s made using the quick-pickling method — no canning or shelf-stable processing required — so the garlic is ready to eat within days and stored in the fridge throughout.
Why You’ll Love This Recipe
There’s a lot to love about these Sweet Heat Pickled Garlic Cloves:
- Bold, addictive flavor. The sweet-and-spicy combination makes these genuinely hard to stop eating.
- No canning required. This is a simple refrigerator pickle — no special equipment or canning experience needed.
- Minimal active prep. Just 10 minutes of hands-on time before the fridge does the rest of the work.
- Long fridge life. These keep well for up to 2 weeks, making them great for batch prepping.
- Endlessly versatile. Delicious on their own, or added to salads, sandwiches, charcuterie boards, and more.
- Customizable heat level. Easily adjust the spice to your personal preference.
Ingredient Breakdown
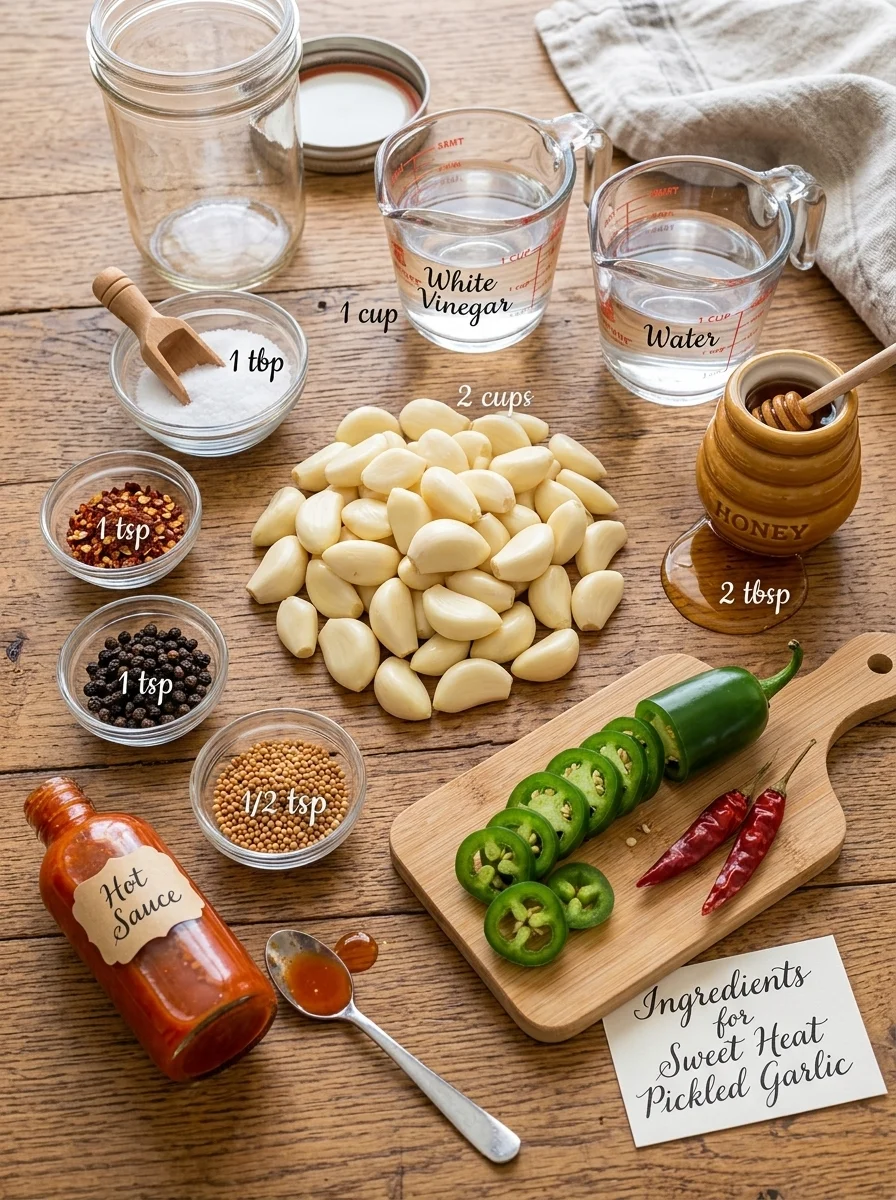
Here’s what goes into building the bold, layered flavor of this sweet heat pickle.
- 2 cups fresh garlic cloves, peeled – The star of the recipe. Fresh, firm garlic cloves pickle best and develop the ideal tender-crunchy texture.
- 1 cup white vinegar – Provides the tangy, acidic base essential to any pickle.
- 1 cup water – Balances the acidity of the vinegar so the brine isn’t overly sharp.
- 2 tbsp honey – Adds natural sweetness, creating the “sweet” half of the sweet heat flavor profile.
- 1 tbsp kosher salt or pickling salt – Enhances flavor and helps preserve the garlic in the brine.
- 1 tsp red pepper flakes – Adds a steady, even background heat throughout the brine.
- 1 small jalapeño, thinly sliced – Brings fresh, bright heat and a pop of color to the jar.
- 2 small dried chili peppers – Infuse the brine with deeper, more concentrated heat as they sit.
- 1 tsp black peppercorns – Adds warmth and a subtle earthy spice note.
- ½ tsp mustard seeds – A classic pickling spice that adds a gentle tang and slight crunch.
- 1 tbsp hot sauce – Ties the sweet and spicy elements together with an extra layer of tangy heat.
Step-by-Step Instructions
Step 1: Prepare the Jar
Peel the garlic cloves and place them into a clean glass jar. Add the sliced jalapeño, dried chili peppers, red pepper flakes, black peppercorns, mustard seeds, and hot sauce directly into the jar with the garlic.
Step 2: Make the Brine
In a small saucepan, combine the vinegar, water, honey, and salt. Heat over medium heat, stirring occasionally, until the honey and salt completely dissolve. Avoid boiling the mixture aggressively — a gentle simmer is all that’s needed.
Step 3: Pour the Brine
Carefully pour the warm pickling brine over the garlic cloves in the jar, making sure everything is completely submerged beneath the liquid.
Step 4: Cool and Seal
Let the jar cool to room temperature on the counter, then seal it tightly with a lid and transfer it to the refrigerator.
Step 5: Let It Pickle
Allow the garlic to pickle for at least 3 days before enjoying. For the best, most developed sweet-heat flavor, let the cloves sit for 5–7 days before digging in.
Tips for the Best Pickled Garlic
- Use fresh, firm garlic. Soft or sprouting garlic cloves won’t pickle as well and can affect the final texture.
- Keep the garlic fully submerged. Any cloves poking above the brine line may not pickle evenly or could spoil faster.
- Don’t boil the brine too hard. A gentle heat is enough to dissolve the honey and salt without evaporating too much liquid.
- Be patient. The flavor genuinely improves the longer the garlic sits — 5–7 days delivers the best sweet heat balance.
- Always use a clean utensil. This helps keep the brine free of contamination and extends the jar’s fridge life.
Variations to Try
This sweet heat base is easy to adjust to your taste:
- Milder version: Reduce or omit the dried chili peppers and red pepper flakes for a gentler heat level.
- Extra spicy version: Add a second jalapeño or a sliced habanero for serious heat.
- Herby twist: Add a few sprigs of fresh dill or thyme to the jar for an aromatic note.
- Different sweetener: Swap the honey for maple syrup or agave for a slightly different sweetness profile.
- Extra tang: Add a splash of apple cider vinegar in place of some of the white vinegar for a deeper tang.
Serving Suggestions
These sweet heat pickled garlic cloves are wonderfully versatile beyond snacking straight from the jar:
- 🧀 Add to a charcuterie or antipasto board
- 🥗 Chop and toss into salads for a punch of flavor
- 🥪 Layer into sandwiches or burgers
- 🍕 Scatter over homemade pizza
- 🍝 Stir into pasta dishes for extra depth
- 🥑 Mash into guacamole for a spicy twist
- 🍳 Serve alongside eggs or avocado toast
- 🍹 Use as a garnish for a spicy cocktail
Storage Information
Store the pickled garlic in an airtight glass jar in the refrigerator for up to 2 weeks. Keep the garlic fully submerged in the brine at all times, and always use a clean utensil when serving to avoid introducing bacteria into the jar. This is a refrigerator pickle and is not intended for shelf-stable or room-temperature storage.
Recipe Card
Sweet Heat Pickled Garlic Cloves
Prep Time: 10 minutes Cook Time: 5 minutes Total Time: 15 minutes, plus pickling time Servings: 12 Calories: ~25 per serving
Ingredients:
- 2 cups fresh garlic cloves, peeled
- 1 cup white vinegar
- 1 cup water
- 2 tbsp honey
- 1 tbsp kosher salt or pickling salt
- 1 tsp red pepper flakes
- 1 small jalapeño, thinly sliced
- 2 small dried chili peppers
- 1 tsp black peppercorns
- ½ tsp mustard seeds
- 1 tbsp hot sauce
Instructions:
- Peel the garlic cloves and place them into a clean glass jar along with the jalapeño, dried chili peppers, red pepper flakes, peppercorns, mustard seeds, and hot sauce.
- In a small saucepan, combine the vinegar, water, honey, and salt. Heat over medium heat, stirring until the honey and salt dissolve, without boiling aggressively.
- Pour the warm brine over the garlic, making sure it’s fully submerged.
- Let the jar cool to room temperature, then seal tightly and refrigerate.
- Pickle for at least 3 days, or ideally 5–7 days, before enjoying.
Frequently Asked Questions
1. How long do these pickled garlic cloves last? Stored in an airtight glass jar in the refrigerator, they’ll keep well for up to 2 weeks, as long as the garlic stays fully submerged in the brine.
2. Can I use pre-peeled garlic cloves? Yes, pre-peeled garlic cloves work well and save prep time, though fresh, firm cloves will give the best texture.
3. Is this a shelf-stable pickle? No, this is a refrigerator pickle only. It’s not processed for shelf-stable storage and must be kept refrigerated at all times.
4. How spicy are these pickled garlic cloves? They have a noticeable but balanced heat thanks to the jalapeño, dried chilies, and hot sauce, offset by the sweetness of the honey. You can easily adjust the spice level to your preference.
5. Can I reuse the brine for a second batch? It’s best to make a fresh brine for each batch of garlic to ensure proper flavor and food safety, though the used brine can be repurposed in dressings or marinades.
6. Why is my garlic still sharp after a few days? Garlic needs time to properly mellow in the brine. If it still tastes sharp, let it pickle longer — the flavor becomes noticeably milder and more balanced by day 5–7.
7. Can I make this less sweet? Yes, simply reduce the amount of honey in the brine to taste, keeping the other ingredients the same.
8. What can I use if I don’t have dried chili peppers? You can omit them or substitute with extra red pepper flakes or a second sliced jalapeño for heat.
9. Can I add other vegetables to the jar? Yes, sliced carrots, onions, or additional peppers can be added alongside the garlic to pickle in the same sweet heat brine.
These Sweet Heat Pickled Garlic Cloves prove that a few simple pantry ingredients can create something seriously crave-worthy. With their perfect balance of tang, sweetness, and fiery heat, they’re the kind of homemade condiment that upgrades everything from salads to sandwiches to snack boards — and once you make a jar, it won’t last long.
Print
Sweet Heat Pickled Garlic Cloves
- Total Time: 15 minutes
Ingredients
- 2 cups fresh garlic cloves, peeled
- 1 cup white vinegar
- 1 cup water
- 2 tbsp honey
- 1 tbsp kosher salt or pickling salt
- 1 tsp red pepper flakes
- 1 small jalapeño, thinly sliced
- 2 small dried chili peppers
- 1 tsp black peppercorns
- ½ tsp mustard seeds
- 1 tbsp hot sauce
Instructions
- Peel the garlic cloves and place them into a clean glass jar along with the jalapeño, dried chili peppers, red pepper flakes, peppercorns, mustard seeds, and hot sauce.
- In a small saucepan, combine the vinegar, water, honey, and salt. Heat over medium heat, stirring until the honey and salt dissolve, without boiling aggressively.
- Pour the warm brine over the garlic, making sure it’s fully submerged.
- Let the jar cool to room temperature, then seal tightly and refrigerate.
- Pickle for at least 3 days, or ideally 5–7 days, before enjoying.
- Prep Time: 10 minutes
- Cook Time: 5 minutes
Nutrition
- Serving Size: 12
- Calories: 25 per serving