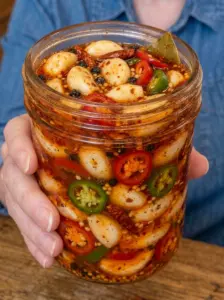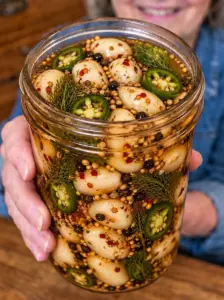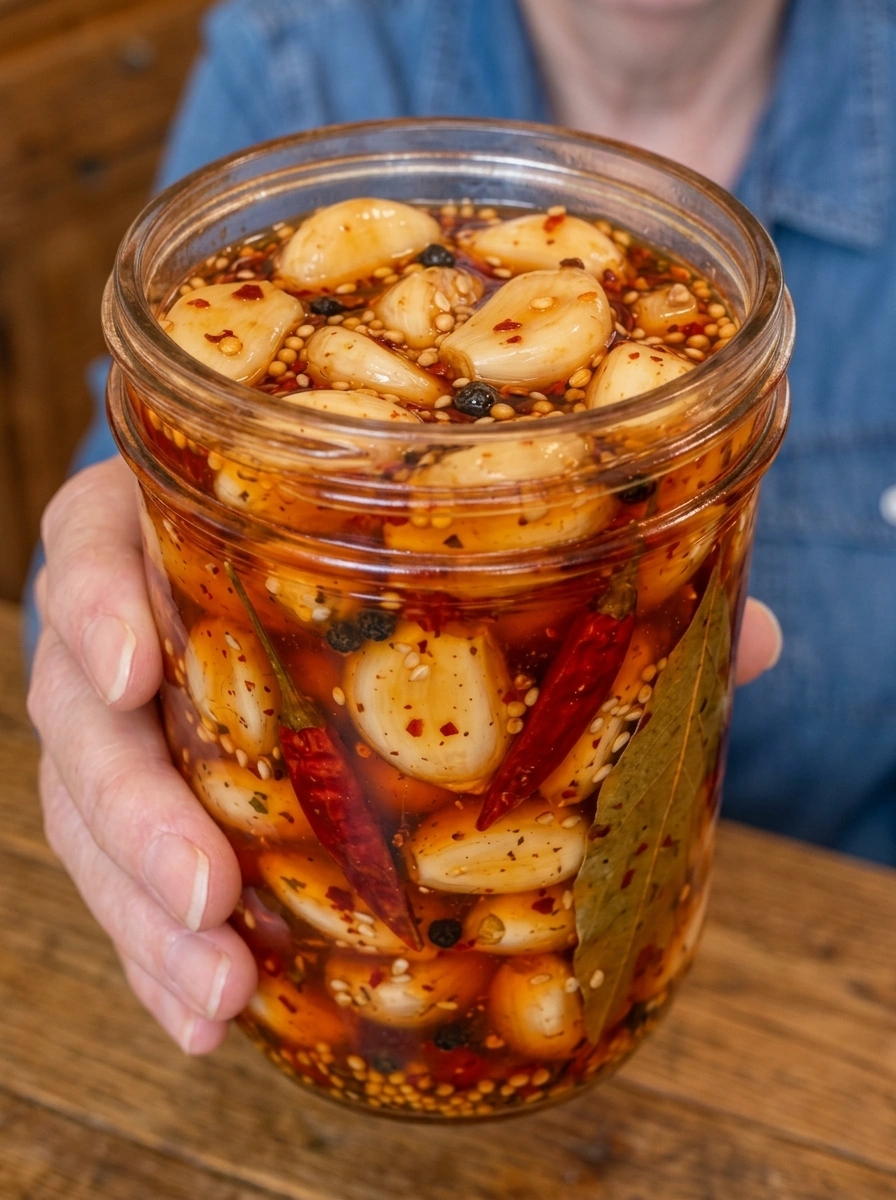
This Sweet Chili Pickled Garlic is crunchy, tangy, sweet, and wonderfully spicy. Whole fresh garlic cloves are refrigerated in a bold sweet-chili brine made with white vinegar, honey, sweet chili sauce, red pepper flakes, mustard seeds, peppercorns, sesame seeds, and dried chilies.
The combination of sweetness and heat is what makes this refrigerator pickle so irresistible. Honey and sugar soften the sharp vinegar, while sweet chili sauce adds another layer of sweetness and chile flavor. Red pepper flakes and dried chilies bring additional warmth, and sesame seeds give the jar a subtle nutty accent.
Preparation takes only about 20 minutes. After that, the garlic needs time in the refrigerator to absorb all those flavors. You can begin tasting it after three days, but 5–7 days gives the cloves a more developed balance of sweet, tangy, garlicky, and spicy flavors.
These are refrigerator pickles, not a shelf-stable canned product. Keep the jar refrigerated and make sure the garlic remains submerged in the brine.
Serve the cloves chilled straight from the jar, or chop them into rice bowls, noodles, tacos, sandwiches, salads, grilled meats, and roasted vegetables.
Why You’ll Love Sweet Chili Pickled Garlic
Sweet and spicy at the same time. Honey, sugar, sweet chili sauce, and chile peppers create a delicious balance of flavors.
Packed with garlic flavor. Whole fresh cloves remain the centerpiece of the recipe.
Tangy vinegar brine. White vinegar gives every bite the characteristic brightness you expect from refrigerator pickles.
Multiple layers of chile flavor. Sweet chili sauce, red pepper flakes, and dried peppers create more complexity than a single source of heat.
Easy refrigerator method. No traditional canning process is required.
Minimal active preparation. You’ll need only about 15 minutes of prep and 5 minutes at the stove.
Versatile condiment. The finished cloves work with everything from Asian-inspired rice and noodle bowls to sandwiches, tacos, and grilled meats.
Ingredients You’ll Need
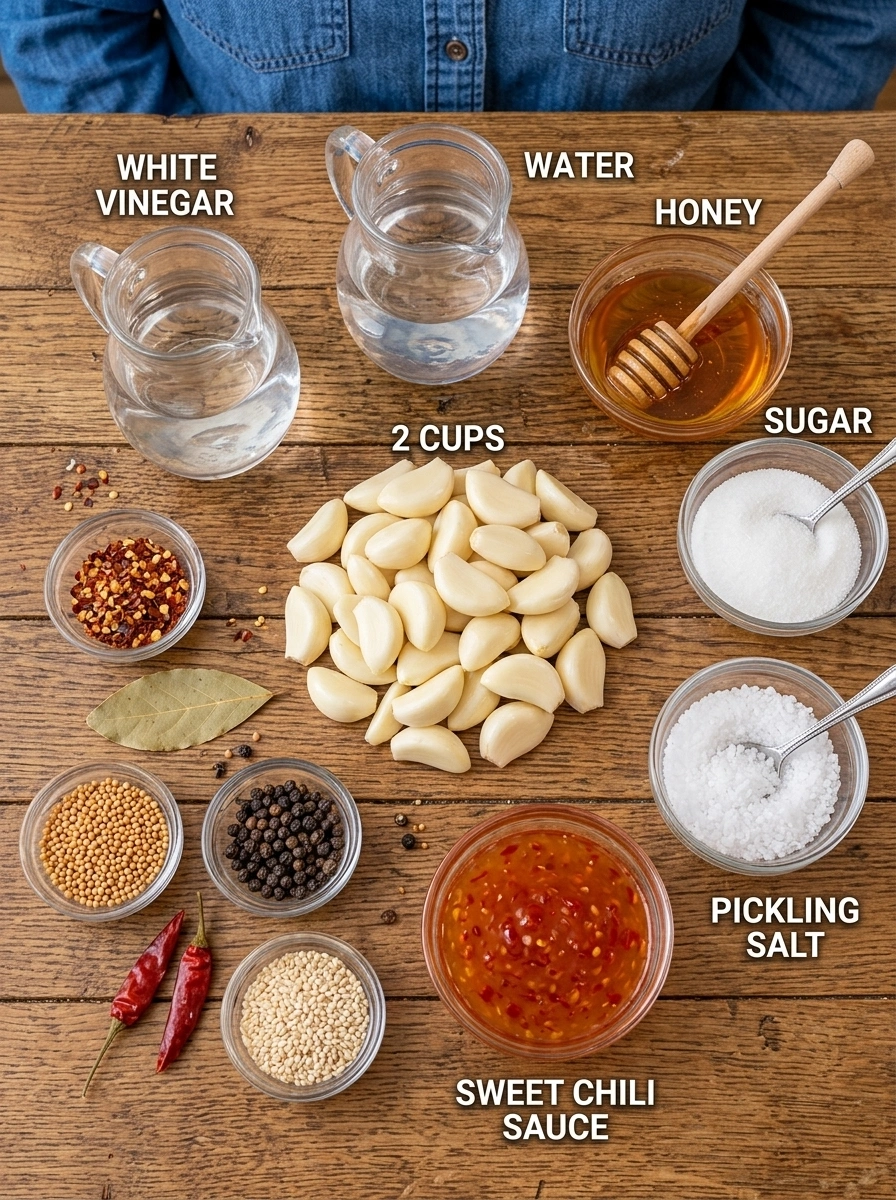
- 2 cups fresh garlic cloves, peeled — Choose fresh, firm cloves without soft, damaged, or spoiled areas.
- 1 cup white vinegar — Provides the sharp acidity and tangy foundation of the pickling brine.
- ¾ cup water — Dilutes the vinegar and balances its intensity.
- 2 tablespoons honey — Adds rich sweetness and helps round out the vinegar and chile heat.
- 1 tablespoon sugar — Provides additional sweetness and balances the acidity.
- 1 tablespoon pickling salt or kosher salt — Seasons the garlic and brine.
- 2 tablespoons sweet chili sauce — Adds sweetness, chile flavor, and a slightly richer consistency to the brine.
- 1 teaspoon red pepper flakes — Bring additional heat throughout the jar.
- ½ teaspoon black peppercorns — Add subtle peppery warmth.
- ½ teaspoon mustard seeds — Provide classic pickling-spice character.
- 2 small dried chili peppers — Slowly infuse the brine with additional chile flavor.
- ½ teaspoon sesame seeds — Add a mild nutty element that pairs especially well with sweet chili sauce.
- 1 bay leaf — Provides subtle aromatic depth.
How to Make Sweet Chili Pickled Garlic
Step 1: Prepare the Garlic
Peel enough fresh garlic cloves to measure approximately 2 cups.
Inspect them carefully and discard any cloves that are soft, moldy, damaged, or otherwise spoiled.
Place the peeled cloves into a clean glass jar.
Step 2: Add the Spices
Add the following ingredients to the jar with the garlic:
- Red pepper flakes
- Black peppercorns
- Mustard seeds
- Dried chili peppers
- Sesame seeds
- Bay leaf
Try to distribute the spices throughout the jar rather than leaving everything at the surface.
Step 3: Make the Sweet Chili Brine
In a saucepan, combine:
- 1 cup white vinegar
- ¾ cup water
- 2 tablespoons honey
- 1 tablespoon sugar
- 1 tablespoon pickling or kosher salt
- 2 tablespoons sweet chili sauce
Stir everything together.
Step 4: Warm the Brine
Place the saucepan over medium heat.
Stir while warming until the honey, sugar, and salt have completely dissolved.
There’s no need to aggressively boil the mixture. Gentle heating is enough to dissolve the ingredients and combine the brine.
Step 5: Pour Over the Garlic
Carefully pour the warm sweet-chili brine into the jar.
Make sure all of the garlic cloves are covered with liquid.
Choose a jar size that makes it easy to keep the cloves submerged.
Step 6: Cool
Allow the jar to cool before refrigerating.
Once cooled, close the jar securely with a clean lid and transfer it to the refrigerator.
Step 7: Pickle for 3–7 Days
Allow the garlic to pickle for at least 3 days before tasting.
For a more developed combination of sweetness, acidity, garlic, and chile, wait approximately 5–7 days.
The dried chilies and red pepper flakes will continue infusing the brine while the jar rests.
Step 8: Serve
Remove the desired amount using a clean fork or spoon.
Enjoy the cloves whole or slice, chop, or mince them before adding them to other dishes.
Recipe Notes
This is a refrigerator pickle: Keep the finished garlic refrigerated. This recipe isn’t intended or validated for shelf-stable canning.
Use fresh garlic: Firm, high-quality cloves will give you the best texture.
Keep the garlic submerged: Make sure the cloves remain covered by the acidic brine throughout refrigeration.
Sweet chili sauces vary: Some brands are significantly sweeter or hotter than others, so the exact finished flavor will depend on the sauce you choose.
Adjust the chile heat: Reduce the red pepper flakes for a milder version or choose hotter dried chilies for more heat.
Don’t aggressively boil the brine: Gentle heating is all that’s necessary to dissolve the honey, sugar, and salt.
Use clean utensils: Always remove cloves with a clean fork or spoon.
How to Serve Sweet Chili Pickled Garlic
The combination of sweetness, acidity, chile, and garlic makes these cloves incredibly versatile.
- Serve chilled as a punchy snack
- Slice over rice bowls
- Chop into noodle dishes
- Add to fried rice
- Serve with tacos
- Add to sandwiches and wraps
- Chop into burgers
- Toss into green salads
- Add to grain bowls
- Serve alongside grilled chicken
- Pair with grilled beef
- Chop over roasted vegetables
- Add to stir-fries after cooking
- Serve on snack boards
- Chop into savory cream cheese
- Mix into mayonnaise or aioli
- Add to dumpling or noodle dipping sauces
- Chop over avocado toast
Small amounts of the sweet-spicy brine can also add flavor to sauces or dressings while the batch remains properly refrigerated and in good condition.
Flavor Variations
Extra-Spicy Sweet Chili Garlic
Use hotter dried chilies or slightly increase the red pepper flakes for a more intense chile kick.
Mild Sweet Chili Garlic
Reduce the red pepper flakes and choose a mild sweet chili sauce.
Ginger Sweet Chili Garlic
Add several thin slices of fresh ginger to the jar for a bright, aromatic variation.
Sesame Sweet Chili Garlic
Increase the sesame character slightly and garnish the finished cloves with additional toasted sesame seeds immediately before serving.
Sweet Chili Jalapeño Garlic
Add thinly sliced fresh jalapeño to the jar for another layer of fresh pepper flavor.
Smoky Sweet Chili Garlic
Add a small pinch of smoked paprika to introduce subtle smokiness.
Tips for the Best Sweet Chili Pickled Garlic
Choose firm garlic cloves. Fresh garlic provides the best texture.
Use a clean glass jar and lid. Clean equipment is important when preparing refrigerator pickles.
Drain peeled garlic if you’ve rinsed it. Avoid unnecessarily adding extra water to the jar.
Use a sweet chili sauce you already enjoy. Its flavor will be noticeable in the finished brine.
Heat the brine gently. You’re trying to dissolve and combine the ingredients rather than reduce the liquid.
Keep every clove covered. An appropriately sized jar makes this easier.
Wait before adjusting the heat. The dried peppers and red pepper flakes continue releasing flavor during refrigeration.
Give the garlic time. Three days provides initial flavor, but 5–7 days allows everything to become more integrated.
Make-Ahead Instructions
Sweet Chili Pickled Garlic is naturally a make-ahead recipe because it needs several days for the flavors to develop.
Prepare the jar at least 3 days before you plan to serve it.
For more developed flavor, prepare it 5–7 days ahead.
Keep the jar continuously refrigerated during the pickling period and make sure the garlic stays submerged.
Storage Information
Keep Sweet Chili Pickled Garlic in a tightly covered glass jar in the refrigerator at 40°F (4°C) or below.
Your recipe specifies storage for up to one month. Because this is a homemade refrigerator-pickle formula rather than a laboratory-tested preservation recipe, I would not present one month as a validated food-safety limit. For extended or specifically validated storage, use a tested pickled-garlic recipe from a recognized food-preservation authority.
Keep the garlic submerged in the brine and always use a clean utensil when removing cloves.
Discard the contents if you notice mold, unexpected sliminess, an unusual unpleasant odor, or other signs of spoilage.
Most importantly, don’t store this recipe at room temperature or assume that the jars can be made shelf-stable by simply processing this exact formula in a water bath.
Frequently Asked Questions
How long does Sweet Chili Pickled Garlic need to pickle?
Give it at least 3 days in the refrigerator. For a more developed sweet, spicy, and tangy flavor, wait approximately 5–7 days.
Is Sweet Chili Pickled Garlic very spicy?
It’s intended to have noticeable heat, but the exact intensity depends on your sweet chili sauce and dried peppers. You can reduce the red pepper flakes for a milder version.
Can I make it sweeter?
The recipe already contains honey, sugar, and sweet chili sauce. If you prefer a sweeter condiment, choosing a sweeter commercial chili sauce is an easy way to shift the flavor without significantly changing the basic recipe.
Can I add fresh chilies?
Yes, for a refrigerator variation you can add sliced jalapeño or another fresh chile for additional pepper flavor. Keep the finished product refrigerated.
Can I use the pickled garlic in rice bowls?
Absolutely. Slice or chop the cloves and add them to rice bowls with vegetables, eggs, chicken, tofu, or other toppings.
Can I use the brine?
Small amounts can add sweet, tangy chile flavor to dressings, dipping sauces, mayonnaise, or marinades while the batch remains properly refrigerated and in good condition.
Why does the garlic need to remain submerged?
Keeping the cloves covered ensures consistent contact with the acidic pickling liquid.
Does this recipe need to stay refrigerated?
Yes. Treat this recipe strictly as a refrigerator pickle.
Can I store it in the pantry?
No. This particular recipe hasn’t been formulated as a validated shelf-stable canned product.
Can I water-bath can this recipe?
Don’t convert this refrigerator recipe directly into a canning recipe. Shelf-stable preservation requires a tested formulation with validated acidity, ingredient proportions, jar size, processing method, and processing time.
Recipe Card
Recipe: Sweet Chili Pickled Garlic Cloves 🧄🌶️🍯
Prep Time: 15 minutes
Cook Time: 5 minutes
Active Time: 20 minutes
Pickling Time: 3–7 days
Best Flavor: Approximately 5–7 days
Servings: Approximately 12
Calories: Approximately 35 per serving, depending on exact ingredients and the amount of brine consumed
Method: Refrigerator pickling
Main Ingredients: Garlic, white vinegar, honey, sweet chili sauce, red pepper flakes, dried chilies, mustard seeds, and sesame seeds
Storage: Keep continuously refrigerated at 40°F (4°C) or below with the garlic submerged
Shelf-Stable: No
This Sweet Chili Pickled Garlic combines the punch of fresh garlic with tangy vinegar, rich honey, sweet chili sauce, red pepper flakes, dried chilies, peppercorns, mustard seeds, and sesame for a refrigerator pickle that’s loaded with contrasting flavors.
After at least three days in the refrigerator, the cloves begin taking on the sweet and spicy character of the brine. Give them 5–7 days and those flavors become even more developed, creating delicious little bites that are simultaneously garlicky, sweet, tangy, and hot.
Enjoy them straight from the refrigerator or chop them into rice bowls, noodles, tacos, sandwiches, salads, grilled meats, and roasted vegetables whenever a dish needs an extra burst of sweet-chili garlic flavor.
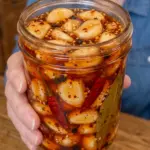
Sweet Chili Pickled Garlic Cloves
- Author: Sophie
Ingredients
- 2 cups fresh garlic cloves, peeled — Choose fresh, firm cloves without soft, damaged, or spoiled areas.
- 1 cup white vinegar — Provides the sharp acidity and tangy foundation of the pickling brine.
- ¾ cup water — Dilutes the vinegar and balances its intensity.
- 2 tablespoons honey — Adds rich sweetness and helps round out the vinegar and chile heat.
- 1 tablespoon sugar — Provides additional sweetness and balances the acidity.
- 1 tablespoon pickling salt or kosher salt — Seasons the garlic and brine.
- 2 tablespoons sweet chili sauce — Adds sweetness, chile flavor, and a slightly richer consistency to the brine.
- 1 teaspoon red pepper flakes — Bring additional heat throughout the jar.
- ½ teaspoon black peppercorns — Add subtle peppery warmth.
- ½ teaspoon mustard seeds — Provide classic pickling-spice character.
- 2 small dried chili peppers — Slowly infuse the brine with additional chile flavor.
- ½ teaspoon sesame seeds — Add a mild nutty element that pairs especially well with sweet chili sauce.
- 1 bay leaf — Provides subtle aromatic depth.
Instructions
Step 1: Prepare the Garlic
Peel enough fresh garlic cloves to measure approximately 2 cups.
Inspect them carefully and discard any cloves that are soft, moldy, damaged, or otherwise spoiled.
Place the peeled cloves into a clean glass jar.
Step 2: Add the Spices
Add the following ingredients to the jar with the garlic:
- Red pepper flakes
- Black peppercorns
- Mustard seeds
- Dried chili peppers
- Sesame seeds
- Bay leaf
Try to distribute the spices throughout the jar rather than leaving everything at the surface.
Step 3: Make the Sweet Chili Brine
In a saucepan, combine:
- 1 cup white vinegar
- ¾ cup water
- 2 tablespoons honey
- 1 tablespoon sugar
- 1 tablespoon pickling or kosher salt
- 2 tablespoons sweet chili sauce
Stir everything together.
Step 4: Warm the Brine
Place the saucepan over medium heat.
Stir while warming until the honey, sugar, and salt have completely dissolved.
There’s no need to aggressively boil the mixture. Gentle heating is enough to dissolve the ingredients and combine the brine.
Step 5: Pour Over the Garlic
Carefully pour the warm sweet-chili brine into the jar.
Make sure all of the garlic cloves are covered with liquid.
Choose a jar size that makes it easy to keep the cloves submerged.
Step 6: Cool
Allow the jar to cool before refrigerating.
Once cooled, close the jar securely with a clean lid and transfer it to the refrigerator.
Step 7: Pickle for 3–7 Days
Allow the garlic to pickle for at least 3 days before tasting.
For a more developed combination of sweetness, acidity, garlic, and chile, wait approximately 5–7 days.
The dried chilies and red pepper flakes will continue infusing the brine while the jar rests.
Step 8: Serve
Remove the desired amount using a clean fork or spoon.
Enjoy the cloves whole or slice, chop, or mince them before adding them to other dishes.