
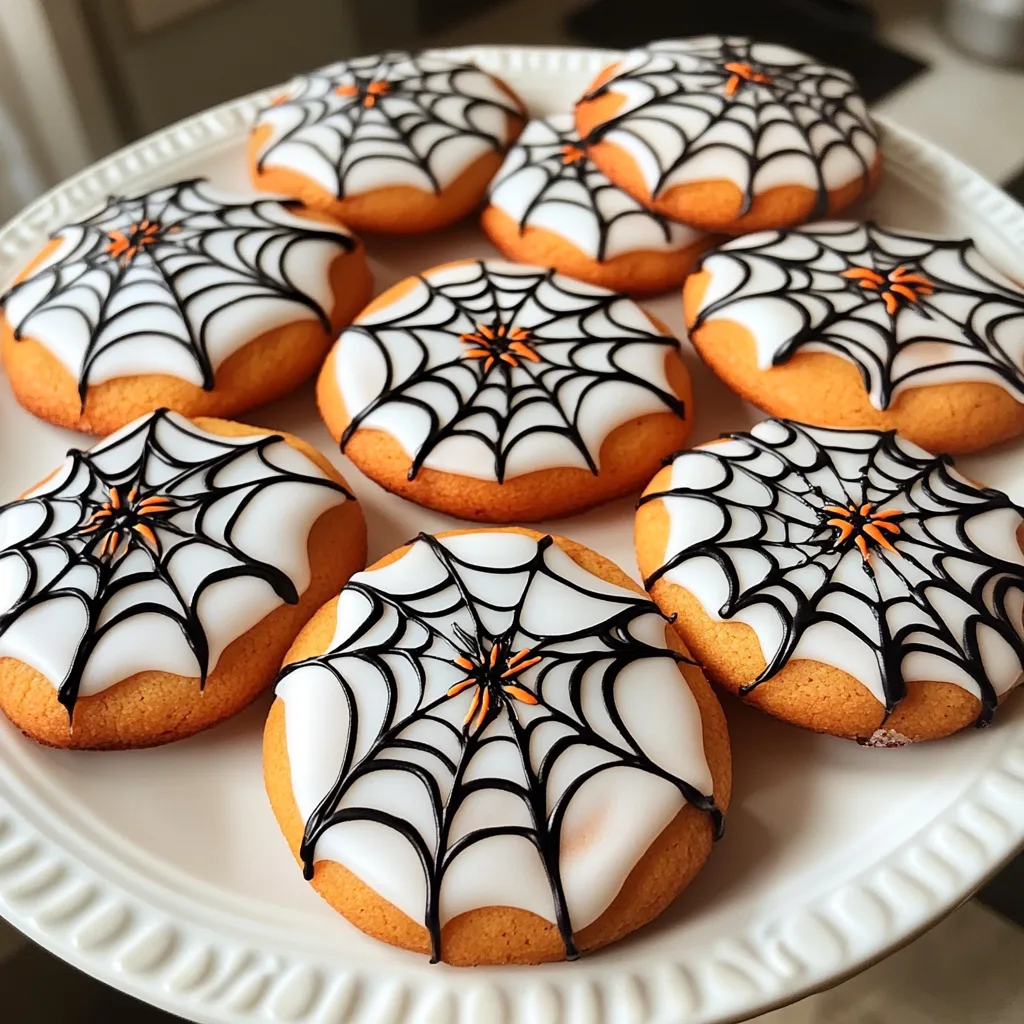
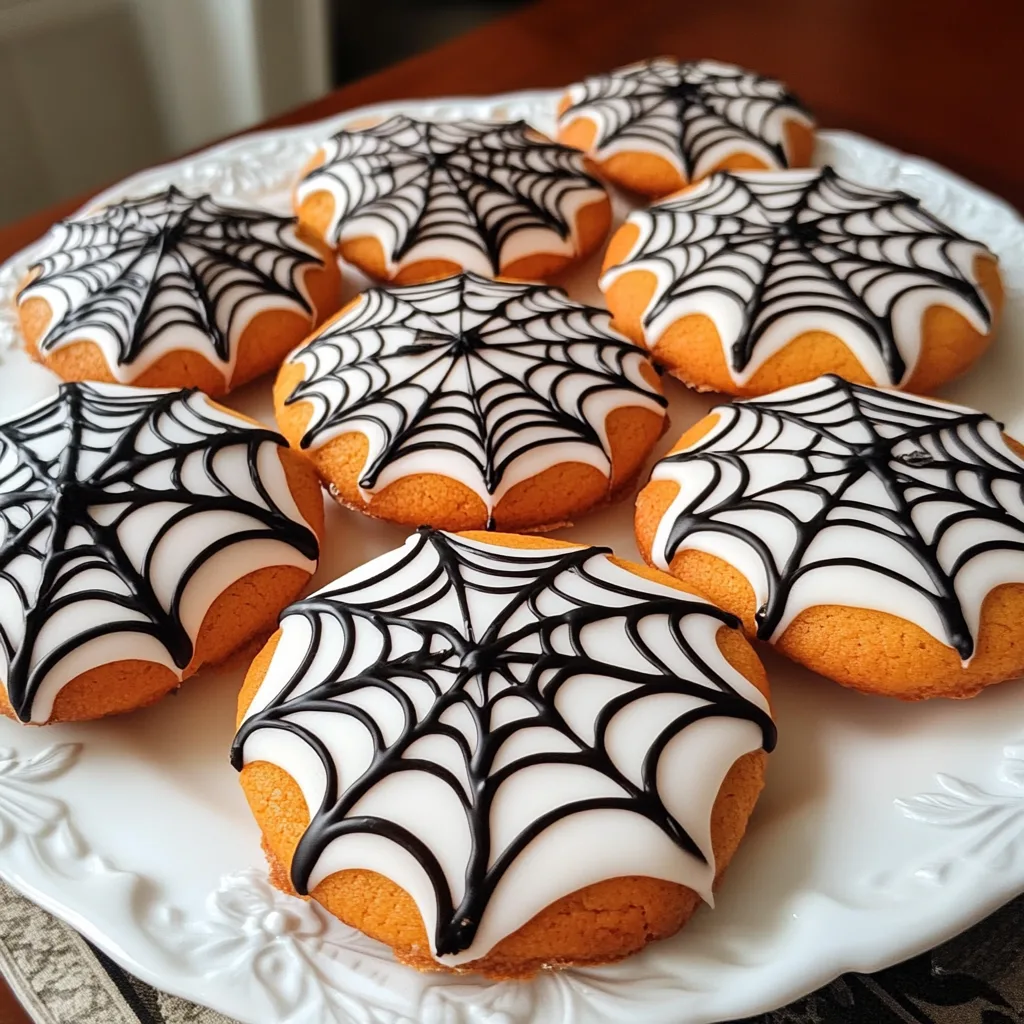
Introduction to Spooky Spider Web Cookies
As the leaves turn and the air gets crisp, it’s time to embrace the magic of Halloween! I can’t think of a better way to celebrate than with these delightful Spooky Spider Web Cookies. They’re not just fun to make; they’re a treat that will impress your family and friends. Whether you’re a busy mom juggling work and kids or a professional looking to add a festive touch to your gatherings, this recipe is a quick solution. Plus, who can resist a cookie that looks like it came straight from a haunted house?
Why You’ll Love This Spooky Spider Web Cookies
These Spooky Spider Web Cookies are a breeze to whip up, making them perfect for busy days. With just a handful of ingredients, you can create a delicious treat that’s sure to delight everyone. The combination of rich chocolate and sweet white chocolate drizzles not only tastes amazing but also adds a fun, festive flair. Plus, they’re a fantastic way to get the kids involved in the kitchen!
Ingredients for Spooky Spider Web Cookies
Gathering the right ingredients is the first step to creating these delightful Spooky Spider Web Cookies. Here’s what you’ll need:
- Unsalted butter: This is the base of your cookies, providing richness and flavor. Make sure it’s softened for easy mixing.
- Granulated sugar: This sweetener helps create a lovely texture and sweetness in your cookies.
- Brown sugar: Packed with moisture, brown sugar adds a hint of caramel flavor and keeps your cookies chewy.
- Large eggs: Eggs bind the ingredients together and contribute to the cookies’ structure and moisture.
- Vanilla extract: A splash of vanilla enhances the overall flavor, making your cookies taste even more delicious.
- All-purpose flour: The main ingredient that gives your cookies their shape and texture. It’s essential for that classic cookie feel.
- Baking soda: This leavening agent helps your cookies rise and become fluffy, creating that perfect bite.
- Salt: Just a pinch enhances the sweetness and balances the flavors in your cookies.
- Chocolate chips: Choose your favorite type—milk, dark, or semi-sweet—for a rich chocolatey experience.
- White chocolate chips: These are key for creating the spider web design, adding a sweet contrast to the chocolate chips.
For those looking to mix things up, consider using dark chocolate chips for a more intense flavor. And don’t forget, you can find the exact measurements for each ingredient at the bottom of the article, ready for printing!
How to Make Spooky Spider Web Cookies
Step 1: Preheat the Oven
Preheating your oven to 350°F (175°C) is crucial for baking cookies. This step ensures that your Spooky Spider Web Cookies bake evenly and achieve that perfect golden-brown edge. If you skip this, your cookies might spread too much or not rise properly, leading to a less-than-ideal texture.
Step 2: Cream the Butter and Sugars
In a large bowl, cream together the softened unsalted butter, granulated sugar, and brown sugar until the mixture is light and fluffy. This process is essential because it incorporates air into the dough, giving your cookies a soft and chewy texture. Aim for a smooth consistency, which usually takes about 3-5 minutes of mixing. Trust me, this step makes all the difference!
Step 3: Add Eggs and Vanilla
Next, add the large eggs and vanilla extract to the creamed mixture. These ingredients not only enhance the flavor but also contribute to the moisture and richness of your cookies. Mix until everything is well combined, creating a luscious batter that smells heavenly!
Step 4: Combine Dry Ingredients
In a separate bowl, whisk together the all-purpose flour, baking soda, and salt. The flour provides structure, while the baking soda acts as a leavening agent, helping your cookies rise. The salt balances the sweetness, ensuring a well-rounded flavor. This step is key to achieving that perfect cookie texture!
Step 5: Mix Wet and Dry Ingredients
Gradually add the dry ingredients to the wet mixture, stirring gently until just combined. Be careful not to overwork the dough, as this can lead to tough cookies. You want a soft, slightly sticky dough that holds together beautifully. A few flour streaks are okay; it’s better to under-mix than over-mix!
Step 6: Fold in Chocolate Chips
Now it’s time to fold in your chocolate chips. Whether you choose milk, dark, or semi-sweet, these little morsels will melt into gooey pockets of chocolate bliss. Gently mix them into the dough, ensuring they’re evenly distributed for a delightful chocolatey experience in every bite!
Step 7: Shape and Bake the Cookies
Using a spoon or cookie scoop, drop spoonfuls of dough onto a baking sheet lined with parchment paper. Make sure to leave enough space between each cookie, as they will spread while baking. Bake for 10-12 minutes, or until the edges are golden brown. Let them cool on the baking sheet for a few minutes before transferring them to a wire rack to cool completely.
Step 8: Create the Spider Web Design
Once your cookies are cool, melt the white chocolate chips in a microwave-safe bowl. Drizzle the melted chocolate over the cookies in a spider web pattern. You can use a fork or a piping bag for more control. For an extra spooky touch, add candy spiders on top before the chocolate sets!
Tips for Success
- Always use softened butter for easy creaming and a better texture.
- Don’t skip the preheating step; it’s vital for even baking.
- For a fun twist, try adding nuts or dried fruit to the dough.
- Keep an eye on the cookies while baking; they can go from perfect to overdone quickly.
- Let the cookies cool completely before decorating for the best results.
Equipment Needed
- Baking sheet: A standard baking sheet works well, but you can use a stoneware pan for even heat distribution.
- Parchment paper: This helps prevent sticking; aluminum foil can be a substitute in a pinch.
- Mixing bowls: Use any size, but a large bowl is ideal for creaming ingredients.
- Cookie scoop: A cookie scoop ensures uniform sizes; a tablespoon works too!
- Microwave-safe bowl: For melting chocolate; a small saucepan can also do the trick.
Variations
- Gluten-Free: Substitute all-purpose flour with a gluten-free flour blend for a delicious gluten-free version of these Spooky Spider Web Cookies.
- Nutty Delight: Add chopped nuts like walnuts or pecans for a crunchy texture and added flavor.
- Spiced Up: Incorporate a teaspoon of cinnamon or pumpkin spice into the dry ingredients for a warm, autumnal flavor.
- Vegan Option: Replace butter with coconut oil and use flax eggs (1 tablespoon ground flaxseed mixed with 2.5 tablespoons water) instead of eggs for a vegan-friendly treat.
- Colorful Webs: Use colored candy melts instead of white chocolate for a vibrant spider web design that’s sure to catch the eye!
Serving Suggestions
- Pair these Spooky Spider Web Cookies with a warm cup of apple cider for a cozy fall treat.
- Serve alongside a platter of fresh fruit for a colorful and healthy contrast.
- For a festive touch, arrange cookies on a Halloween-themed platter or cake stand.
- Consider adding a scoop of vanilla ice cream on the side for an indulgent dessert.
FAQs about Spooky Spider Web Cookies
Can I make Spooky Spider Web Cookies ahead of time?
Absolutely! You can prepare the cookie dough in advance and refrigerate it for up to 3 days. Just scoop and bake when you’re ready. This makes it a great option for busy days leading up to Halloween!
How should I store these cookies?
To keep your Spooky Spider Web Cookies fresh, store them in an airtight container at room temperature. They’ll stay delicious for about a week. If you want to keep them longer, consider freezing them!
Can I use different types of chocolate chips?
Definitely! Feel free to mix and match chocolate chips. Dark chocolate chips can add a rich flavor, while white chocolate chips create a beautiful contrast in the spider web design. The choice is yours!
What if I don’t have white chocolate chips?
No worries! You can use colored candy melts or even regular chocolate chips for the spider web design. Just melt them down and drizzle away. It’ll still look festive and delicious!
Are these cookies suitable for kids?
Yes! These Spooky Spider Web Cookies are perfect for kids. They’re fun to make and decorate, plus they’re delicious. Just be sure to supervise them while melting chocolate and using any sharp tools!
Final Thoughts
Making Spooky Spider Web Cookies is more than just baking; it’s about creating memories with your loved ones. The joy of mixing, shaping, and decorating these delightful treats brings a sense of togetherness that’s perfect for the Halloween season. As you watch the smiles on your family’s faces when they see these spooky yet scrumptious cookies, you’ll realize that the effort was worth it. So, gather your ingredients, invite the kids into the kitchen, and let the fun begin! These cookies are sure to become a cherished tradition in your home, adding sweetness to your Halloween celebrations.
Print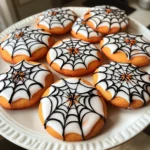
Spooky Spider Web Cookies: Delightful Treats for Halloween!
- Total Time: 32 minutes
- Yield: 24 cookies 1x
- Diet: Vegetarian
Description
Spooky Spider Web Cookies are delightful Halloween treats that are both fun to make and delicious to eat. These cookies are decorated to resemble spider webs, making them a perfect addition to any Halloween celebration.
Ingredients
- 1 cup unsalted butter, softened
- 1 cup granulated sugar
- 1 cup brown sugar, packed
- 2 large eggs
- 1 teaspoon vanilla extract
- 3 cups all-purpose flour
- 1 teaspoon baking soda
- 1/2 teaspoon salt
- 1 cup chocolate chips
- 1 cup white chocolate chips
Instructions
- Preheat the oven to 350°F (175°C).
- In a large bowl, cream together the softened butter, granulated sugar, and brown sugar until smooth.
- Add the eggs and vanilla extract, mixing until well combined.
- In a separate bowl, whisk together the flour, baking soda, and salt.
- Gradually add the dry ingredients to the wet ingredients, mixing until just combined.
- Fold in the chocolate chips.
- Drop spoonfuls of dough onto a baking sheet lined with parchment paper.
- Bake for 10-12 minutes or until the edges are golden brown.
- Let the cookies cool on the baking sheet for a few minutes before transferring them to a wire rack.
- Once cooled, melt the white chocolate chips and drizzle them over the cookies to create a spider web effect.
Notes
- For a more intense chocolate flavor, use dark chocolate chips.
- Store cookies in an airtight container to keep them fresh.
- Feel free to add candy spiders on top for an extra spooky touch!
- Prep Time: 20 minutes
- Cook Time: 12 minutes
- Category: Dessert
- Method: Baking
- Cuisine: American
Nutrition
- Serving Size: 1 cookie
- Calories: 150
- Sugar: 10g
- Sodium: 100mg
- Fat: 7g
- Saturated Fat: 4g
- Unsaturated Fat: 2g
- Trans Fat: 0g
- Carbohydrates: 20g
- Fiber: 1g
- Protein: 2g
- Cholesterol: 20mg
Keywords: Spooky Spider Web Cookies, Halloween cookies, festive treats, spider web cookies


