
Introduction to Red Velvet Trifle Cups
As a busy mom, I know how precious time can be, especially when it comes to dessert. That’s why I absolutely adore these Red Velvet Trifle Cups! They’re not just a feast for the eyes; they’re a quick solution for those moments when you want to impress your loved ones without spending hours in the kitchen. With layers of rich red velvet cake, creamy frosting, and fresh berries, this delightful dessert treat is sure to bring smiles all around. Trust me, these trifle cups will become a go-to recipe in your home!
Why You’ll Love This Red Velvet Trifle Cups
These Red Velvet Trifle Cups are a dream come true for busy lives! They’re incredibly easy to whip up, making them perfect for last-minute gatherings or family celebrations. The combination of rich cake, fluffy frosting, and juicy berries creates a taste explosion that will leave everyone asking for seconds. Plus, they look stunning, so you can impress your guests without breaking a sweat. What’s not to love?
Ingredients for Red Velvet Trifle Cups
Gathering the right ingredients is the first step to creating these delightful Red Velvet Trifle Cups. Here’s what you’ll need:
- Red velvet cake mix: This is the star of the show! It provides that signature color and flavor.
- Eggs: Essential for binding the cake together, giving it a fluffy texture.
- Vegetable oil: This adds moisture to the cake, ensuring it stays soft and delicious.
- Water: Helps to activate the cake mix and keep it light.
- Cream cheese frosting: A rich and tangy layer that complements the sweetness of the cake perfectly.
- Whipped cream: Light and airy, it adds a lovely texture and balances the richness of the frosting.
- Fresh strawberries: These juicy gems add a burst of flavor and a pop of color.
- Fresh blueberries: Sweet and slightly tart, they enhance the overall taste and look of the trifle.
For those who want to get creative, consider adding a splash of vanilla extract to the frosting for an extra layer of flavor. You can also swap out the berries for your favorite fruits, like raspberries or bananas, depending on what you have on hand. The exact quantities for each ingredient are listed at the bottom of the article for easy printing!
How to Make Red Velvet Trifle Cups
Now that you have all your ingredients ready, let’s dive into the fun part—making these Red Velvet Trifle Cups! Follow these simple steps, and you’ll have a stunning dessert that’s sure to impress.
Step 1: Preheat and Prepare
First things first, preheat your oven to 350°F (175°C). This ensures your cake bakes evenly. While the oven warms up, grab your box of red velvet cake mix. Follow the package instructions to prepare the mix, adding the eggs, vegetable oil, and water. Mix until smooth, and you’re ready to bake!
Step 2: Bake the Cake
Pour the prepared cake batter into a greased baking pan. Bake it in the preheated oven for about 30 minutes or until a toothpick inserted in the center comes out clean. Once baked, let the cake cool completely in the pan. This step is crucial! If you skip it, the cake will crumble too much when you try to layer it.
Step 3: Crumble the Cake
Once the cake is cool, it’s time to crumble it. Use your hands or a fork to break the cake into small, bite-sized pieces. Aim for a texture that’s not too fine; you want some chunks for that delightful layered look. Set the crumbled cake aside while you prepare for the layering.
Step 4: Layering the Trifle
Grab your trifle cups or any clear glass cups you have on hand. Start by adding a layer of crumbled red velvet cake at the bottom. Next, spoon in a layer of cream cheese frosting, followed by a generous dollop of whipped cream. This combination creates a heavenly base for your trifle!
Step 5: Add Fresh Berries
Now, it’s time to add some color and flavor! Sprinkle a layer of fresh strawberries and blueberries over the whipped cream. The berries not only taste amazing but also add a beautiful contrast to the rich red velvet. Feel free to get creative with the arrangement!
Step 6: Repeat Layers
Continue the layering process by repeating the steps: crumbled cake, frosting, whipped cream, and berries. Keep going until your cups are filled to the brim. Don’t be shy—layering is where the magic happens! Just make sure to leave a little room at the top for garnishing.
Step 7: Garnish and Chill
To finish off your trifle cups, top them with a final swirl of whipped cream and a few extra berries for garnish. This adds a lovely touch and makes them look extra special. Now, pop them in the refrigerator for at least an hour. Chilling allows the flavors to meld beautifully, making each bite even more delicious!
Tips for Success
- Make sure your cake is completely cool before crumbling; this prevents a mushy mess.
- Use clear cups to showcase the beautiful layers of your Red Velvet Trifle Cups.
- For a fun twist, try adding a layer of chocolate pudding between the cake and frosting.
- Don’t rush the chilling time; it enhances the flavors and makes serving easier.
- Experiment with different fruits to keep things exciting!
Equipment Needed
- Baking pan: A 9×13 inch pan works well, but any similar size will do.
- Mixing bowl: A large bowl for combining your cake ingredients.
- Whisk or electric mixer: For mixing the cake batter smoothly.
- Trifle cups or clear glasses: Any clear container will showcase your layers beautifully.
- Spatula: Perfect for layering and spreading frosting evenly.
Variations
- Chocolate Red Velvet: Swap the red velvet cake mix for chocolate cake mix for a rich twist.
- Gluten-Free Option: Use a gluten-free red velvet cake mix to accommodate dietary needs.
- Fruit Medley: Mix in other fruits like raspberries or peaches for a seasonal touch.
- Nutty Crunch: Add crushed nuts like pecans or walnuts between layers for added texture.
- Vegan Version: Substitute eggs with flaxseed meal and use vegan frosting and whipped cream.
Serving Suggestions
- Pair your Red Velvet Trifle Cups with a steaming cup of coffee or a refreshing iced tea for a delightful afternoon treat.
- For a festive touch, serve them on a decorative platter with fresh mint leaves for garnish.
- Consider adding a scoop of vanilla ice cream on the side for an extra indulgent experience.
FAQs about Red Velvet Trifle Cups
As you embark on your journey to create these delightful Red Velvet Trifle Cups, you might have a few questions. Here are some common queries I’ve encountered, along with helpful answers!
Can I make Red Velvet Trifle Cups in advance?
Absolutely! These trifle cups can be made a day in advance. Just layer them up, cover, and refrigerate. This actually enhances the flavors!
What can I substitute for cream cheese frosting?
If cream cheese frosting isn’t your thing, you can use whipped cream or chocolate frosting instead. Both options will still taste amazing!
How do I store leftover trifle cups?
Store any leftovers in an airtight container in the refrigerator. They should stay fresh for up to three days, but trust me, they won’t last that long!
Can I use a different cake flavor?
Of course! While red velvet is classic, feel free to experiment with chocolate or vanilla cake mixes for a fun twist on this dessert.
What fruits can I use besides strawberries and blueberries?
You can mix it up with raspberries, blackberries, or even diced peaches. The key is to choose fruits that complement the rich flavors of the cake!
Final Thoughts
Creating these Red Velvet Trifle Cups is more than just making a dessert; it’s about bringing joy to your table. Each layer tells a story, from the rich red velvet cake to the fresh berries that burst with flavor. I love how this recipe allows me to connect with my family and friends, sharing laughter and sweet moments. Plus, the ease of preparation means I can whip them up even on the busiest days. So, whether it’s a special occasion or just a Tuesday, these trifle cups are sure to brighten your day and delight your taste buds!
Print
Red Velvet Trifle Cups: A Delightful Dessert Treat!
- Total Time: 50 minutes
- Yield: 6 servings 1x
- Diet: Vegetarian
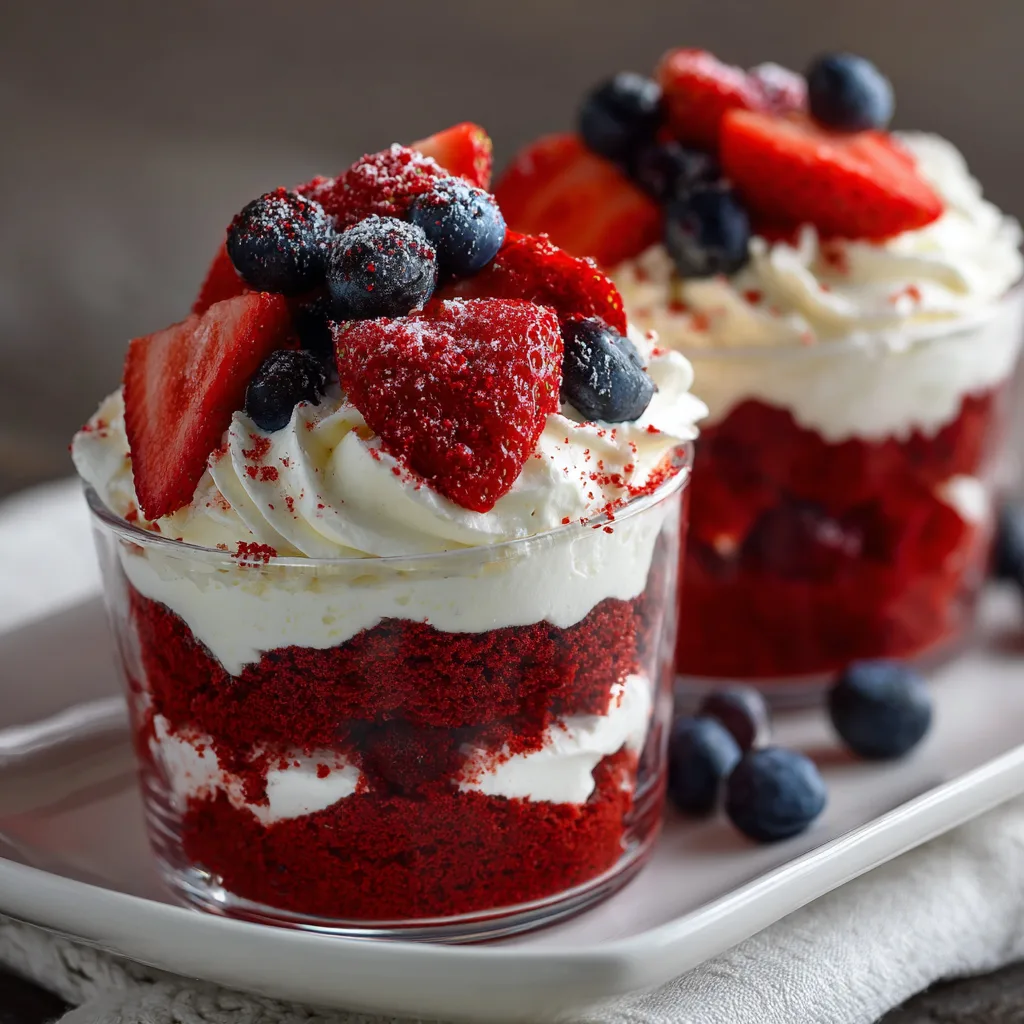
Description
Red Velvet Trifle Cups are a delightful dessert treat that combines layers of rich red velvet cake, creamy frosting, and fresh berries, creating a visually stunning and delicious dessert.
Ingredients
- 1 box red velvet cake mix
- 3 eggs
- 1 cup vegetable oil
- 1 cup water
- 1 cup cream cheese frosting
- 2 cups whipped cream
- 1 cup fresh strawberries, sliced
- 1 cup fresh blueberries
Instructions
- Preheat the oven and prepare the red velvet cake mix according to package instructions.
- Bake the cake and let it cool completely.
- Once cooled, crumble the cake into small pieces.
- In a trifle cup, layer crumbled red velvet cake, cream cheese frosting, and whipped cream.
- Add a layer of fresh strawberries and blueberries.
- Repeat the layers until the cup is filled.
- Top with additional whipped cream and berries for garnish.
- Chill in the refrigerator for at least 1 hour before serving.
Notes
- For a richer flavor, consider adding a splash of vanilla extract to the frosting.
- Feel free to substitute the berries with your favorite fruits.
- These trifle cups can be made a day in advance for convenience.
- Prep Time: 20 minutes
- Cook Time: 30 minutes
- Category: Dessert
- Method: Baking and Layering
- Cuisine: American
Nutrition
- Serving Size: 1 cup
- Calories: 350
- Sugar: 25g
- Sodium: 200mg
- Fat: 18g
- Saturated Fat: 10g
- Unsaturated Fat: 5g
- Trans Fat: 0g
- Carbohydrates: 45g
- Fiber: 2g
- Protein: 4g
- Cholesterol: 50mg
Keywords: Red Velvet Trifle Cups, dessert, trifle, red velvet cake, easy dessert


