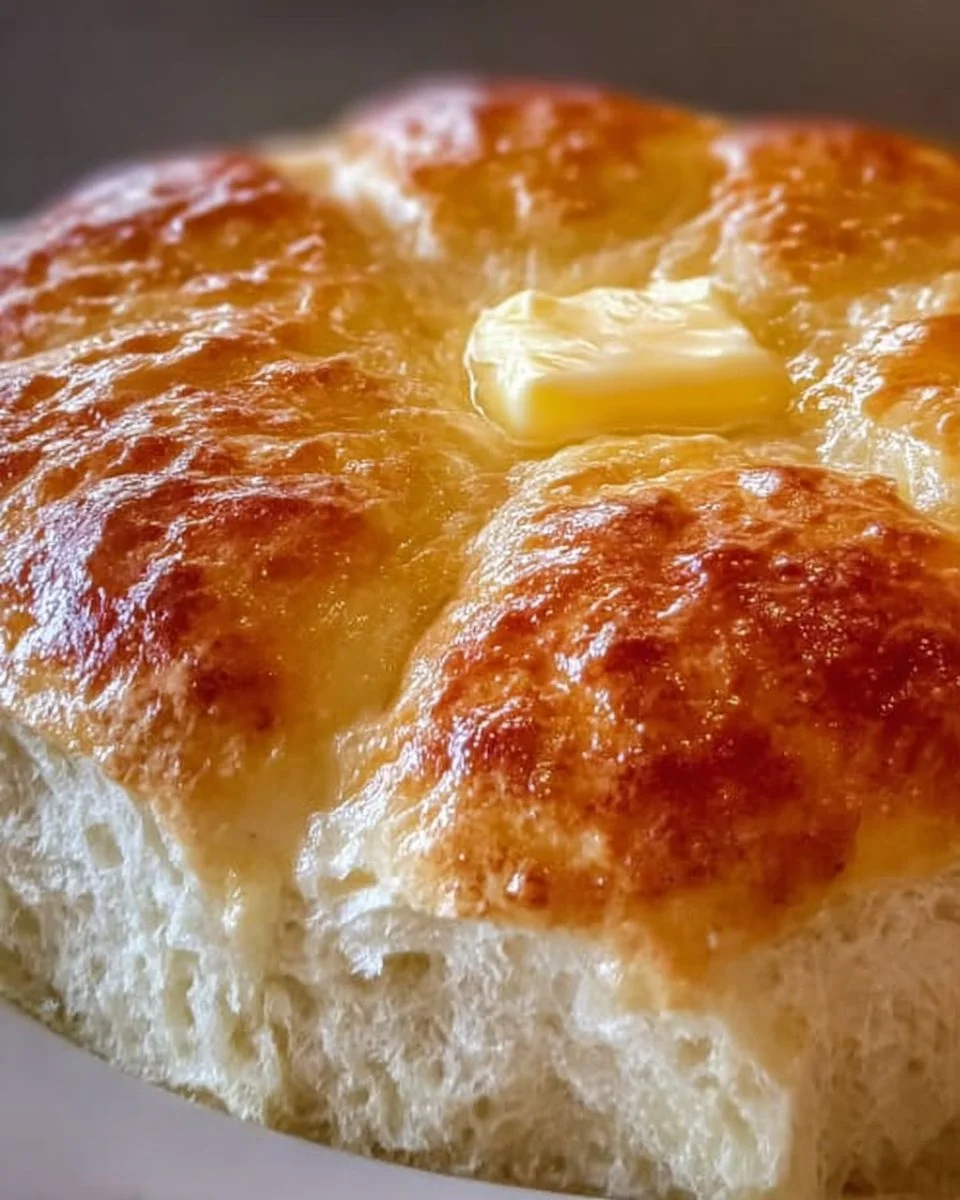
There’s something utterly delightful about the aroma of freshly cooked bread wafting through your kitchen. Can you imagine the soft, warm loaf, lightly crusted and inviting? That is the experience waiting for you with no-oven stovetop bread—a comforting, warm creation that doesn’t require the intricate rituals of traditional baking. The moment you pull these golden, fluffy rounds from the skillet, they beckon to be slathered with creamy butter or dipped into soup. Each bite reveals a moist, tender crumb with just the right amount of chew, leaving you craving more. Let this be the heart of your next family meal or cozy gathering.
As you stand by the stove, the gentle crackle of bread cooking adds a rhythmic melody to the ambience of your kitchen. Picture the golden crust forming, the inviting aroma enveloping you, making your mouth water. In mere minutes, you transform simple ingredients into a treat that brings people together—from the excitement of breaking open a warm loaf to the shared laughter around the table. It’s the kind of bread that bridges the gap between generations, each warm piece a testimony to the love baked into family recipes and cozy moments.
Why You’ll Love This No-Oven Stovetop Bread
This no-oven stovetop bread comes to you with an abundance of benefits. First, its simplicity will win your heart. If you’ve ever felt intimidated by the prospect of baking bread, this method unfolds like a friendly whisper, guiding you through every step without fuss. The taste? Imagine clouds of flavor gently melting in your mouth, a subtle sweetness balanced perfectly by a hint of salt. You can enjoy it straight off the skillet or elevate its flavor by pairing it with spreads, dips, or even savory soups.
Whether you plan a casual brunch, a cozy family dinner, or snack time with friends, this stovetop bread fits the occasion beautifully. Serve it alongside your favorite dishes, or use it as the star of your next sandwich. What sets it apart is its effortlessly comforting nature, embodying all the warmth of homemade bread without the need for an oven.
Preparation Phase & Tools to Use
To craft this incredible bread, a few simple tools come into play.
- Large Mixing Bowl: A spacious bowl prevents flour spillage while allowing enough room for your ingredients to mix harmoniously.
- Whisk: This is your best friend for combining dry ingredients seamlessly, ensuring even distribution and a smooth, cohesive dough.
- Rolling Pin: Necessary for shaping the dough, a gentle touch with this essential tool will ensure uniform thickness for even cooking.
- Non-Stick Skillet: Choose a good-quality skillet to prevent sticking and ensure that your bread gets that beautiful golden brown color without the hassle.
In preparation, keep your ingredients at room temperature for the best mixing experience. This small touch allows for a smoother dough that rises beautifully. Measure your flour carefully by spooning it into your measuring cup and leveling it off with a knife for accuracy.
Ingredients for No-Oven Stovetop Bread
Gather the following key ingredients, each playing a crucial role in creating your delightful bread:
- 2 cups all-purpose flour: The backbone of your bread, all-purpose flour provides the foundation for the dough, lending it structure and softness. You can substitute with whole wheat flour for a nuttier flavor, but adjust the liquid slightly as whole wheat absorbs more moisture.
- 1 tablespoon baking powder: This is your leavening agent, responsible for creating that airy texture that makes each bite heavenly.
- 1 teaspoon salt: This simple ingredient enhances the overall flavor, balancing the sweetness and adding depth.
- 1 tablespoon sugar: Just a dash of sweetness brings out the other flavors, harmonizing beautifully with the bread’s rich, buttery finish.
- 1 cup milk: This adds moisture to the dough, creating a tender crumb. Substitutes like almond or oat milk work well too, for a plant-based option.
- 2 tablespoons butter, melted: Butter not only enriches the flavor but also contributes to the soft texture of the bread. You can use olive oil if you prefer a dairy-free alternative.
How to Make No-Oven Stovetop Bread
Let’s embark on this delightful journey to make no-oven stovetop bread:
- Whisk together dry ingredients: In a large mixing bowl, combine the all-purpose flour, baking powder, salt, and sugar. This ensures an even distribution of flavors.
- Add wet ingredients: Gradually pour in the milk and melted butter, stirring gently until a soft dough begins to form. Feel free to use a wooden spoon or your hands for a more engaging experience.
- Knead the dough: Transfer the dough onto a floured surface. Knead gently for about 2-3 minutes, until the dough is smooth and elastic. Don’t over-knead; you want a tender result!
- Shape the bread: Divide the dough into smaller balls, about the size of a golf ball. Flatten each ball slightly for even cooking.
- Cook in skillets: Heat a non-stick skillet over medium heat. Place the flattened dough pieces on the skillet and cook for about 5-6 minutes on each side until golden brown and cooked through. Enjoy the sizzle and aroma filling your kitchen!
- Serve warm: Once they’ve cooked, immediately enjoy them warm with butter and honey or use them as delightful sandwich wraps.
Chef’s Notes & Helpful Tips
- Make-ahead tips: Prepare the dough ahead of time and refrigerate it for up to 24 hours. When ready, bring it to room temperature before cooking for the best texture.
- Cooking alternatives: If you desire a different method, use an air fryer or an oven—though the stovetop version keeps it simple and quick.
- Customization ideas: Feel free to add herbs like rosemary or thyme, or cheese chunks to the dough for an exciting flavor twist. Dried fruits or nuts can also elevate your bread to new heights!
Common Mistakes to Avoid
Every new recipe comes with its potential pitfalls. Here are common mistakes to keep in mind:
- Over-kneading the dough: This can lead to tough bread instead of the desired tender texture. Keep it gentle for the best results.
- Not using enough flour when rolling: This could make the dough stick. Always flour your surface generously to avoid a sticky situation.
- Cooking at too high a heat: If the heat is too high, the outside will burn while the inside remains raw. Medium heat ensures even cooking.
- Skipping the resting phase: Letting the dough rest briefly allows it to relax, making it easier to shape without shrinking back.
What to Serve With No-Oven Stovetop Bread
Considering its versatility, this stovetop bread pairs delightfully with numerous dishes:
- Soups: Enjoy with a warm bowl of tomato soup, where each bite of bread soaks up the rich, velvety broth.
- Salads: Pair with a light greens salad, offering a fresh contrast to each soft bite.
- Spreads: Slather on herbed butter, creamy cheese spreads, or even your favorite jam for a delightful breakfast experience.
- Curries: Use the bread to scoop up hearty curries, perfectly balancing flavors and providing that unmistakable comfort.
- Charcuterie Boards: Slice into rounds and serve on a charcuterie board for your next gathering, combining flavors with meats and cheeses.
- Breakfast Sandwiches: Use it as a base for breakfast sandwiches, adding layers of eggs, cheese, and bacon or avocado.
Storage & Reheating Instructions
This bread is best enjoyed fresh, but if you have leftovers, store them in an airtight container at room temperature for up to two days. For longer storage, place it in the fridge for up to a week, or freeze individual pieces for up to a month. When ready to enjoy, reheat in a skillet over low heat for a few minutes or wrap in aluminum foil and warm them in an oven preheated to 350°F until warmed through. The goal is to rejuvenate that delicious softness!
Estimated Nutrition Information
Approximate values per serving (based on 8 servings):
- Calories: 130
- Fat: 4g
- Carbohydrates: 21g
- Protein: 3g
- Fiber: 1g
(Disclaimer: Nutritional values may vary based on specific ingredients and serving sizes.)
FAQs
Can I make this bread gluten-free?
Yes, substitute the all-purpose flour with a gluten-free all-purpose blend. Ensure that it contains xanthan gum, which helps mimic the elasticity of gluten.
Can I double this recipe?
Absolutely! Just ensure you have a large enough skillet or cook in batches to avoid overcrowding.
How can I enhance the flavor of the bread?
Adding herbs or spices during the mixing process elevates the taste wonderfully. Fresh garlic, basil, or cheese are delightful choices!
What is the best way to freeze the bread?
Wrap each piece in plastic wrap and then place them in a freezer-safe bag. This prevents freezer burn and maintains freshness.
Can I use yogurt instead of milk?
Yes! Yogurt adds richness and moisture, but to maintain the right consistency, consider thinning it with a bit of water or milk.
Conclusion
As you savor the warm, freshly cooked slices of this no-oven stovetop bread, take a moment to appreciate the simplicity of the experience—simple ingredients transformed into pure joy. Whether enjoyed alone or alongside your favorite meals, this bread brings a sense of comfort, likely making it a new family favorite. So, roll up your sleeves, gather your ingredients, and let the delicious aroma of stovetop bread fill your kitchen, inviting everyone to the table for a delicious morsel they won’t soon forget. Happy cooking!
Print
No-Oven Stovetop Bread
- Total Time: 22 minutes
- Yield: 8 servings 1x
- Diet: Vegetarian
Description
A simple yet delightful stovetop bread that is soft, fluffy, and perfect for any meal.
Ingredients
- 2 cups all-purpose flour
- 1 tablespoon baking powder
- 1 teaspoon salt
- 1 tablespoon sugar
- 1 cup milk
- 2 tablespoons butter, melted
Instructions
- Whisk together dry ingredients: In a large mixing bowl, combine flour, baking powder, salt, and sugar.
- Add wet ingredients: Gradually pour in the milk and melted butter, stirring gently until a soft dough forms.
- Knead the dough: Transfer to a floured surface and knead gently for 2-3 minutes until smooth.
- Shape the bread: Divide the dough into golf ball-sized pieces and flatten slightly.
- Cook in skillets: Heat a non-stick skillet over medium heat and cook each piece for 5-6 minutes on each side.
- Serve warm: Enjoy immediately with butter or your favorite spread.
Notes
You can prepare the dough in advance and refrigerate for up to 24 hours. Reheat in a skillet for best results.
- Prep Time: 10 minutes
- Cook Time: 12 minutes
- Category: Side Dish
- Method: Stovetop
- Cuisine: Homemade
Nutrition
- Serving Size: 1 piece
- Calories: 130
- Sugar: 1g
- Sodium: 400mg
- Fat: 4g
- Saturated Fat: 2g
- Unsaturated Fat: 2g
- Trans Fat: 0g
- Carbohydrates: 21g
- Fiber: 1g
- Protein: 3g
- Cholesterol: 15mg
Keywords: bread, stovetop bread, easy bread recipe, homemade bread, comfort food