
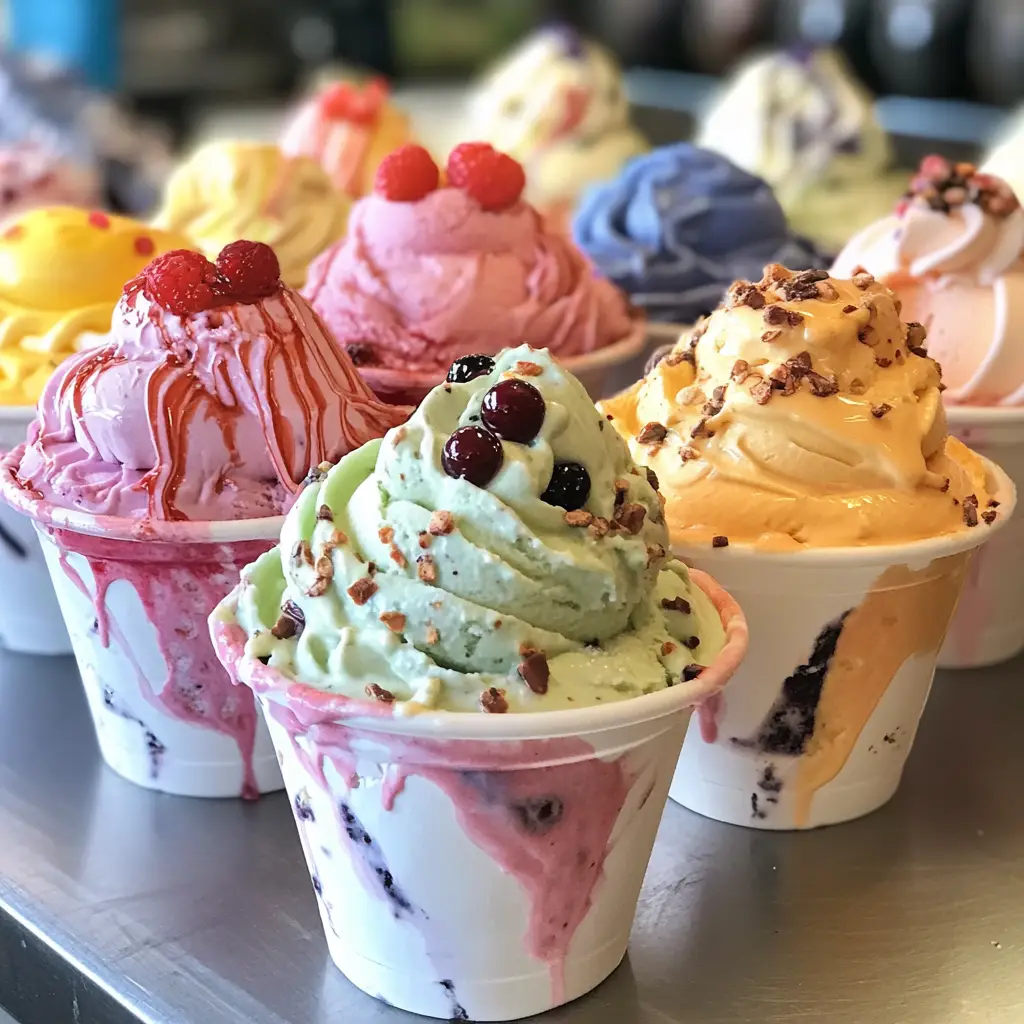
Introduction to No-Churn Ice Cream Cups
As a busy mom, I know how precious time can be, especially when it comes to whipping up a sweet treat. That’s why I absolutely adore these No-Churn Ice Cream Cups! They’re a delightful dessert that requires no fancy equipment or hours in the kitchen. Just a few simple ingredients and a little patience, and you’ll have a creamy, dreamy dessert that’s perfect for hot summer days or any occasion. Whether you’re looking to impress your loved ones or simply treat yourself, these cups are a quick solution that brings joy with every spoonful!
Why You’ll Love This No-Churn Ice Cream Cups
These No-Churn Ice Cream Cups are a game-changer for anyone who loves dessert but is short on time. They come together in just 15 minutes, making them a breeze to prepare. Plus, the creamy texture and rich flavor will have your family begging for more. With endless customization options, you can easily cater to everyone’s taste buds. It’s a sweet escape that fits perfectly into your busy life!
Ingredients for No-Churn Ice Cream Cups
Gathering the right ingredients is the first step to creating your No-Churn Ice Cream Cups. Here’s what you’ll need:
- Heavy Cream: This is the star of the show! It whips up beautifully, giving your ice cream that rich, creamy texture.
- Sweetened Condensed Milk: This adds sweetness and creaminess without the need for extra sugar. It’s a magical ingredient that makes everything easier!
- Vanilla Extract: A splash of vanilla elevates the flavor, making your ice cream taste like a scoop from your favorite ice cream shop.
- Chocolate Chips (optional): For those who crave a little extra indulgence, chocolate chips add a delightful crunch and richness.
- Crushed Cookies (optional): Think of this as a fun way to add texture and flavor. Whether it’s Oreos or graham crackers, the choice is yours!
Feel free to get creative with your mix-ins! You can use fruits, nuts, or even a swirl of caramel. The exact quantities for each ingredient are listed at the bottom of the article for your convenience, ready for printing!
How to Make No-Churn Ice Cream Cups
Making No-Churn Ice Cream Cups is as easy as pie! Follow these simple steps, and you’ll be on your way to a delicious dessert that everyone will love. Let’s dive in!
Step 1: Whip the Heavy Cream
Start by pouring the heavy cream into a large mixing bowl. Using a hand mixer or a stand mixer, whip the cream on medium speed until stiff peaks form. This means the cream should hold its shape when you lift the beaters. This step is crucial because it gives your ice cream that light, airy texture. Trust me, you want to get this right!
Step 2: Mix Condensed Milk and Vanilla
In another bowl, combine the sweetened condensed milk and vanilla extract. Stir them together until they’re well blended. This mixture is the base of your ice cream, adding sweetness and flavor. It’s like the glue that holds everything together, so make sure it’s nice and smooth!
Step 3: Fold in the Whipped Cream
Now comes the fun part! Gently fold the whipped cream into the condensed milk mixture. Use a spatula and scoop from the bottom, turning the mixture over. Be careful not to deflate the whipped cream. This folding technique keeps your ice cream light and fluffy, which is exactly what you want!
Step 4: Add Mix-Ins
If you’re feeling adventurous, now’s the time to add your optional mix-ins. Whether it’s chocolate chips or crushed cookies, fold them in gently. This adds a delightful surprise in every bite. Just remember, don’t overmix; you want those tasty bits to stay intact!
Step 5: Freeze the Mixture
Finally, pour the mixture into cups or a container. Make sure to smooth the top with a spatula. Cover it tightly and pop it in the freezer for at least 4 hours, or until it’s firm. Patience is key here! Once it’s frozen, you’ll have a creamy treat ready to enjoy!
Tips for Success
- Use cold heavy cream for better whipping results.
- Don’t rush the folding process; gentle is key to keeping the mixture airy.
- Experiment with different mix-ins to find your favorite flavor combinations.
- For a creamier texture, let the ice cream sit at room temperature for a few minutes before serving.
- Store leftovers in an airtight container to maintain freshness.

Equipment Needed
- Mixing Bowls: Use any large bowls you have on hand; glass or stainless steel works best.
- Hand Mixer or Stand Mixer: A whisk can work too, but it’ll take more effort!
- Spatula: A silicone spatula is great for folding and scraping.
- Cups or Container: Any freezer-safe cups or containers will do the trick.
Variations of No-Churn Ice Cream Cups
- Fruit Swirl: Add pureed strawberries or raspberries for a fruity twist. Just swirl it in before freezing for a beautiful marbled effect.
- Nutty Delight: Incorporate chopped nuts like almonds or pecans for a crunchy texture. They add a lovely contrast to the creamy base.
- Chocolate Lovers: Mix in cocoa powder or melted chocolate for a rich chocolate flavor. You can even create a chocolate chip cookie dough version!
- Vegan Option: Substitute heavy cream with coconut cream and use a plant-based sweetened condensed milk for a dairy-free treat.
- Seasonal Flavors: Experiment with pumpkin puree and spices for a fall-inspired treat or peppermint extract for a festive winter version.
Serving Suggestions for No-Churn Ice Cream Cups
- Top with whipped cream and a cherry for a classic sundae look.
- Serve alongside fresh fruit like berries or banana slices for a refreshing contrast.
- Pair with a warm chocolate sauce for a decadent touch.
- Garnish with mint leaves for a pop of color and freshness.
- Enjoy with a scoop of your favorite cookie or brownie for an indulgent dessert experience.
FAQs about No-Churn Ice Cream Cups
As I’ve shared my love for No-Churn Ice Cream Cups, I often get questions from fellow dessert enthusiasts. Here are some of the most common queries I’ve encountered, along with my answers to help you on your ice cream journey!
Can I use a different flavor of extract?
Absolutely! While vanilla is a classic choice, you can experiment with almond, mint, or even coconut extract. Each will give your No-Churn Ice Cream Cups a unique twist!
How long can I store the ice cream cups?
Your No-Churn Ice Cream Cups can be stored in the freezer for up to two weeks. Just make sure they’re in an airtight container to keep them fresh and delicious!
Can I make this recipe dairy-free?
Yes! Substitute the heavy cream with coconut cream and use a dairy-free sweetened condensed milk. This way, you can enjoy a creamy treat without the dairy!
What can I do if my ice cream is too hard to scoop?
If your ice cream is rock solid, let it sit at room temperature for about 5-10 minutes before scooping. This will soften it up just enough for easy serving!
Can I add fresh fruit to the mixture?
Definitely! Fresh fruit can be a delightful addition. Just make sure to chop it into small pieces and fold it in gently to avoid breaking down the whipped cream.
Final Thoughts
Creating No-Churn Ice Cream Cups is more than just making a dessert; it’s about crafting sweet memories with your loved ones. The joy of watching their faces light up with each creamy spoonful is priceless. This recipe is a reminder that even on the busiest days, you can whip up something special without breaking a sweat. So, whether it’s a hot summer afternoon or a cozy family gathering, these delightful cups are sure to bring smiles and satisfaction. Dive in, savor the moment, and enjoy the simple pleasure of homemade ice cream!
Print
No-Churn Ice Cream Cups: A Simple Delight to Savor!
- Total Time: 4 hours 15 minutes
- Yield: 4 servings 1x
- Diet: Vegetarian
Description
No-Churn Ice Cream Cups are a delightful and easy-to-make dessert that requires no ice cream maker. Perfect for hot days or any occasion!
Ingredients
- 2 cups heavy cream
- 1 cup sweetened condensed milk
- 1 teaspoon vanilla extract
- 1/2 cup chocolate chips (optional)
- 1/2 cup crushed cookies (optional)
Instructions
- In a large bowl, whip the heavy cream until stiff peaks form.
- In another bowl, mix the sweetened condensed milk and vanilla extract until well combined.
- Gently fold the whipped cream into the condensed milk mixture until fully incorporated.
- Add chocolate chips or crushed cookies if desired and fold gently.
- Pour the mixture into cups or a container and freeze for at least 4 hours or until firm.
- Serve and enjoy your No-Churn Ice Cream Cups!
Notes
- Feel free to customize with your favorite mix-ins like fruits or nuts.
- Store any leftovers in the freezer for up to 2 weeks.
- Let the ice cream sit at room temperature for a few minutes before serving for easier scooping.
- Prep Time: 15 minutes
- Cook Time: 0 minutes
- Category: Dessert
- Method: No-Churn
- Cuisine: American
Nutrition
- Serving Size: 1 cup
- Calories: 350
- Sugar: 25g
- Sodium: 50mg
- Fat: 25g
- Saturated Fat: 15g
- Unsaturated Fat: 10g
- Trans Fat: 0g
- Carbohydrates: 30g
- Fiber: 1g
- Protein: 4g
- Cholesterol: 80mg
Keywords: No-Churn Ice Cream Cups, easy dessert, summer treat, homemade ice cream


