Introduction to Glowing Bouncy Moon Rocks
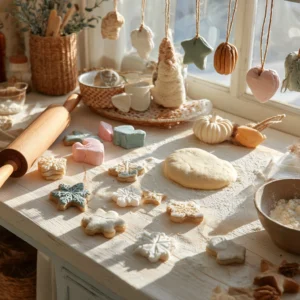
Crafting is a wonderful way to express creativity, especially for busy moms and professionals looking to unwind. I remember the first time I stumbled upon the idea of making Glowing Bouncy Moon Rocks. It was a rainy afternoon, and my kids were restless. I wanted to find a project that would not only keep them entertained but also allow us to create something magical together.
These colorful, bouncy creations are more than just fun; they serve as playful toys and add a whimsical touch to your home decor. I love how they can transform a simple space into a glowing wonderland, especially when the lights go out. Whether you’re looking to engage your kids in a creative activity or simply want to brighten up your space, this DIY project is perfect for you!
As I gathered the materials, I felt a wave of excitement. The thought of mixing flour, baking soda, and glow in the dark paint was thrilling! I knew that this project would not only be a great bonding experience but also a chance to unleash our creativity. Plus, the best part? It’s an easy craft that fits perfectly into our busy schedules.
So, if you’re ready to embark on a fun crafting adventure, let’s dive into the world of Glowing Bouncy Moon Rocks together. I promise you’ll cherish the memories made and the glowing treasures you create!
Why You’ll Love This Glowing Bouncy Moon Rocks
Creating Glowing Bouncy Moon Rocks is a fantastic way to unleash your creativity without breaking the bank. I remember the first time I made these with my kids; it was a delightful experience that turned a mundane afternoon into a magical adventure. The joy on their faces as they watched the rocks transform from simple mixtures to glowing treasures was priceless!
This project is simple enough for beginners, making it perfect for busy moms like us who may not have a lot of time to spare. With just a few ingredients and tools, you can create something truly special. I love how the process allows for endless possibilities for customization. You can experiment with different colors of food coloring, shapes, and even glow in the dark paint to make each rock unique.
Plus, the satisfaction of making something unique with your own hands is truly rewarding. There’s something magical about crafting that brings a sense of accomplishment. When I see our glowing moon rocks lighting up the room, I feel a wave of pride knowing we created them together. It’s a wonderful reminder of the creativity we can unleash, even amidst our busy lives.
You’ll love how these glowing rocks can light up a room and bring joy to your family! Whether they’re bouncing around during playtime or sitting proudly on a shelf, they add a whimsical touch to our home. I encourage you to gather your materials and dive into this fun project—you won’t regret it!
Materials Needed for Glowing Bouncy Moon Rocks
To get started on your Glowing Bouncy Moon Rocks, gather the following materials:
- 1 cup of flour: The base for your moon rocks. It gives them structure and helps them hold their shape.
- 1 cup of water: To help bind the ingredients together, creating a smooth and workable mixture.
- 1 cup of baking soda: Adds bounce and texture, making your moon rocks fun to play with!
- 1/2 cup of white glue: For adhesion and durability, ensuring your rocks stay intact during playtime.
- Glow in the dark paint: The secret ingredient for that magical glow that will light up your nights.
- Food coloring (optional): For adding vibrant colors to your rocks, making them even more eye-catching.
As I gathered these materials, I felt a sense of anticipation. Each item plays a crucial role in creating our glowing treasures. The best part? Most of these materials are likely already in your kitchen or craft stash, making this project budget-friendly!
*For a printable full list of materials, see below.*
Tools Required for Glowing Bouncy Moon Rocks
To create your Glowing Bouncy Moon Rocks, you’ll need a few basic tools that are easy to find around the house. I remember the first time I gathered everything; it felt like preparing for a mini adventure! Here’s what you’ll need:
- Mixing bowl: This is essential for combining all your ingredients. I love using a large bowl so I have plenty of space to mix without making a mess!
- Spoon or spatula: You’ll need this to mix the ingredients thoroughly. A spatula works wonders for scraping down the sides of the bowl, ensuring everything is well combined.
- Baking sheet: This is where your shaped rocks will dry. I always line mine with parchment paper to make cleanup a breeze and prevent sticking.
- Parchment paper: A must-have for lining your baking sheet. It keeps your moon rocks from sticking and makes it easy to lift them off once they’re dry.
- Cookie cutter (optional): If you want to get creative with shapes, a cookie cutter can add a fun twist to your moon rocks. I love using star and heart shapes for a whimsical touch!
As I gathered these tools, I felt a sense of excitement building. Each item plays a vital role in bringing our glowing creations to life. Plus, the simplicity of the tools means that even on the busiest days, I can whip up these moon rocks without any hassle. So, let’s get ready to craft some magic!
How to Make Glowing Bouncy Moon Rocks
Creating your own Glowing Bouncy Moon Rocks is a delightful process that I find incredibly rewarding. It’s a wonderful way to spend quality time with your kids while making something magical together. Follow these simple steps to bring your glowing treasures to life:
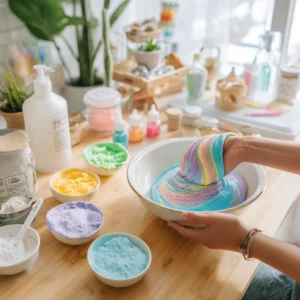
Step 1: Mix the Dry Ingredients
In a mixing bowl, combine 1 cup of flour, 1 cup of baking soda, and 1 cup of water until smooth. I love the feeling of the mixture coming together, and the texture is so satisfying!
Step 2: Add Glue
Add 1/2 cup of white glue to the mixture and mix well until fully incorporated. This step is crucial for ensuring your moon rocks hold their shape during playtime. I always make sure to mix thoroughly to avoid any lumps.
Step 3: Color Your Mixture
If desired, add a few drops of food coloring to the mixture for added color and stir until evenly distributed. This is where the fun really begins! I love experimenting with different colors to create unique designs.
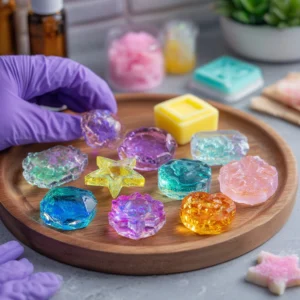
Step 4: Shape the Rocks
Shape the mixture into small balls or use a cookie cutter to create fun shapes. I often let my kids take the lead here; their creativity shines when they get to decide how their moon rocks will look!
Step 5: Prepare for Drying
Place the shaped rocks on a baking sheet lined with parchment paper. This makes it easy to lift them off once they’re dry. I always make sure to give them enough space so they don’t stick together.
Step 6: Drying Time
Allow the rocks to dry for 24 hours. Patience is key here! I often use this time to plan how we’ll decorate them with glow in the dark paint.
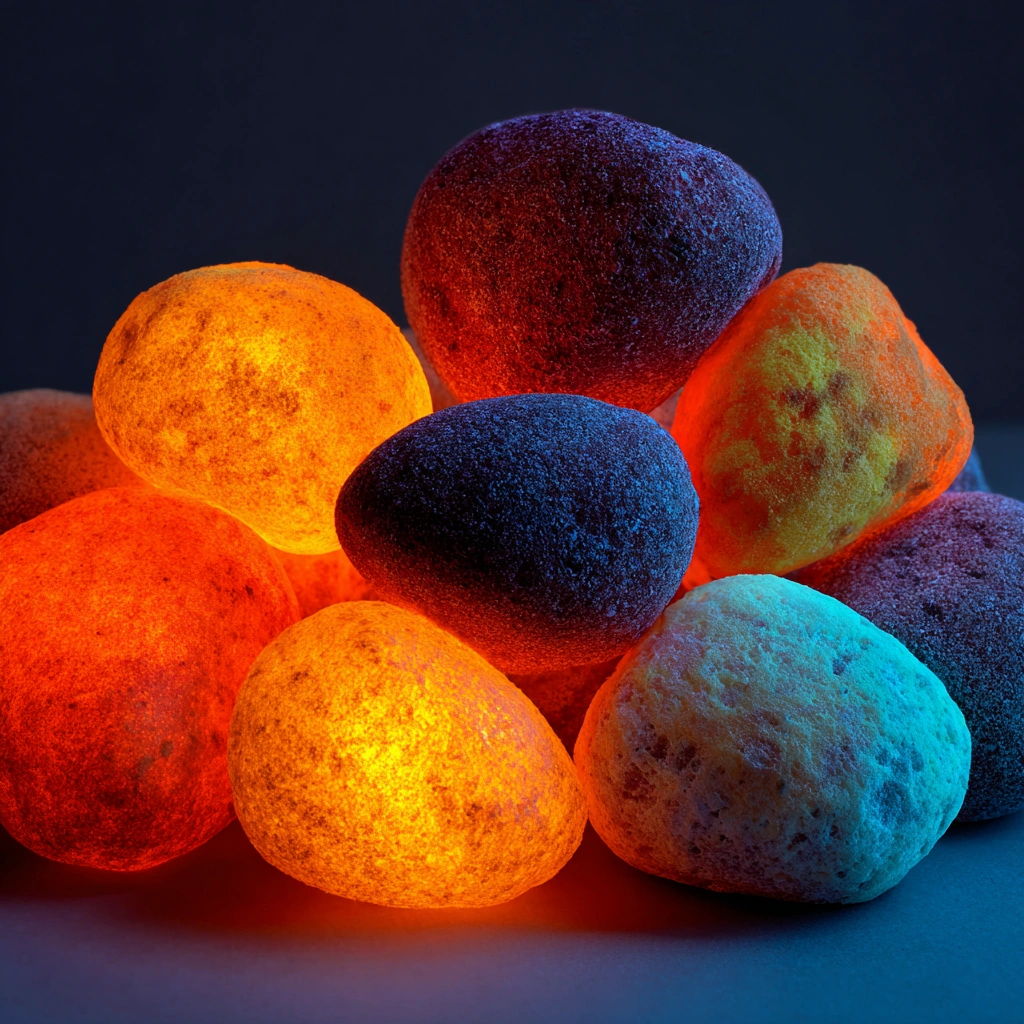
Step 7: Add the Glow
Once dry, paint the rocks with glow in the dark paint and let them dry again. Watching them transform into glowing treasures is such a magical moment!
Step 8: Enjoy!
Your Glowing Bouncy Moon Rocks are now ready to be enjoyed! Whether you use them for playtime or as decorative pieces, I guarantee they’ll bring joy and a touch of whimsy to your home.
Tips for Best Results
As I’ve dived into the world of crafting Glowing Bouncy Moon Rocks, I’ve learned a few tips that can help you achieve the best results. These little nuggets of wisdom have made my crafting experience even more enjoyable, and I’m excited to share them with you!
- Experiment with Colors: Don’t be afraid to play around with different colors of food coloring! I’ve found that mixing colors can lead to some truly unique designs. For instance, combining blue and green creates a beautiful turquoise that looks stunning when it glows. Let your creativity shine!
- Use Non-Toxic Materials: If you’re crafting with kids, it’s essential to ensure that all materials are non-toxic. I always check labels to make sure everything is safe for little hands. This way, we can enjoy the crafting process without any worries!
- Store in the Dark: To keep your moon rocks glowing longer, store them in a dark place when not in use. I’ve noticed that when I keep them in a drawer away from light, they glow much brighter during playtime. It’s like having a little surprise waiting for us!
These tips have not only enhanced my crafting experience but have also made it more fun for my kids. I encourage you to try them out and see how they work for you. Happy crafting!
Project Variations
One of the things I love most about crafting Glowing Bouncy Moon Rocks is the endless possibilities for variations! Each time I make them, I find new ways to customize our creations, making the experience even more exciting. Here are some fun project variations to inspire your crafting journey:
- Color Variations: Don’t hesitate to experiment with different shades of glow in the dark paint! I’ve found that using a mix of colors can create a stunning multi-colored effect. Imagine a vibrant rainbow of moon rocks glowing in the dark—what a magical sight! You can even layer different colors for a unique look.
- Seasonal Adaptations: Get festive by creating themed moon rocks for various holidays. For Halloween, I love making orange and black rocks that look like little glowing pumpkins. During Christmas, red and green rocks add a cheerful touch to our holiday decor. It’s a fun way to celebrate the seasons and keep the crafting spirit alive!
- Shape Variations: Use various cookie cutters to create fun shapes like stars, hearts, or even holiday-themed designs. I often let my kids choose their favorite shapes, and it’s amazing to see their creativity shine through. Each shape adds a personal touch, making our moon rocks even more special.
These variations not only keep the crafting experience fresh but also allow for family bonding as we explore new ideas together. I encourage you to let your imagination run wild and try out these variations. You might just discover a new favorite way to create your Glowing Bouncy Moon Rocks! Happy crafting!
Decoration and Usage Ideas
Once you’ve created your Glowing Bouncy Moon Rocks, the fun doesn’t stop there! These delightful creations can serve multiple purposes, adding a touch of whimsy and charm to your home and playtime. Here are some creative ways to use your finished moon rocks:
- Nighttime Decor: Place them in your child’s room for a glowing nightlight effect. Imagine the joy on their faces as they drift off to sleep surrounded by their very own glowing stars!
- Outdoor Fun: Use them in the garden for a whimsical touch at night. They can light up pathways or add a magical glow to your flower beds, making your garden a nighttime wonderland.
- Party Favors: Give them as fun party favors for kids’ birthday parties. Kids will love taking home their very own glowing treasures, and it’s a unique gift that stands out from the usual goody bags.
- Playtime: Use them as toys for bouncing and playing in the yard. Watching them bounce and glow in the dark is not only entertaining but also encourages outdoor play and creativity.
As a busy mom, I find that these glowing rocks not only brighten up my home but also spark joy and creativity in my children. They become a part of our family adventures, whether we’re playing outside or decorating for a special occasion. The possibilities are endless, and I encourage you to let your imagination run wild!
FAQs about Glowing Bouncy Moon Rocks
As I’ve shared my journey of creating Glowing Bouncy Moon Rocks, I’ve received quite a few questions from fellow crafters and curious parents. Here are some of the most common FAQs that I hope will help you on your crafting adventure:
Q: How long do the moon rocks glow?
A: The glow duration depends on the quality of the glow in the dark paint used, but they typically glow for several hours after being charged by light. I’ve noticed that the brighter the light they absorb, the longer they glow, which makes for some magical nighttime fun!
Q: Can I use other types of paint?
A: While glow in the dark paint is recommended for the best effect, you can use regular acrylic paint for decoration, but it won’t glow. I’ve tried using regular paint for some designs, and while they look beautiful, the glow is what truly makes these moon rocks special!
Q: Are these safe for children?
A: Yes, as long as non-toxic materials are used and small parts are kept away from young children. I always make sure to check labels and supervise my kids during the crafting process. It’s important to create a safe and enjoyable environment for everyone involved!
These FAQs reflect some of the common concerns and curiosities that arise when crafting Glowing Bouncy Moon Rocks. I hope they provide clarity and encourage you to dive into this fun project with confidence. Happy crafting!
Final Thoughts
Creating Glowing Bouncy Moon Rocks is not just a fun craft; it’s an opportunity to bond with your children and unleash your creativity. I can’t tell you how many wonderful memories I’ve made with my kids while crafting these glowing treasures. Each time we gather our materials and dive into the project, it feels like we’re embarking on a mini adventure together.
This project is perfect for busy moms and professionals like us who are always juggling multiple responsibilities. It’s a simple yet rewarding way to carve out some quality time with your little ones. I love how we can chat, laugh, and create something magical all at once. Plus, the joy on their faces when they see their moon rocks glowing in the dark is absolutely priceless!
So, gather your materials, invite your kids to join in, and let the crafting magic begin! Whether you’re making them for playtime, decoration, or as unique gifts, I promise you’ll cherish the memories made and the glowing treasures you create together. Remember, it’s not just about the final product; it’s about the laughter, creativity, and love shared during the process.
Happy crafting! I can’t wait to hear about your adventures in making Glowing Bouncy Moon Rocks!
Print
Glowing Bouncy Moon Rocks: Easy DIY Craft Ideas!
Description
Create your own glowing bouncy moon rocks using simple materials. These fun and colorful rocks can be used for decoration or as toys that bounce and glow in the dark.
Instructions
- In a mixing bowl, combine flour, baking soda, and water until smooth.
- Add white glue and mix well until fully incorporated.
- If desired, add food coloring to the mixture for added color.
- Shape the mixture into small balls or use a cookie cutter to create fun shapes.
- Place the shaped rocks on a baking sheet lined with parchment paper.
- Allow the rocks to dry for 24 hours.
- Once dry, paint the rocks with glow in the dark paint and let them dry again.
- Enjoy your glowing bouncy moon rocks!
Keywords: Glowing Bouncy Moon Rocks, DIY Craft, Kids Craft, Glow in the Dark