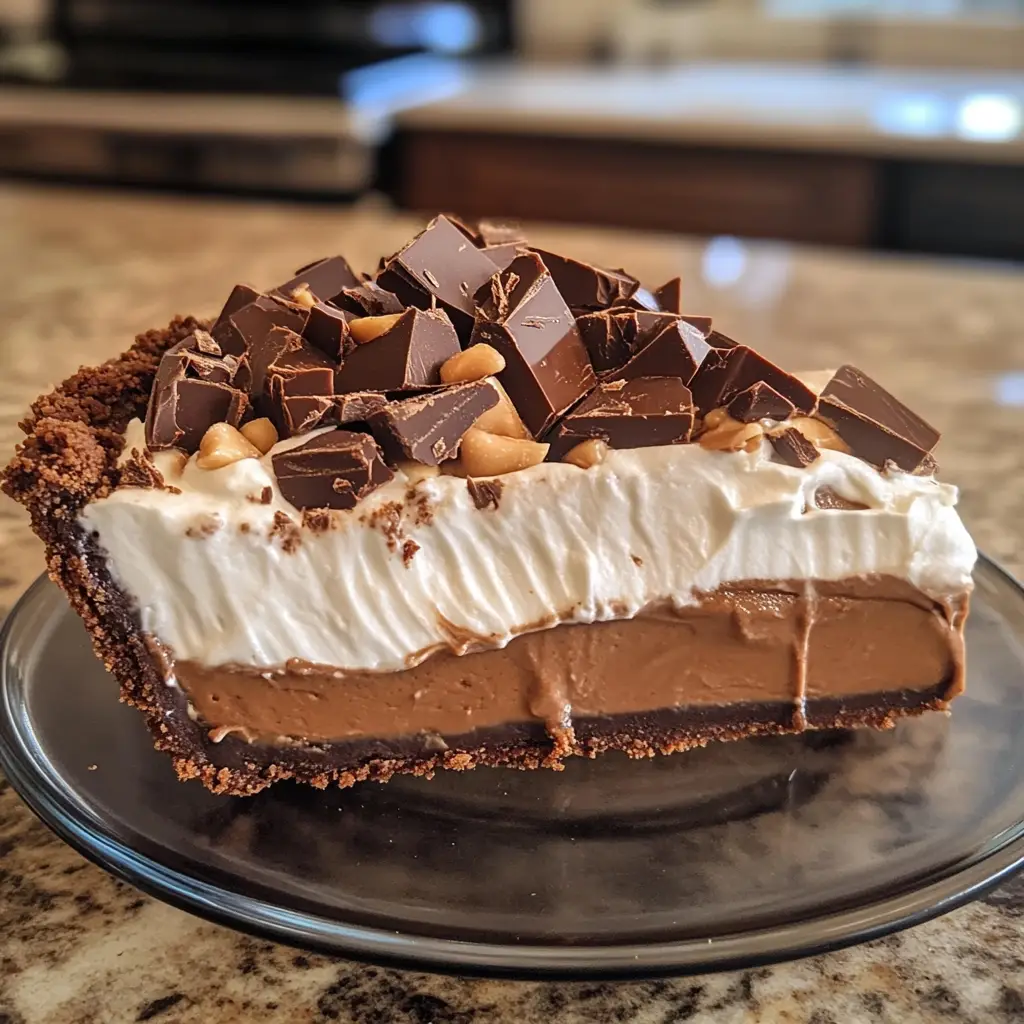
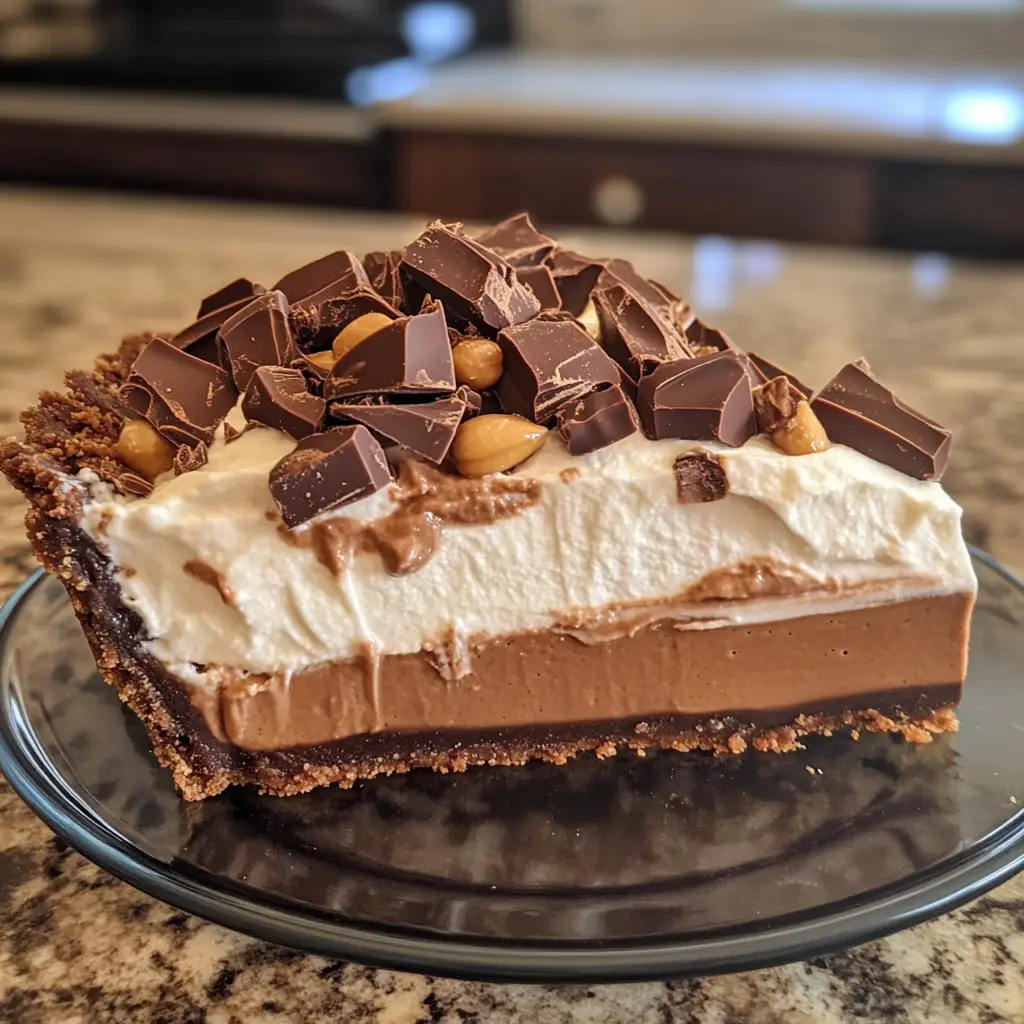
Introduction to Frozen Chocolate Peanut Butter Cream Pie
As a busy mom, I know how precious time can be, especially when it comes to whipping up something special for my family. That’s why I absolutely adore this Frozen Chocolate Peanut Butter Cream Pie! It’s a delightful treat that combines rich chocolate and creamy peanut butter, making it a crowd-pleaser at any gathering. Whether you’re looking for a quick solution for a busy day or a show-stopping dessert to impress your loved ones, this pie is the answer. Trust me, once you try it, you’ll want to keep it in your freezer for those sweet cravings!
Why You’ll Love This Frozen Chocolate Peanut Butter Cream Pie
This Frozen Chocolate Peanut Butter Cream Pie is a dream come true for busy moms like us! It’s incredibly easy to make, requiring just a handful of ingredients and minimal prep time. Plus, the combination of chocolate and peanut butter is simply irresistible. You can whip it up in no time and freeze it for later, making it a perfect dessert for unexpected guests or a sweet treat after a long day.
Ingredients for Frozen Chocolate Peanut Butter Cream Pie
Gathering the right ingredients is the first step to creating this delicious Frozen Chocolate Peanut Butter Cream Pie. Here’s what you’ll need:
- Chocolate cookie crumbs: These form the base of your pie crust. You can use store-bought crumbs or crush your favorite chocolate cookies at home for a personal touch.
- Unsalted butter: Melted butter helps bind the cookie crumbs together, creating a rich and flavorful crust. Unsalted is best to control the saltiness.
- Creamy peanut butter: This is the star of the show! Choose a high-quality, creamy peanut butter for a smooth filling that blends beautifully.
- Powdered sugar: This sweetens the peanut butter filling and gives it a lovely, creamy texture. It dissolves easily, making it perfect for desserts.
- Heavy cream: Whipping cream adds lightness and a luxurious texture to the filling. It’s what makes each slice feel indulgent!
- Vanilla extract: A splash of vanilla enhances the flavors, adding warmth and depth to the pie.
- Chocolate chips (optional): For those who can’t resist a little extra chocolate, sprinkle some on top before freezing. They add a delightful crunch!
For exact measurements, check the bottom of the article where you can find everything listed for easy printing. Happy baking!

How to Make Frozen Chocolate Peanut Butter Cream Pie
Now that you have your ingredients ready, let’s dive into the fun part—making this Frozen Chocolate Peanut Butter Cream Pie! Follow these simple steps, and you’ll have a delicious dessert that will impress everyone.
Step 1: Preheat the Oven
First things first, preheat your oven to 350°F (175°C). Preheating is crucial because it ensures that your crust bakes evenly. A well-baked crust provides a sturdy base for the creamy filling, making every slice a delight!
Step 2: Prepare the Crust
In a mixing bowl, combine your chocolate cookie crumbs with the melted butter. Stir until the crumbs are fully coated and the mixture resembles wet sand. Next, press this mixture firmly into the bottom of your pie dish. Make sure to create an even layer, as this will hold your pie together beautifully.
Step 3: Bake the Crust
Pop the crust into your preheated oven and bake for about 10 minutes. This step helps to set the crust, giving it a nice crunch. Once baked, remove it from the oven and let it cool completely. Patience is key here; a cool crust will hold the filling better!
Step 4: Make the Peanut Butter Filling
In a clean bowl, mix the creamy peanut butter and powdered sugar together until smooth. This combination creates a luscious filling that’s rich and sweet. Don’t rush this step; you want it to be perfectly blended for the best flavor!
Step 5: Whip the Cream
In another bowl, whip the heavy cream along with the vanilla extract until stiff peaks form. This means when you lift the whisk, the cream should hold its shape. Whipping the cream adds lightness to the filling, making each bite feel indulgent and airy.
Step 6: Combine Mixtures
Now, gently fold the whipped cream into the peanut butter mixture. Use a spatula and be careful not to deflate the whipped cream. This folding technique ensures your filling remains fluffy and creamy, which is exactly what we want!
Step 7: Assemble the Pie
Pour the peanut butter filling into your cooled crust. Use a spatula to smooth the top, making it look inviting. If you’re feeling a bit extra, sprinkle some chocolate chips on top for that added touch of decadence!
Step 8: Freeze the Pie
Finally, place your pie in the freezer. Let it freeze for at least 4 hours, or until it’s firm. This step is essential for achieving that perfect frozen texture. When you’re ready to serve, slice it up and enjoy this delightful treat!
Tips for Success
- Use a food processor to crush cookies quickly and evenly for the crust.
- For a richer flavor, opt for dark chocolate cookie crumbs.
- Let the pie sit at room temperature for a few minutes before slicing; it makes serving easier.
- Feel free to make this pie a day in advance; it only gets better!
- Experiment with different toppings like crushed nuts or drizzled chocolate for added flair.
Equipment Needed
- 9-inch pie dish: A standard pie dish works well, but a springform pan is great for easy removal.
- Mixing bowls: Use a variety of sizes for mixing ingredients.
- Electric mixer or whisk: An electric mixer speeds up whipping cream, but a whisk works too.
- Spatula: A rubber spatula is perfect for folding and smoothing the filling.
Variations
- For a healthier twist, substitute Greek yogurt for half of the peanut butter in the filling. It adds creaminess with less fat!
- Try using almond butter or sunflower seed butter instead of peanut butter for a nut-free option.
- For a fun flavor boost, add a pinch of sea salt to the peanut butter filling to enhance the sweetness.
- Mix in some crushed Oreos or graham crackers into the crust for a different texture and flavor.
- For a chocolate lover’s dream, swirl in some chocolate fudge sauce into the filling before freezing.
Serving Suggestions
- Pair your Frozen Chocolate Peanut Butter Cream Pie with a scoop of vanilla ice cream for an extra indulgent treat.
- Serve with fresh berries on the side for a pop of color and a refreshing contrast.
- Drizzle chocolate or caramel sauce over each slice for a stunning presentation.
- Enjoy with a cup of coffee or a glass of cold milk to balance the sweetness.
FAQs about Frozen Chocolate Peanut Butter Cream Pie
As you embark on your journey to create this delightful Frozen Chocolate Peanut Butter Cream Pie, you might have a few questions. Here are some common queries I’ve encountered, along with helpful answers to guide you along the way.
Can I make this pie ahead of time?
Absolutely! This pie is perfect for making a day in advance. Just keep it in the freezer until you’re ready to serve. It actually tastes even better after a day of chilling!
What can I use instead of heavy cream?
If you’re looking for a lighter option, you can substitute heavy cream with whipped coconut cream. It adds a lovely flavor and keeps the pie creamy!
How do I store leftovers?
Store any leftover pie in the freezer, covered tightly with plastic wrap or in an airtight container. It should stay fresh for up to a week, but trust me, it won’t last that long!
Can I use crunchy peanut butter instead of creamy?
Yes, you can! Crunchy peanut butter will give your pie a delightful texture. Just keep in mind that it will change the smoothness of the filling a bit.
What’s the best way to slice the pie?
To slice the pie easily, let it sit at room temperature for about 5-10 minutes before cutting. This will soften it slightly, making it easier to serve those perfect slices!
Final Thoughts
Creating this Frozen Chocolate Peanut Butter Cream Pie is more than just making a dessert; it’s about sharing joy with family and friends. Each slice is a delightful blend of flavors that brings smiles and happy memories. I love how easy it is to prepare, making it a go-to recipe for busy days. Plus, the satisfaction of serving something homemade is unbeatable! So, whether it’s a special occasion or just a sweet treat after dinner, this pie is sure to become a cherished favorite in your home. Enjoy every creamy, chocolatey bite!
Print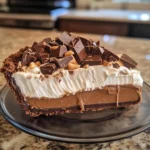
Frozen Chocolate Peanut Butter Cream Pie: A Dreamy Delight!
- Total Time: 4 hours 30 minutes
- Yield: 8 servings 1x
- Diet: Vegetarian
Description
A rich and creamy frozen dessert combining chocolate and peanut butter flavors in a delicious pie.
Ingredients
- 1 ½ cups chocolate cookie crumbs
- ½ cup unsalted butter, melted
- 1 cup creamy peanut butter
- 1 cup powdered sugar
- 1 cup heavy cream
- 1 teaspoon vanilla extract
- ½ cup chocolate chips (optional)
Instructions
- Preheat your oven to 350°F (175°C).
- In a bowl, mix chocolate cookie crumbs with melted butter until well combined.
- Press the mixture into the bottom of a pie dish to form the crust.
- Bake the crust for 10 minutes, then let it cool.
- In another bowl, beat together peanut butter and powdered sugar until smooth.
- In a separate bowl, whip the heavy cream and vanilla extract until stiff peaks form.
- Gently fold the whipped cream into the peanut butter mixture until fully combined.
- Pour the peanut butter filling into the cooled crust and smooth the top.
- If desired, sprinkle chocolate chips on top.
- Freeze the pie for at least 4 hours or until firm.
- Slice and serve frozen for a delightful treat!
Notes
- For a richer flavor, use dark chocolate cookies for the crust.
- Let the pie sit at room temperature for a few minutes before slicing for easier serving.
- This pie can be made a day in advance for convenience.
- Prep Time: 20 minutes
- Cook Time: 10 minutes
- Category: Dessert
- Method: Freezing
- Cuisine: American
Nutrition
- Serving Size: 1 slice
- Calories: 350
- Sugar: 20g
- Sodium: 150mg
- Fat: 25g
- Saturated Fat: 10g
- Unsaturated Fat: 15g
- Trans Fat: 0g
- Carbohydrates: 30g
- Fiber: 2g
- Protein: 5g
- Cholesterol: 30mg
Keywords: Frozen Chocolate Peanut Butter Cream Pie, dessert, frozen pie, chocolate, peanut butter