
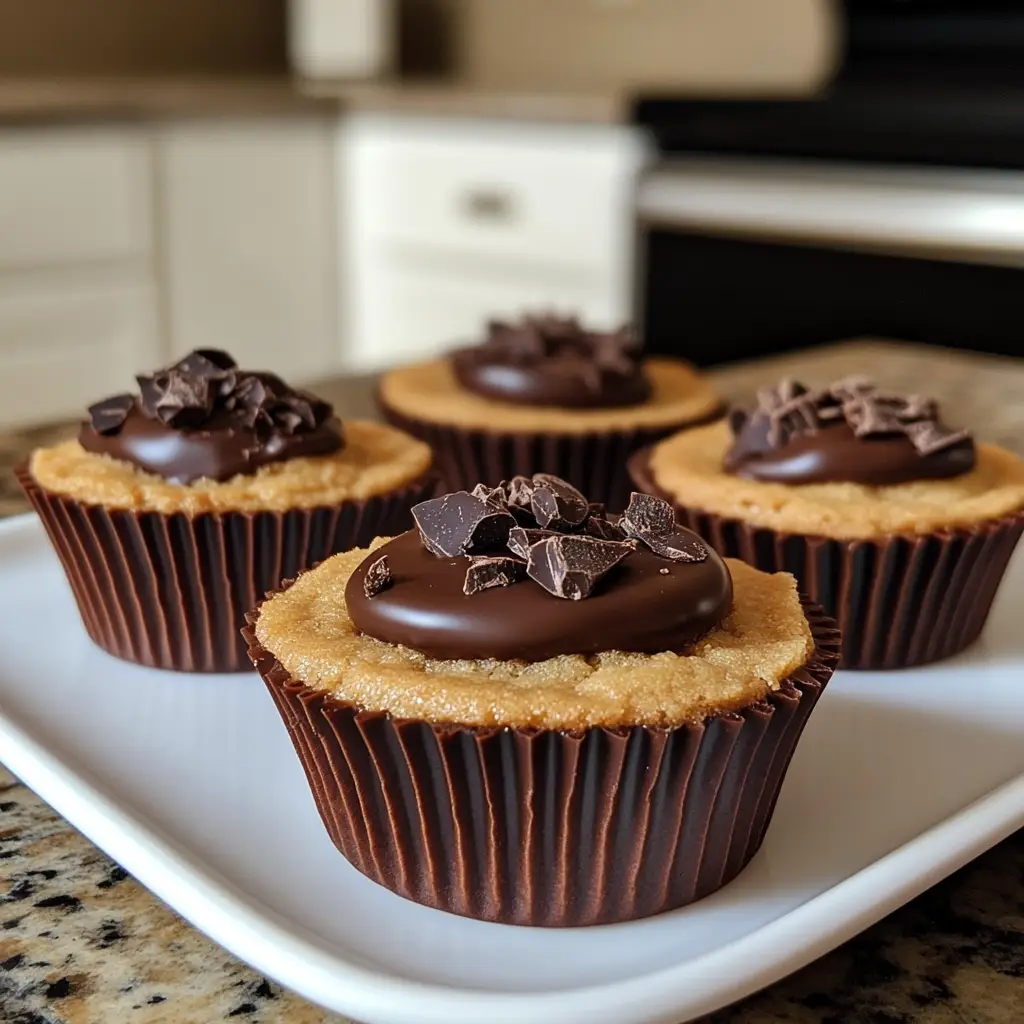
Introduction to Chocolate Covered Cookie Dough Cups
Hey there, fellow dessert lovers! If you’re anything like me, you know that life can get pretty hectic. Between juggling work, family, and everything in between, finding time to whip up a sweet treat can feel impossible. That’s where these delightful Chocolate Covered Cookie Dough Cups come in! They’re not just easy to make; they’re a quick solution for satisfying that sweet tooth. Imagine indulging in creamy cookie dough, all wrapped up in a luscious chocolate coating. Trust me, your loved ones will be begging for more!
Why You’ll Love This Chocolate Covered Cookie Dough Cups
These Chocolate Covered Cookie Dough Cups are a dream come true for busy moms and professionals alike. They come together in just 15 minutes, making them a perfect last-minute dessert. Plus, the combination of rich chocolate and sweet cookie dough is simply irresistible! Whether you’re treating yourself after a long day or impressing guests, these no-bake delights are sure to bring smiles all around.
Ingredients for Chocolate Covered Cookie Dough Cups
Let’s gather our ingredients for these scrumptious Chocolate Covered Cookie Dough Cups. Each one plays a vital role in creating that perfect balance of flavor and texture. Here’s what you’ll need:
- All-purpose flour: This is the base of our cookie dough. It gives structure and a delightful chewiness.
- Unsalted butter: Softened butter adds richness and helps create a creamy texture. Make sure it’s at room temperature for easy mixing.
- Brown sugar: This brings a deep, caramel-like sweetness to the dough, enhancing the overall flavor.
- Granulated sugar: A touch of white sugar balances the sweetness and contributes to the dough’s texture.
- Vanilla extract: This is the secret ingredient that elevates the flavor profile, adding warmth and depth.
- Salt: Just a pinch enhances all the flavors, making the cookie dough taste even better.
- Chocolate chips: These little morsels of joy add bursts of chocolatey goodness throughout the dough.
- Chocolate melting wafers: These are perfect for coating the dough balls. They melt smoothly and set beautifully.
Feel free to get creative! You can add nuts or other mix-ins to the dough for extra texture and flavor. Remember, the exact quantities for each ingredient are listed at the bottom of the article, ready for you to print out and take to the kitchen!
How to Make Chocolate Covered Cookie Dough Cups
Now that we have our ingredients ready, let’s dive into the fun part—making these Chocolate Covered Cookie Dough Cups! Follow these simple steps, and you’ll be indulging in sweet bliss in no time.
Step 1: Cream the Butter and Sugars
Start by placing the softened unsalted butter in a mixing bowl. Add the brown sugar and granulated sugar. Using a hand mixer or a sturdy spatula, cream them together until the mixture is smooth and fluffy. This step is crucial as it creates a light texture for your cookie dough.
Step 2: Add Vanilla and Salt
Next, pour in the vanilla extract and sprinkle in the salt. Mix until everything is well combined. The vanilla will add a lovely aroma, while the salt enhances the sweetness of the dough. Trust me, it makes a world of difference!
Step 3: Mix in the Flour
Gradually add the all-purpose flour to the mixture. Stir gently until a dough forms. Don’t overmix; just combine until you see no dry flour. This is where the magic begins, as the dough starts to take shape!
Step 4: Fold in Chocolate Chips
Now, it’s time to fold in those delightful chocolate chips. Use a spatula to gently mix them into the dough. This step is like adding little pockets of joy that will melt in your mouth. Make sure they’re evenly distributed for that perfect chocolatey bite!
Step 5: Form Dough Balls
Using a cookie scoop or your hands, form small balls of dough. Aim for about one inch in diameter. Place them on a baking sheet lined with parchment paper. This will keep them from sticking and make cleanup a breeze!
Step 6: Freeze the Dough Balls
Pop the baking sheet into the freezer for about 30 minutes. This step is essential as it firms up the dough balls, making them easier to dip in chocolate later. Plus, it builds anticipation for that sweet treat!
Step 7: Melt the Chocolate
While the dough balls are freezing, melt the chocolate melting wafers in a microwave-safe bowl. Heat them in short bursts, stirring in between, until smooth. Be careful not to overheat; we want silky chocolate, not a burnt mess!
Step 8: Dip the Dough Balls
Once the dough balls are firm, take them out of the freezer. Dip each one into the melted chocolate, ensuring it’s fully coated. Use a fork to lift them out, letting any excess chocolate drip off. Place them back on the parchment paper, ready for the final touch!
Step 9: Refrigerate to Set
Finally, refrigerate the chocolate-covered dough balls until the chocolate is set. This usually takes about 15-20 minutes. Once they’re firm, you can enjoy your delicious Chocolate Covered Cookie Dough Cups! Trust me, the wait will be worth it!
Tips for Success
- Use heat-treated flour to ensure safety in your cookie dough.
- Make sure your butter is softened for easy mixing; it should be at room temperature.
- Don’t skip the freezing step; it helps the dough hold its shape when dipped in chocolate.
- Experiment with different chocolate types for coating—dark, milk, or even white chocolate!
- Store your treats in an airtight container to keep them fresh and delicious.
Equipment Needed
- Mixing bowl: A large bowl for combining ingredients. A sturdy glass or ceramic bowl works well.
- Hand mixer or spatula: Use either for creaming butter and sugars. A whisk can also do the trick!
- Cookie scoop: This helps form uniform dough balls. If you don’t have one, your hands will work just fine.
- Baking sheet: A flat surface for freezing dough balls. Parchment paper is a must for easy cleanup.
- Microwave-safe bowl: For melting chocolate. Any heat-safe bowl will do!
Variations
- Nutty Delight: Add chopped walnuts or pecans to the dough for a crunchy texture and nutty flavor.
- Gluten-Free Option: Substitute all-purpose flour with a gluten-free flour blend to make these treats suitable for gluten-sensitive friends.
- Vegan Version: Use vegan butter and dairy-free chocolate chips to create a plant-based version of these Chocolate Covered Cookie Dough Cups.
- Flavor Infusions: Experiment with different extracts like almond or hazelnut for a unique twist on the classic flavor.
- Stuffed Surprise: Add a dollop of peanut butter or caramel in the center of each dough ball before coating for an extra indulgent treat!
Serving Suggestions
- Pair your Chocolate Covered Cookie Dough Cups with a tall glass of cold milk for a classic treat.
- Serve them on a decorative platter for a stunning presentation at parties or gatherings.
- For a fun twist, drizzle some melted chocolate or caramel sauce on top before serving.
- Enjoy them alongside a scoop of vanilla ice cream for an indulgent dessert experience.
- Consider adding fresh berries on the side for a pop of color and freshness!
FAQs about Chocolate Covered Cookie Dough Cups
As you embark on your journey to create these delightful Chocolate Covered Cookie Dough Cups, you might have a few questions. Here are some common queries I’ve encountered, along with helpful answers to guide you along the way!
Can I eat the cookie dough raw?
Yes, you can! Just make sure to use heat-treated flour for safety. This way, you can enjoy the delicious cookie dough without any worries!
How should I store the chocolate-covered cups?
Store your Chocolate Covered Cookie Dough Cups in an airtight container in the refrigerator. They’ll stay fresh and tasty for up to a week—if they last that long!
Can I freeze these treats?
Absolutely! You can freeze the chocolate-covered cups for up to three months. Just make sure to separate them with parchment paper to prevent sticking.
What can I use instead of chocolate melting wafers?
If you don’t have melting wafers, you can use chocolate chips. Just melt them with a little bit of coconut oil to achieve a smooth consistency for dipping.
Can I customize the flavors?
Definitely! Feel free to add your favorite mix-ins, like nuts or dried fruit, to the dough. You can also experiment with different types of chocolate for coating!
Final Thoughts
Creating these Chocolate Covered Cookie Dough Cups is more than just making a dessert; it’s about bringing joy to your kitchen and smiles to your loved ones. The process is simple, yet the results are nothing short of magical. Each bite is a delightful combination of creamy cookie dough and rich chocolate that transports you back to carefree childhood days. Whether you’re sharing them at a gathering or sneaking a few for yourself, these treats are sure to become a cherished favorite. So, roll up your sleeves and indulge in this sweet adventure—you deserve it!
Print
Chocolate Covered Cookie Dough Cups: Indulge in Bliss Today!
- Total Time: 45 minutes (including freezing time)
- Yield: 12 servings 1x
- Diet: Vegetarian
Description
Delicious chocolate-covered cookie dough cups that are easy to make and perfect for satisfying your sweet tooth.
Ingredients
- 1 cup all-purpose flour
- 1/2 cup unsalted butter, softened
- 1/2 cup brown sugar
- 1/4 cup granulated sugar
- 1 teaspoon vanilla extract
- 1/4 teaspoon salt
- 1/2 cup chocolate chips
- 1 cup chocolate melting wafers
Instructions
- In a mixing bowl, cream together the softened butter, brown sugar, and granulated sugar until smooth.
- Add the vanilla extract and salt, mixing until well combined.
- Gradually add the flour, mixing until a dough forms.
- Fold in the chocolate chips.
- Using a cookie scoop, form small balls of dough and place them on a baking sheet lined with parchment paper.
- Freeze the dough balls for about 30 minutes until firm.
- In a microwave-safe bowl, melt the chocolate melting wafers according to package instructions.
- Dip each frozen dough ball into the melted chocolate, ensuring it is fully coated.
- Place the chocolate-covered dough balls back on the parchment paper and refrigerate until the chocolate is set.
- Enjoy your chocolate-covered cookie dough cups!
Notes
- Make sure to use heat-treated flour for safety.
- Store in an airtight container in the refrigerator.
- Feel free to add nuts or other mix-ins to the dough.
- Prep Time: 15 minutes
- Cook Time: 0 minutes
- Category: Dessert
- Method: No-Bake
- Cuisine: American
Nutrition
- Serving Size: 1 cup
- Calories: 150
- Sugar: 10g
- Sodium: 50mg
- Fat: 8g
- Saturated Fat: 5g
- Unsaturated Fat: 3g
- Trans Fat: 0g
- Carbohydrates: 18g
- Fiber: 1g
- Protein: 2g
- Cholesterol: 15mg
Keywords: Chocolate Covered Cookie Dough Cups, dessert, no-bake treats, cookie dough


