
Introduction to Chocolate Coconut Balls
Ah, chocolate coconut balls! Just the name makes my heart skip a beat. These delightful little treats remind me of sunny days spent in my grandmother’s kitchen, where the air was always filled with the sweet aroma of coconut and chocolate. I can still picture her rolling those little balls in her hands, her laughter echoing as she shared stories of her childhood. It was a simple recipe, yet it brought so much joy to our family gatherings.
As a passionate home cook, I love how food can transport us back in time, evoking memories and emotions. Chocolate coconut balls are not just a dessert; they are a celebration of love, creativity, and the joy of sharing. They are perfect for any occasion, whether it’s a birthday party, a holiday gathering, or just a cozy night in with a good book. Plus, they are incredibly easy to make, which is a huge bonus for someone like me who loves to whip up something delicious without spending hours in the kitchen.
What I adore most about these little bites of heaven is their versatility. You can customize them to suit your taste, adding different flavors or textures. Whether you prefer a rich dark chocolate coating or a sprinkle of crushed nuts on top, the possibilities are endless! And let’s not forget how satisfying it is to bite into a soft, chewy center, followed by a crisp chocolate shell. It’s like a party in your mouth!
So, grab your apron and let’s dive into the world of chocolate coconut balls. I promise you, once you make them, they will become a staple in your kitchen, just like they are in mine. Let’s create some sweet memories together!
Ingredients for Chocolate Coconut Balls
Before we roll up our sleeves and get started, let’s gather all the ingredients we need to create these scrumptious chocolate coconut balls. I always believe that using quality ingredients makes a world of difference in the final product. So, let’s make sure we have everything ready!
Main Ingredients
- 1 cup shredded coconut: I prefer unsweetened coconut for a more authentic flavor, but sweetened works too if you have a sweet tooth!
- 1 cup chocolate cookie crumbs: You can use any chocolate cookies you love. I often use Oreos, but feel free to experiment!
- 1/2 cup sweetened condensed milk: This is the magic ingredient that binds everything together. Make sure to use a good quality brand for the best taste.
- 1/2 teaspoon vanilla extract: A splash of vanilla adds a lovely depth of flavor. I always opt for pure vanilla extract over imitation for a richer taste.
- 1 cup chocolate chips: For coating the balls. Dark, milk, or even white chocolate can be used, depending on your preference.
Optional Add-ons
- Chopped nuts: Walnuts or almonds add a delightful crunch. Just toss in about 1/4 cup if you’re feeling adventurous!
- Sea salt: A sprinkle of flaky sea salt on top of the chocolate coating can elevate the flavor beautifully.
- Flavored extracts: Try adding almond or coconut extract for an extra layer of flavor. Just a few drops will do!
- Cocoa powder: For dusting the balls instead of chocolate coating, giving them a more rustic look.
With these ingredients in hand, you’re well on your way to creating a batch of chocolate coconut balls that will have everyone asking for seconds. Remember, the beauty of this recipe lies in its flexibility. Feel free to mix and match based on what you have in your pantry or what tickles your taste buds!
How to Prepare Chocolate Coconut Balls
Now that we have our ingredients ready, it’s time to roll up our sleeves and get to the fun part—making these delicious chocolate coconut balls! I find that the process is just as enjoyable as the end result. So, let’s dive into the steps together!
Step 1: Combine Ingredients
First things first, we need to mix our main ingredients. In a large mixing bowl, combine the shredded coconut, chocolate cookie crumbs, sweetened condensed milk, and vanilla extract. Use a spatula or your hands to blend everything together until it forms a sticky mixture. It should hold together when you squeeze it in your palm.
Tips for Step 1
- Make sure your hands are clean! It’s the best way to feel the texture of the mixture.
- If the mixture feels too dry, add a splash more of sweetened condensed milk. If it’s too wet, sprinkle in a bit more cookie crumbs.
- Don’t be afraid to get a little messy; it’s all part of the fun!
Step 2: Form the Balls
Once everything is well combined, it’s time to shape the mixture into balls. I like to use a small cookie scoop for this, but you can also use your hands. Take about a tablespoon of the mixture and roll it into a ball. Place it on a parchment-lined baking sheet. Repeat until all the mixture is used up.
Tips for Step 2
- Keep a bowl of water nearby to wet your hands. This helps prevent the mixture from sticking to your fingers.
- Try to make the balls uniform in size for even coating and presentation.
- If you want to get creative, you can shape them into different forms, like little squares or hearts!
Step 3: Chill the Balls
After forming the balls, it’s time to chill them. Place the baking sheet in the refrigerator for about 30 minutes. This helps the balls firm up, making them easier to coat with chocolate later.
Tips for Step 3
- While the balls chill, you can clean up your workspace. It’s a great way to stay organized!
- If you’re in a hurry, you can pop them in the freezer for about 15 minutes instead.
- Use this time to prepare your chocolate coating, so everything is ready to go!
Step 4: Coat with Chocolate
Now comes the exciting part—coating the balls in chocolate! Melt your chocolate chips in a microwave-safe bowl, heating in 30-second intervals and stirring in between until smooth. Once melted, dip each chilled ball into the chocolate, ensuring it’s fully coated. Use a fork to lift it out, letting any excess chocolate drip off before placing it back on the parchment paper.
Tips for Step 4
- For a glossy finish, make sure your chocolate is fully melted and smooth.
- If you want to add toppings like nuts or coconut flakes, sprinkle them on while the chocolate is still wet.
- Don’t worry if the coating isn’t perfect; a little imperfection adds character!
And there you have it! With these simple steps, you’ll have a batch of chocolate coconut balls that are not only delicious but also a joy to make. I can’t wait for you to try them!
Equipment Needed for Chocolate Coconut Balls
Before we dive into the kitchen, let’s take a quick look at the equipment you’ll need to whip up these delightful chocolate coconut balls. Don’t worry; you won’t need any fancy gadgets—just some basic tools that most home cooks already have on hand!
- Mixing Bowl: A large mixing bowl is essential for combining all those delicious ingredients. If you don’t have one, any bowl will do, just make sure it’s big enough to hold everything!
- Spatula or Wooden Spoon: You’ll need something to mix the ingredients together. A spatula is great for scraping down the sides, while a wooden spoon works just as well.
- Cookie Scoop or Tablespoon: For shaping the balls, a cookie scoop makes it easy to get uniform sizes. If you don’t have one, a regular tablespoon will work just fine!
- Parchment Paper: Line your baking sheet with parchment paper to prevent the balls from sticking. If you’re out of parchment, a silicone baking mat is a fantastic alternative.
- Microwave-Safe Bowl: This is where you’ll melt your chocolate. If you prefer, you can also use a double boiler on the stove for a more controlled melting process.
- Fork: A fork is handy for dipping the balls into the melted chocolate. If you don’t have one, you can use a toothpick or even your fingers (just be careful of the heat!).
With these simple tools, you’re all set to create your chocolate coconut balls. Remember, cooking is all about improvisation, so feel free to use what you have on hand. Let’s get cooking!
Variations of Chocolate Coconut Balls
One of the things I love most about chocolate coconut balls is their adaptability. You can easily switch things up to create new flavors and textures. Here are a few variations that I’ve tried and absolutely adored!
- Peanut Butter Bliss: Add a couple of tablespoons of creamy peanut butter to the mixture for a nutty twist. The combination of chocolate, coconut, and peanut butter is simply divine!
- Minty Fresh: Incorporate a few drops of peppermint extract into the mixture. This gives your chocolate coconut balls a refreshing minty flavor that’s perfect for the holidays.
- Fruit Fusion: Mix in some dried fruits like cranberries or apricots. They add a chewy texture and a burst of sweetness that complements the chocolate and coconut beautifully.
- Spiced Delight: For a warm, cozy flavor, sprinkle in some cinnamon or nutmeg. It’s like a hug in a ball, perfect for chilly evenings!
- Matcha Magic: For a unique twist, try adding matcha powder to the mixture. It gives a lovely green hue and a subtle earthy flavor that pairs wonderfully with chocolate.
These variations not only keep things exciting but also allow you to cater to different tastes and preferences. So, don’t hesitate to get creative! Each batch can be a new adventure, and who knows, you might just stumble upon your new favorite flavor combination!
Cooking Notes for Chocolate Coconut Balls
As I’ve experimented with chocolate coconut balls over the years, I’ve gathered a few cooking notes that can help you achieve the best results. These little tips can make a big difference in your final product!
- Chill Time Matters: Don’t skip the chilling step! It’s crucial for helping the balls hold their shape during the chocolate coating process. If you’re in a hurry, just remember that a quick 15 minutes in the freezer can do the trick.
- Quality Chocolate: The chocolate you choose for coating can elevate your chocolate coconut balls. I always opt for high-quality chocolate chips or bars. The richer the chocolate, the more decadent your treats will taste!
- Storage Tips: Once your chocolate coconut balls are ready, store them in an airtight container in the fridge. They can last up to a week, but I doubt they’ll last that long—they’re just too delicious!
- Experiment with Coatings: While chocolate is the classic choice, don’t hesitate to try rolling your balls in crushed nuts, cocoa powder, or even sprinkles for a fun twist. It adds a delightful crunch and visual appeal!
- Make Ahead: These treats are perfect for meal prep! You can make a batch ahead of time and have them ready for snacking or entertaining. Just remember to keep them chilled until you’re ready to serve.
With these cooking notes in mind, you’ll be well on your way to creating chocolate coconut balls that are not only tasty but also a joy to share with family and friends. Happy cooking!
Serving Suggestions for Chocolate Coconut Balls
Now that we’ve created these delightful chocolate coconut balls, it’s time to think about how to serve them! Presentation can elevate your treats from simple snacks to show-stopping desserts. Here are a few serving suggestions that I absolutely love:
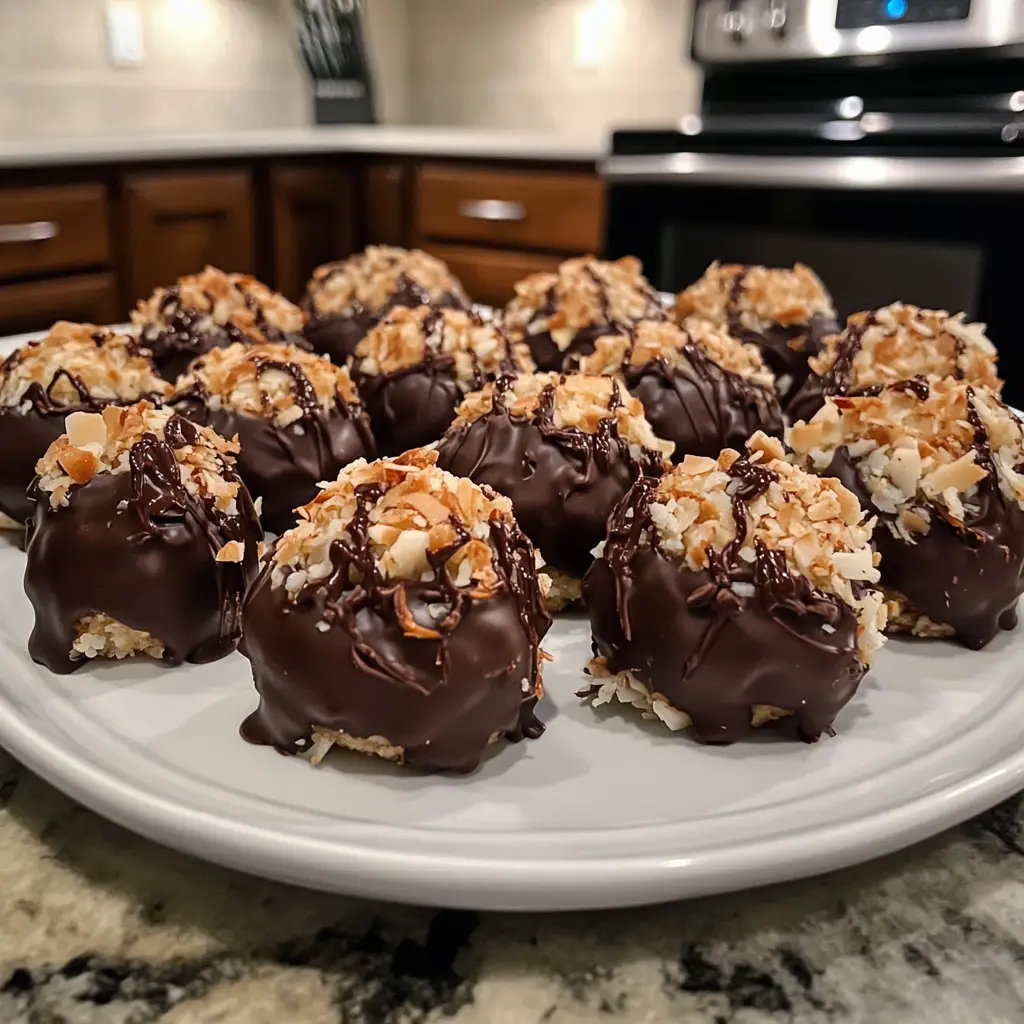
- On a Platter: Arrange the chocolate coconut balls on a beautiful serving platter. You can even sprinkle some extra shredded coconut or crushed nuts around them for a lovely touch. It makes for a stunning centerpiece at any gathering!
- With Fresh Fruit: Pair your chocolate coconut balls with fresh fruit like strawberries or raspberries. The tartness of the fruit complements the sweetness of the balls perfectly, creating a delightful balance.
- As Party Favors: Package them in small cellophane bags tied with a ribbon. They make for charming party favors that guests can take home. Who wouldn’t love a sweet treat to enjoy later?
- With Coffee or Tea: Serve these treats alongside a warm cup of coffee or tea. The rich flavors of chocolate and coconut pair beautifully with a cozy beverage, making for a perfect afternoon snack.
- On a Dessert Table: If you’re hosting a party, include chocolate coconut balls on your dessert table. They add a fun and festive touch, and guests will love having a variety of treats to choose from!
These serving suggestions not only enhance the experience of enjoying chocolate coconut balls but also allow you to get creative with your presentation. Whether it’s a casual family gathering or a fancy celebration, these little bites of joy are sure to impress!
Tips for Making Chocolate Coconut Balls
As I’ve crafted countless batches of chocolate coconut balls, I’ve picked up a few handy tips that can make your experience even smoother and more enjoyable. These little nuggets of wisdom can help you achieve the perfect treat every time!
- Room Temperature Ingredients: Make sure your sweetened condensed milk and any other ingredients are at room temperature. This helps them blend together more easily, creating a smooth mixture.
- Use a Food Processor: If you want a finer texture, consider using a food processor to crush your chocolate cookies. It saves time and ensures an even crumb!
- Chill Your Chocolate: If your chocolate coating is too warm, it can melt the balls. Let it cool slightly before dipping to maintain that perfect shape.
- Get Creative with Shapes: Don’t feel limited to just balls! Use cookie cutters to create fun shapes for special occasions. Hearts for Valentine’s Day or stars for a festive celebration can add a personal touch.
- Double the Batch: If you’re making these for a gathering, consider doubling the recipe. They disappear quickly, and you’ll be glad to have extras on hand!
With these tips in your back pocket, you’ll be well-equipped to make chocolate coconut balls that are not only delicious but also a joy to create. Happy cooking, and enjoy the sweet rewards of your efforts!
Breakdown of Time for Chocolate Coconut Balls
When it comes to making chocolate coconut balls, I love how quick and easy the process is! Here’s a simple breakdown of the time you’ll need to whip up these delightful treats:
- Prep Time: 15 minutes. This includes gathering your ingredients, mixing them together, and forming the balls. It’s a breeze, and you’ll be amazed at how quickly it comes together!
- Chill Time: 30 minutes. This step is essential for firming up the balls, making them easier to coat in chocolate. You can use this time to clean up or prepare your chocolate coating.
- Coating Time: 15 minutes. Melting the chocolate and coating the balls is the final touch. It’s a fun part of the process, and you’ll love seeing them transform!
Total Time: 1 hour. In just one hour, you can have a delicious batch of chocolate coconut balls ready to enjoy. It’s perfect for a quick treat or a last-minute dessert for guests!
With this time breakdown, you can easily fit making chocolate coconut balls into your busy schedule. Trust me, the delicious results are well worth the little time you invest!
Nutritional Information for Chocolate Coconut Balls
As a passionate home cook, I always find it helpful to know the nutritional value of the treats I make. Chocolate coconut balls are not only delicious but can also be enjoyed in moderation as part of a balanced diet. Here’s a quick overview of the nutritional information for one chocolate coconut ball, assuming the recipe yields about 20 balls:
- Calories: Approximately 100 calories
- Fat: 5g (mostly from the chocolate and coconut)
- Carbohydrates: 12g (includes sugars from the sweetened condensed milk and chocolate)
- Protein: 1g
- Fiber: 1g (thanks to the coconut)
Keep in mind that these values can vary based on the specific ingredients you use, especially the type of chocolate and whether you add any optional ingredients. If you’re looking to make them a bit healthier, consider using dark chocolate or reducing the amount of sweetened condensed milk. Regardless, these little bites of joy are a delightful treat that can fit into your sweet cravings without too much guilt!
Frequently Asked Questions about Chocolate Coconut Balls
As I’ve shared my love for chocolate coconut balls, I often get asked a few common questions. Here are some of the most frequently asked questions, along with my answers to help you on your chocolatey journey!
Can I use different types of chocolate for coating?
Absolutely! You can use dark, milk, or even white chocolate, depending on your preference. Each type brings its own unique flavor to the chocolate coconut balls, so feel free to experiment!
How long do chocolate coconut balls last?
When stored in an airtight container in the fridge, chocolate coconut balls can last up to a week. However, I doubt they’ll last that long—they’re just too delicious!
Can I freeze chocolate coconut balls?
Yes, you can freeze them! Just make sure to place them in a single layer on a baking sheet until frozen, then transfer them to an airtight container. They can last for up to three months in the freezer.
What can I substitute for sweetened condensed milk?
If you’re looking for a dairy-free option, you can use coconut cream or a homemade version of sweetened condensed milk using coconut milk and sugar. Just keep in mind that the texture may vary slightly.
Can I make these chocolate coconut balls vegan?
Yes! To make them vegan, use dairy-free chocolate chips and substitute the sweetened condensed milk with a plant-based alternative. They’ll still be just as tasty!
These FAQs should help clear up any questions you might have as you embark on your chocolate coconut ball-making adventure. If you have more questions, feel free to reach out—I love sharing my passion for these delightful treats!
Conclusion on Chocolate Coconut Balls
As we wrap up our delightful journey into the world of chocolate coconut balls, I can’t help but feel a sense of joy and nostalgia. These little treats are more than just a recipe; they are a canvas for creativity, a way to connect with loved ones, and a source of sweet memories. Whether you’re making them for a special occasion or just to satisfy a craving, I hope you find as much joy in creating them as I do.
What I love most is how versatile they are. You can customize them to fit any taste, mood, or occasion. From adding a hint of mint to rolling them in crushed nuts, the possibilities are endless! Plus, they’re incredibly easy to make, which means you can whip up a batch in no time, even on the busiest of days.
So, gather your ingredients, roll up your sleeves, and let your creativity shine. I can’t wait for you to experience the joy of making and sharing these chocolate coconut balls. Trust me, once you take that first bite, you’ll understand why they hold such a special place in my heart. Happy cooking, and may your kitchen be filled with laughter and love!
Conclusion on Chocolate Coconut Balls
As we come to the end of our delightful exploration of chocolate coconut balls, I can’t help but smile at the thought of all the joy they bring. These little bites of bliss are not just a treat; they are a celebration of creativity, love, and togetherness. The simplicity of the recipe makes it accessible for everyone, whether you’re a seasoned chef or a kitchen novice.
What truly makes chocolate coconut balls special is their versatility. You can easily adapt the flavors to suit your preferences, making them perfect for any occasion. From birthday parties to cozy nights in, they fit right in. Plus, the satisfaction of creating something delicious with your own hands is unmatched!
So, whether you’re indulging in a sweet moment alone or sharing them with friends and family, chocolate coconut balls are sure to bring smiles and sweet memories. I hope you feel inspired to make your own batch and experience the joy they bring. Happy cooking, and may your kitchen always be filled with love and laughter!


