
Introduction to Chocolate Cherry Thumbprint Cookies
As a busy mom, I know how precious time can be, especially when it comes to baking. That’s why I adore these Chocolate Cherry Thumbprint Cookies! They’re not just a treat; they’re a delightful way to bring a little joy into your day. Imagine the rich chocolate melting in your mouth, perfectly complemented by the sweet cherry filling. Whether you’re looking to impress guests or simply want a quick solution for a cozy family dessert, these cookies are your answer. Trust me, they’ll become a favorite in your home, just like they have in mine!
Why You’ll Love This Chocolate Cherry Thumbprint Cookies
These Chocolate Cherry Thumbprint Cookies are a dream come true for busy lives. They come together quickly, making them perfect for last-minute gatherings or a sweet treat after a long day. The combination of rich chocolate and tart cherry filling creates a flavor explosion that’s hard to resist. Plus, they’re a hit with both kids and adults, ensuring smiles all around. Who doesn’t love a cookie that’s as delightful to make as it is to eat?
Ingredients for Chocolate Cherry Thumbprint Cookies
Gathering the right ingredients is the first step to creating these delightful Chocolate Cherry Thumbprint Cookies. Here’s what you’ll need:
- Unsalted butter: This is the base of your cookies, providing richness and flavor. Make sure it’s softened for easy mixing.
- Granulated sugar: Sweetness is key! This helps create that lovely texture and balance with the chocolate.
- Large eggs: Eggs add moisture and help bind the ingredients together, giving your cookies structure.
- Vanilla extract: A splash of vanilla enhances the overall flavor, making your cookies taste even more delicious.
- All-purpose flour: This is the backbone of your cookie dough, providing the necessary structure.
- Unsweetened cocoa powder: This is where the chocolate magic happens! It gives your cookies that rich, chocolatey flavor.
- Baking powder: A little leavening agent to help your cookies rise and become fluffy.
- Salt: Just a pinch enhances all the flavors and balances the sweetness.
- Cherry preserves: The star of the show! This sweet filling adds a burst of fruity flavor in every bite.
- Chocolate chips: Melted chocolate drizzled on top adds an extra layer of indulgence.
Feel free to get creative! You can substitute cherry preserves with your favorite fruit preserves for a different twist. If you want a richer flavor, consider adding a pinch of espresso powder to the dough. For exact measurements, check the bottom of the article where you can find them available for printing.
How to Make Chocolate Cherry Thumbprint Cookies
Making Chocolate Cherry Thumbprint Cookies is a delightful journey that’s easier than you might think. Follow these simple steps, and you’ll have a batch of cookies that will impress everyone. Let’s dive into the process!
Step 1: Preheat the Oven
First things first, preheat your oven to 350°F (175°C). Preheating is crucial because it ensures even baking. If the oven isn’t hot enough, your cookies may spread too much or bake unevenly. Trust me, starting with the right temperature sets the stage for cookie perfection!
Step 2: Cream Butter and Sugar
In a large bowl, cream together the softened butter and granulated sugar until the mixture is light and fluffy. This process is essential for creating a tender texture in your cookies. The air you incorporate while creaming helps them rise beautifully. It’s like giving your cookies a little boost of happiness!
Step 3: Add Eggs and Vanilla
Next, add the eggs and vanilla extract to the creamed mixture. The eggs provide moisture and structure, while the vanilla enhances the flavor. This combination is what makes your cookies taste so delightful. Mix until everything is well combined, and you can almost smell the deliciousness!
Step 4: Combine Dry Ingredients
In another bowl, whisk together the all-purpose flour, cocoa powder, baking powder, and salt. Mixing these dry ingredients separately is essential to ensure even distribution. This step prevents clumps and guarantees that every cookie has the perfect balance of flavors. It’s like preparing a secret potion for cookie magic!
Step 5: Mix Wet and Dry Ingredients
Now, gradually add the dry ingredients to the wet mixture. Stir gently until just combined. Be careful not to overmix, as this can lead to tough cookies. You want a soft dough that’s ready to be shaped into those delightful thumbprints. Think of it as a gentle hug for your ingredients!
Step 6: Shape the Cookies
Roll the dough into small balls, about the size of a tablespoon. Place them on a baking sheet lined with parchment paper. Make sure to leave some space between each ball, as they will spread a little while baking. It’s like giving each cookie its own cozy spot on the baking sheet!
Step 7: Create Indentations
Using your thumb, gently press down in the center of each dough ball to create an indentation. This step is crucial because it’s where the cherry preserves will go. Think of it as creating little nests for the sweet filling. Plus, it adds a charming touch to your cookies!
Step 8: Fill with Cherry Preserves
Now, fill each indentation with cherry preserves. Don’t be shy; a generous dollop will do! If you’re feeling adventurous, you can swap the cherry preserves for your favorite fruit preserves. This is where you can get creative and make these cookies truly your own!
Step 9: Bake the Cookies
Bake the cookies in your preheated oven for 12-15 minutes. Keep an eye on them; the edges should be firm, while the centers may look slightly soft. This is the sweet spot for chewy cookies. Once they’re done, let them cool on the baking sheet for a few minutes before transferring them to a wire rack.
Step 10: Drizzle with Chocolate
Finally, melt some chocolate chips in the microwave or over a double boiler. Drizzle the melted chocolate over the cooled cookies for that extra touch of indulgence. It’s like adding a cherry on top, but even better! Let the chocolate set before serving, and enjoy your delicious creations!
Tips for Success
- Make sure your butter is at room temperature for easy creaming.
- Use a cookie scoop for uniform cookie sizes, ensuring even baking.
- Chill the dough for 30 minutes if it feels too soft to handle.
- Experiment with different fruit preserves for unique flavors.
- Don’t skip the cooling time; it helps the cookies set perfectly!
Equipment Needed
- Mixing bowls: A set of various sizes is handy. You can use any large bowl you have.
- Electric mixer: This makes creaming butter and sugar easier. A whisk works too, but it’ll take longer.
- Baking sheet: A standard baking sheet is perfect. Line it with parchment paper for easy cleanup.
- Cookie scoop: This helps shape uniform cookies. A tablespoon works as a great alternative.
- Wire rack: Ideal for cooling cookies. A plate can work in a pinch!
Variations
- Nutty Delight: Add chopped nuts like walnuts or pecans to the dough for a crunchy texture.
- Gluten-Free Option: Substitute all-purpose flour with a gluten-free flour blend for a gluten-free treat.
- Dark Chocolate Twist: Use dark chocolate cocoa powder instead of unsweetened for a richer flavor.
- Fruit Fusion: Try different fruit preserves like raspberry or apricot for a unique taste.
- Vegan Version: Replace butter with coconut oil and use flax eggs for a plant-based alternative.
Serving Suggestions
- Pair these cookies with a steaming cup of coffee or tea for a delightful afternoon treat.
- Serve them on a decorative platter for a charming presentation at gatherings.
- For a fun twist, add a scoop of vanilla ice cream on the side.
- Dust with powdered sugar for an elegant finish.
- Enjoy them with fresh fruit for a refreshing contrast!
FAQs about Chocolate Cherry Thumbprint Cookies
Can I use other fruit preserves instead of cherry?
Absolutely! While cherry preserves are the star of these Chocolate Cherry Thumbprint Cookies, feel free to experiment with your favorite fruit preserves. Raspberry, apricot, or even strawberry can add a delightful twist!
How should I store the cookies?
To keep your cookies fresh, store them in an airtight container at room temperature. They’ll stay delicious for up to a week. Just make sure they’re completely cooled before sealing them up!
Can I freeze the cookie dough?
Yes! You can freeze the cookie dough for up to three months. Just roll the dough into balls, place them on a baking sheet, and freeze until solid. Then transfer them to a freezer bag. When you’re ready to bake, just add a couple of extra minutes to the baking time!
What can I do if my cookies spread too much while baking?
If your cookies spread too much, it could be due to warm dough or too much butter. Make sure your butter is softened but not melted. Chilling the dough for about 30 minutes before baking can also help maintain their shape.
Can I make these cookies gluten-free?
Yes! Simply substitute the all-purpose flour with a gluten-free flour blend. This way, you can enjoy these Chocolate Cherry Thumbprint Cookies without gluten, and they’ll still taste amazing!
Final Thoughts
Making Chocolate Cherry Thumbprint Cookies is more than just baking; it’s about creating sweet memories in the kitchen. The joy of rolling the dough, filling each thumbprint with cherry goodness, and drizzling melted chocolate brings a smile to my face every time. These cookies are perfect for sharing with loved ones or enjoying during a quiet moment with a cup of tea. They remind me that even on the busiest days, a little sweetness can brighten our lives. So, gather your ingredients and let the magic happen—your taste buds will thank you!
Print
Chocolate Cherry Thumbprint Cookies: A Delightful Treat!
- Total Time: 35 minutes
- Yield: 24 cookies 1x
- Diet: Vegetarian
Description
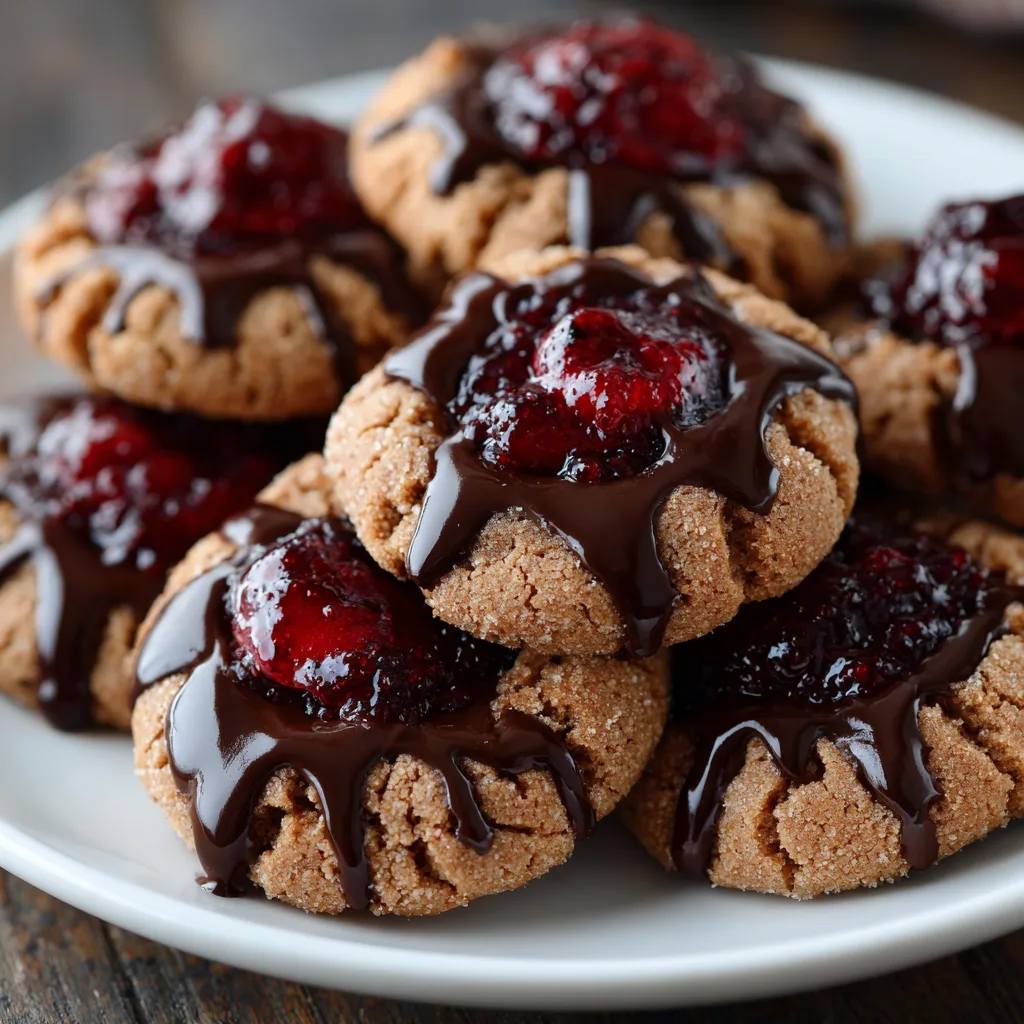
Chocolate Cherry Thumbprint Cookies are a delightful treat that combines rich chocolate and sweet cherry filling, perfect for any occasion.
Ingredients
- 1 cup unsalted butter, softened
- 1 cup granulated sugar
- 2 large eggs
- 2 teaspoons vanilla extract
- 2 cups all-purpose flour
- 1/2 cup unsweetened cocoa powder
- 1/2 teaspoon baking powder
- 1/4 teaspoon salt
- 1 cup cherry preserves
- 1/2 cup chocolate chips, melted
Instructions
- Preheat the oven to 350°F (175°C).
- In a large bowl, cream together the softened butter and sugar until light and fluffy.
- Add the eggs and vanilla extract, mixing well.
- In another bowl, whisk together the flour, cocoa powder, baking powder, and salt.
- Gradually add the dry ingredients to the wet mixture, stirring until combined.
- Roll the dough into small balls and place them on a baking sheet lined with parchment paper.
- Make an indentation in the center of each ball using your thumb.
- Fill each indentation with cherry preserves.
- Bake for 12-15 minutes or until the edges are firm.
- Once cooled, drizzle melted chocolate over the cookies.
Notes
- Store cookies in an airtight container for up to a week.
- Feel free to substitute cherry preserves with your favorite fruit preserves.
- For a richer flavor, add a pinch of espresso powder to the dough.
- Prep Time: 20 minutes
- Cook Time: 15 minutes
- Category: Dessert
- Method: Baking
- Cuisine: American
Nutrition
- Serving Size: 1 cookie
- Calories: 150
- Sugar: 10g
- Sodium: 50mg
- Fat: 7g
- Saturated Fat: 4g
- Unsaturated Fat: 2g
- Trans Fat: 0g
- Carbohydrates: 20g
- Fiber: 1g
- Protein: 2g
- Cholesterol: 30mg
Keywords: Chocolate Cherry Thumbprint Cookies, cookies, dessert, chocolate, cherry


