
Introduction to Caramel Apple Tart
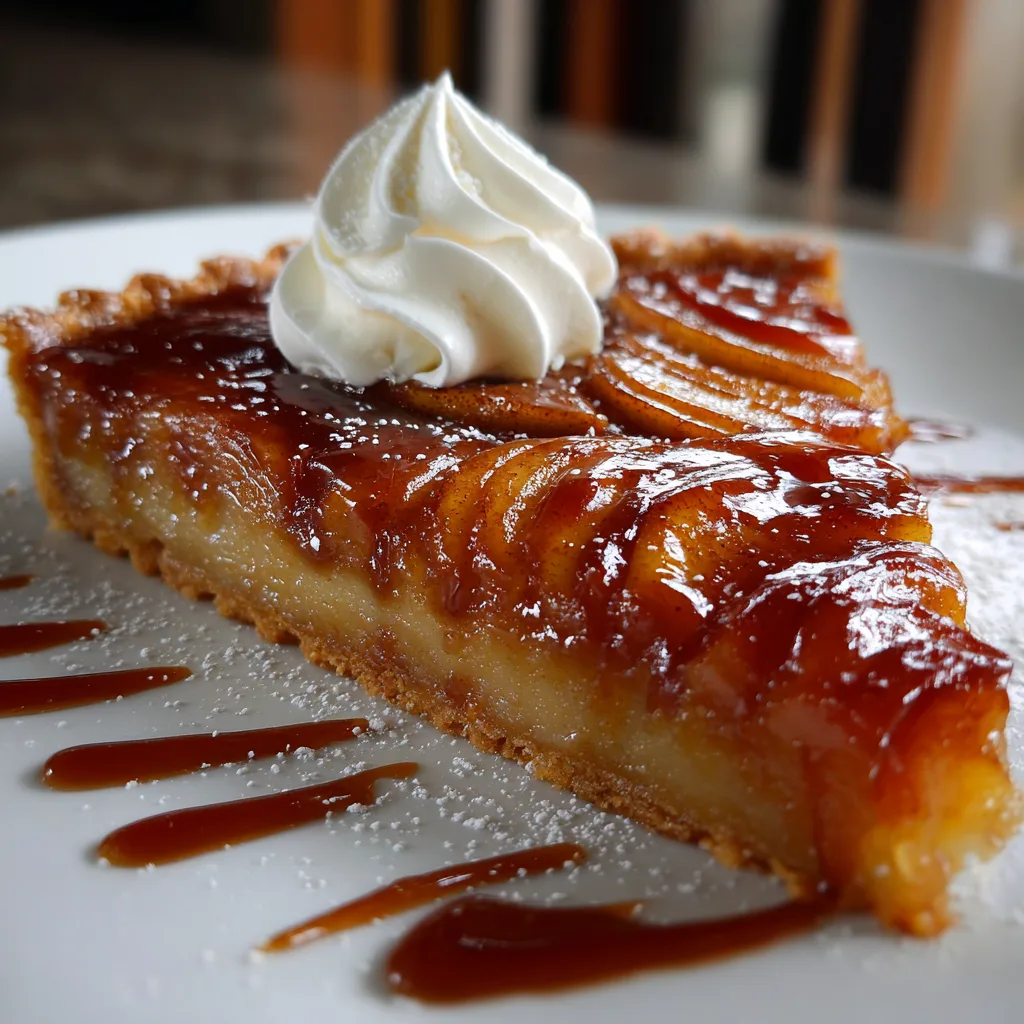
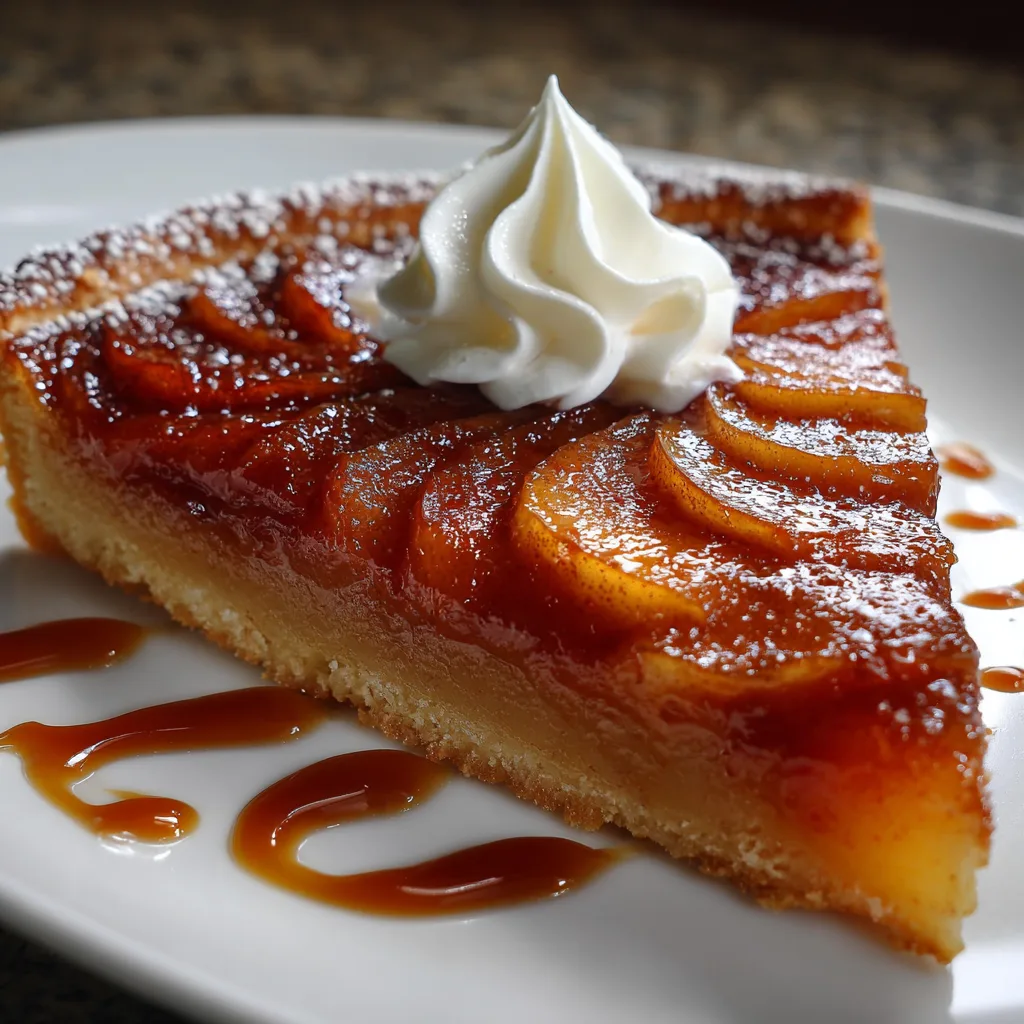
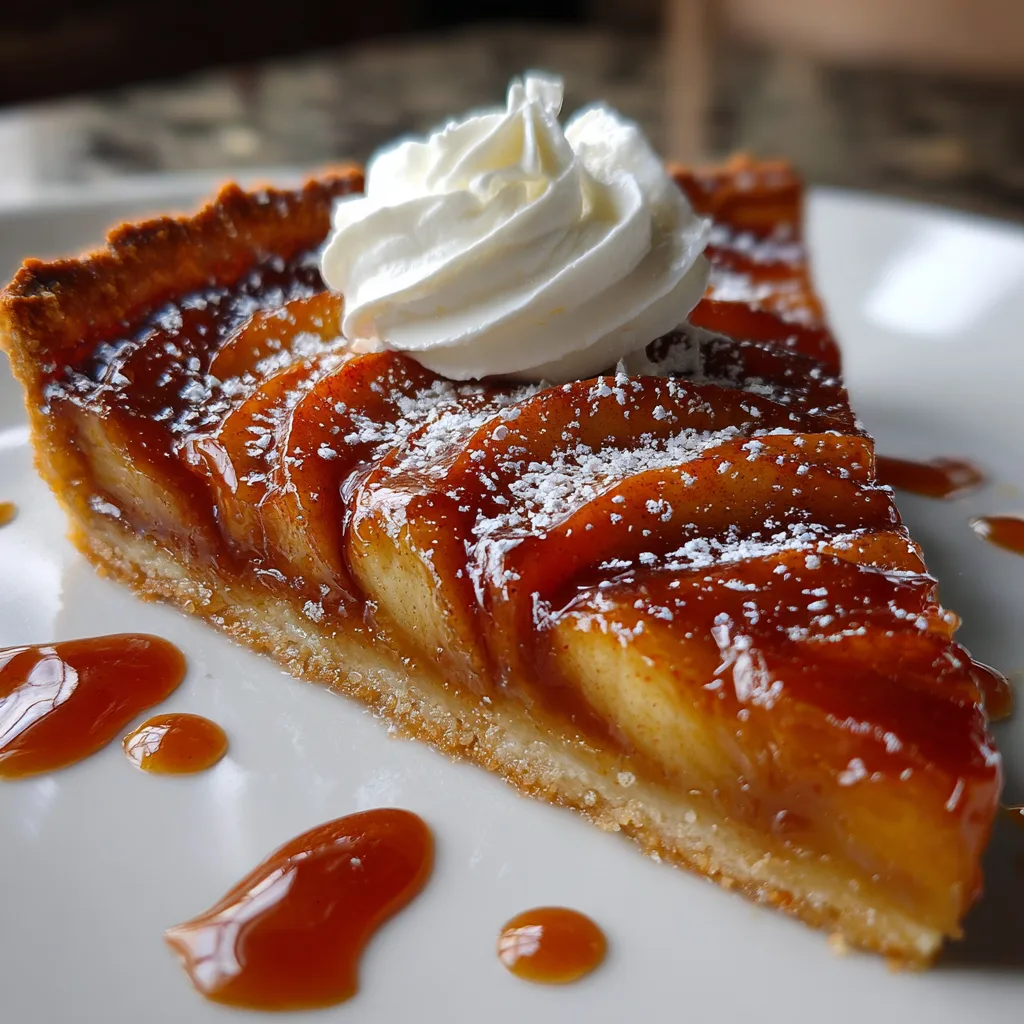
As the leaves turn golden and the air gets crisp, there’s nothing quite like the aroma of a freshly baked Caramel Apple Tart wafting through the kitchen. This delightful dessert is not just a treat; it’s a warm hug on a plate, perfect for busy moms and professionals like us. Whether you’re looking to impress guests or simply want to indulge your family after a long day, this tart is your go-to solution. With its flaky crust and sweet, caramelized apples, it captures the essence of fall in every bite.
Why You’ll Love This Caramel Apple Tart
This Caramel Apple Tart is a dream come true for anyone short on time but big on flavor. It’s incredibly easy to whip up, making it perfect for those busy weeknights or last-minute gatherings. The combination of sweet and tart apples, paired with rich caramel, creates a taste sensation that will have everyone asking for seconds. Plus, it’s a delightful way to celebrate the flavors of fall!
Ingredients for Caramel Apple Tart
Gathering the right ingredients is the first step to creating a mouthwatering Caramel Apple Tart. Here’s what you’ll need:
- Pre-made pie crust: A flaky crust is the foundation of this tart. You can use store-bought for convenience or make your own if you’re feeling adventurous.
- Medium apples: Choose a mix of sweet and tart apples for depth of flavor. Varieties like Granny Smith and Honeycrisp work beautifully together.
- Granulated sugar: This sweetener helps caramelize the apples, enhancing their natural sweetness and creating that irresistible caramel flavor.
- Unsalted butter: Butter adds richness and helps in caramelizing the apples to perfection. Unsalted is best to control the saltiness.
- Heavy cream: This ingredient gives the tart a creamy texture and balances the sweetness of the caramelized apples.
- Vanilla extract: A splash of vanilla elevates the flavor profile, adding warmth and depth to the tart.
- Cinnamon: This warm spice is a must for fall desserts, bringing a cozy aroma and flavor that pairs perfectly with apples.
- Nutmeg: Just a pinch adds a subtle earthiness that complements the sweetness of the apples.
- Salt: A little salt enhances all the flavors, making the sweet notes pop even more.
For exact measurements, check the bottom of the article where you can find everything listed for easy printing. Happy cooking!
How to Make Caramel Apple Tart
Now that you have your ingredients ready, let’s dive into the delightful process of making this Caramel Apple Tart. Follow these simple steps, and you’ll have a stunning dessert that will impress everyone!
Step 1: Preheat the Oven
First things first, preheat your oven to 375°F (190°C). Preheating is crucial because it ensures even baking. A hot oven helps the crust become golden and flaky while the apples caramelize beautifully. Trust me, you don’t want to skip this step!
Step 2: Prepare the Pie Crust
Next, take your pre-made pie crust and gently place it in a tart pan. Make sure to press it into the corners and up the sides. If it cracks, don’t worry! Just patch it up with your fingers. This crust is the cozy blanket for your caramelized apples, so make it snug!
Step 3: Caramelize the Apples
Now, let’s get to the fun part—caramelizing the apples! In a large skillet, melt the unsalted butter over medium heat. Once it’s bubbly, add the sliced apples, granulated sugar, cinnamon, nutmeg, and salt. Stir everything together and cook for about 10 minutes. You want the apples to be tender and coated in a luscious caramel sauce. The aroma will be heavenly!
Step 4: Assemble the Tart
With your apples perfectly caramelized, it’s time to assemble the tart. Pour the warm, caramelized apples into the prepared pie crust, spreading them evenly. In a small saucepan, combine the heavy cream and vanilla extract, heating it until warm. Drizzle this creamy mixture over the apples, letting it seep into every nook and cranny.
Step 5: Bake the Tart
Place your tart in the preheated oven and bake for 25-30 minutes. Keep an eye on it! You’ll know it’s done when the crust is golden brown and the apples are bubbling. The anticipation will be almost unbearable, but it’s worth the wait!
Step 6: Cool and Serve
Once baked, remove the tart from the oven and let it cool slightly. This step is important because it allows the filling to set a bit. Serve it warm, perhaps with a dollop of whipped cream or a scoop of vanilla ice cream. Your family and friends will be in dessert heaven!
Tips for Success
- Use a mix of sweet and tart apples for a balanced flavor.
- Don’t rush the caramelization process; it enhances the taste.
- Let the tart cool slightly before serving to set the filling.
- For a fun twist, add chopped nuts for extra crunch.
- Experiment with spices like ginger for a unique flavor profile.
Equipment Needed
- Tart pan: A standard tart pan works best, but a pie dish can be a great alternative.
- Skillet: A non-stick skillet makes caramelizing apples easier, but any skillet will do.
- Small saucepan: For heating the cream and vanilla, a regular saucepan is perfect.
- Spatula: A silicone spatula helps in mixing and pouring without scratching your pans.
Variations of Caramel Apple Tart
- Nutty Delight: Add chopped walnuts or pecans to the caramelized apples for a delightful crunch.
- Gluten-Free Option: Use a gluten-free pie crust to make this tart suitable for those with dietary restrictions.
- Spiced Up: Incorporate a pinch of ginger or allspice for an extra layer of warmth and flavor.
- Caramel Swirl: Drizzle extra caramel sauce over the top before serving for a decadent finish.
- Fruit Fusion: Mix in other fruits like pears or cranberries for a unique twist on the classic apple flavor.
Serving Suggestions for Caramel Apple Tart
- Pair with a scoop of vanilla ice cream for a classic combination.
- Serve with a dollop of freshly whipped cream for added richness.
- Drizzle extra caramel sauce on top for a decadent touch.
- Accompany with a warm cup of spiced cider for a cozy experience.
- Garnish with a sprinkle of cinnamon for a beautiful presentation.
FAQs about Caramel Apple Tart
As you embark on your journey to create this delightful Caramel Apple Tart, you might have a few questions. Here are some common queries that can help you along the way:
Can I use frozen apples for this tart?
While fresh apples are best for flavor and texture, you can use frozen apples if needed. Just make sure to thaw and drain them well to avoid excess moisture in your tart.
What type of apples are best for a Caramel Apple Tart?
A mix of sweet and tart apples works wonders! I recommend using Granny Smith for tartness and Honeycrisp for sweetness. This combination creates a balanced flavor that everyone will love.
How do I store leftovers?
Store any leftover Caramel Apple Tart in the refrigerator, covered, for up to three days. Just reheat it in the oven for a few minutes before serving to bring back that fresh-baked taste!
Can I make this tart ahead of time?
Absolutely! You can prepare the tart a day in advance. Just bake it, let it cool, and store it in the fridge. Reheat before serving for a warm, comforting dessert.
What can I serve with Caramel Apple Tart?
This tart pairs beautifully with whipped cream, vanilla ice cream, or even a drizzle of caramel sauce. A warm cup of spiced cider on the side makes for a cozy fall treat!
Final Thoughts
Creating a Caramel Apple Tart is more than just baking; it’s about crafting memories and sharing joy with loved ones. The sweet aroma that fills your kitchen as it bakes is a reminder of cozy fall days and family gatherings. Each slice is a delightful blend of flavors and textures, bringing smiles to faces young and old. Whether you’re enjoying it after a busy day or serving it at a special occasion, this tart is sure to become a cherished favorite. So, roll up your sleeves, embrace the season, and let this tart warm your heart!
Print
Caramel Apple Tart: Discover Irresistible Fall Flavor!
- Total Time: 50 minutes
- Yield: 8 servings 1x
- Diet: Vegetarian
Description
A deliciously sweet and tart dessert featuring caramelized apples on a flaky pastry crust, perfect for fall.
Ingredients
- 1 pre-made pie crust
- 4 medium apples, peeled and sliced
- 1 cup granulated sugar
- 1/2 cup unsalted butter
- 1/2 cup heavy cream
- 1 teaspoon vanilla extract
- 1 teaspoon cinnamon
- 1/4 teaspoon nutmeg
- 1/4 teaspoon salt
Instructions
- Preheat the oven to 375°F (190°C).
- Place the pie crust in a tart pan and set aside.
- In a large skillet, melt the butter over medium heat.
- Add the sliced apples, sugar, cinnamon, nutmeg, and salt. Cook until the apples are tender and caramelized, about 10 minutes.
- Pour the caramelized apples into the prepared pie crust.
- In a small saucepan, combine heavy cream and vanilla extract. Heat until warm, then pour over the apples.
- Bake in the preheated oven for 25-30 minutes, or until the crust is golden brown.
- Let cool slightly before serving. Enjoy!
Notes
- For a richer flavor, use a mix of sweet and tart apples.
- Serve with whipped cream or vanilla ice cream for added indulgence.
- Store leftovers in the refrigerator for up to 3 days.
- Prep Time: 20 minutes
- Cook Time: 30 minutes
- Category: Dessert
- Method: Baking
- Cuisine: American
Nutrition
- Serving Size: 1 slice
- Calories: 320
- Sugar: 25g
- Sodium: 150mg
- Fat: 15g
- Saturated Fat: 9g
- Unsaturated Fat: 4g
- Trans Fat: 0g
- Carbohydrates: 45g
- Fiber: 2g
- Protein: 2g
- Cholesterol: 40mg
Keywords: Caramel Apple Tart, Fall Dessert, Apple Tart, Caramel Dessert


